Can You Use Peel and Stick Wallpaper in a Bathroom?
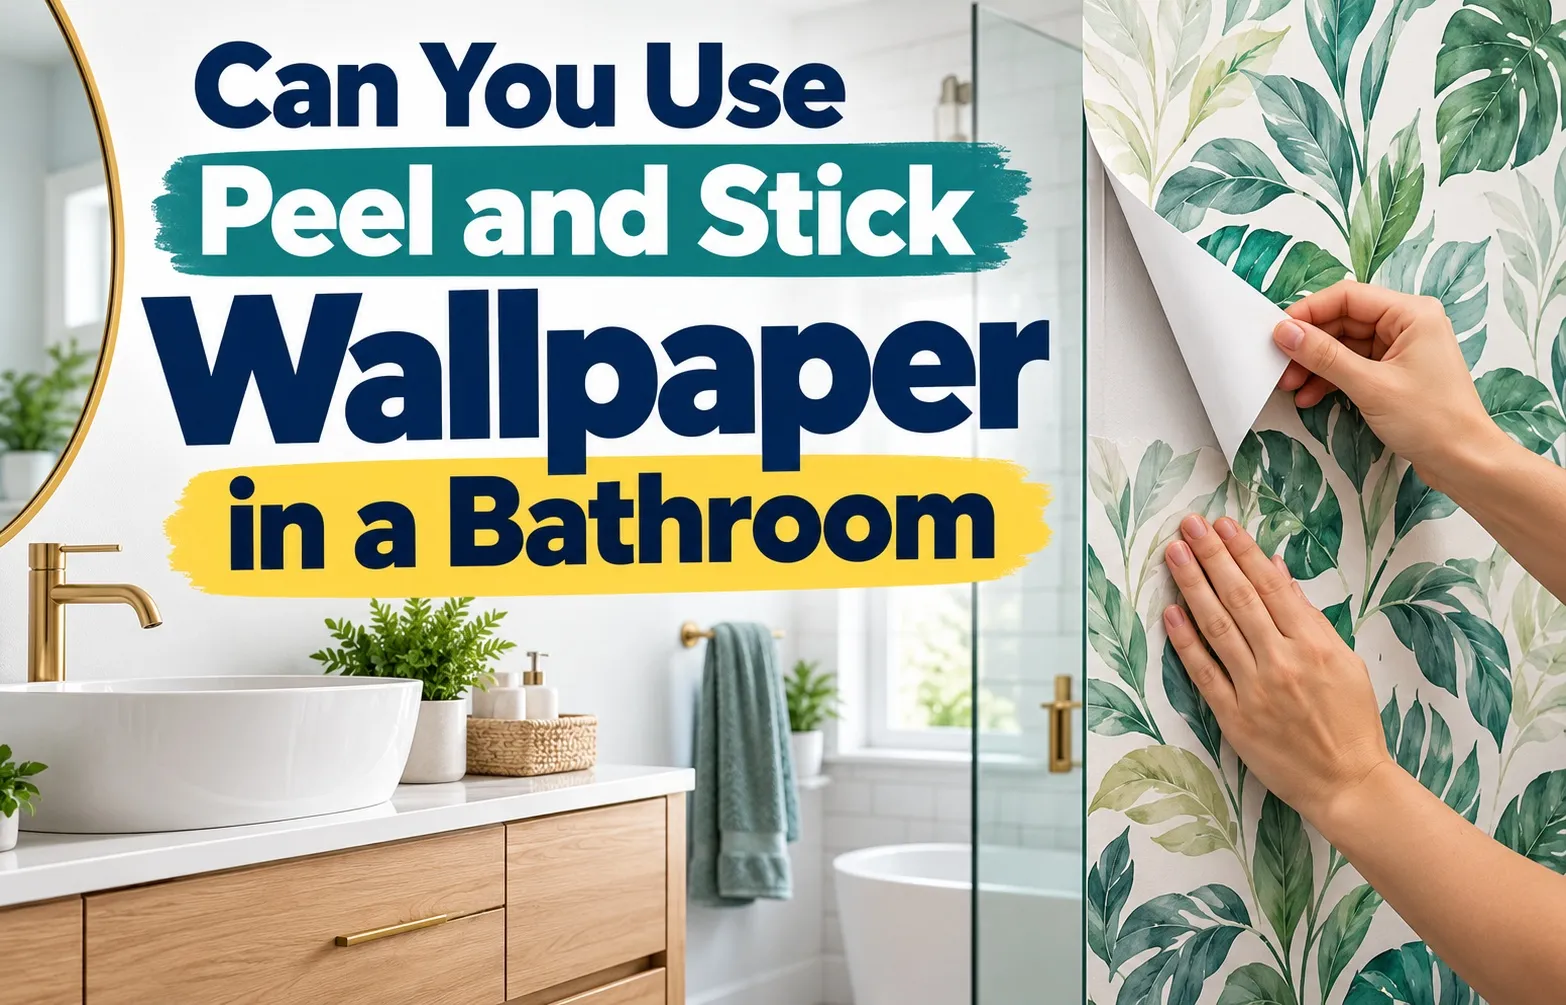 You can use peel and stick wallpaper in a bathroom, provided you choose moisture-resistant vinyl materials, prep your walls correctly, and maintain adequate room ventilation. However, its performance depends entirely on steam exposure, humidity levels, and direct contact with running water.
Self-adhesive wallpaper thrives in low-moisture environments, but high-steam areas require specific precautions to prevent edge lifting and adhesive failure over time.
Can You Put Peel and Stick Wallpaper in a Bathroom?
Yes, peel and stick wallpaper works well in bathrooms when installed on properly primed, smooth surfaces away from direct water splashes. High-humidity environments demand high-quality vinyl or polyester-backed products rather than standard paper-based wallpapers.
To ensure long-term durability in spaces with regular steam build-up, follow these fundamental rules:
- Select Vinyl-Based Materials: Opt strictly for self-adhesive vinyl that resists moisture penetration and steam degradation.
- Verify Wall Finish: Apply wallpaper only over eggshell, satin, or semi-gloss paint finishes. Flat and matte paints absorb moisture and weaken the adhesive bond.
- Ensure Active Ventilation: Always run an exhaust fan during and after showers to keep relative humidity below critical levels.
- Avoid Direct Splash Zones: Keep self-adhesive wallpaper out of shower enclosures and away from sink basins lacking backsplashes.
Choosing the Right Wallpaper Type
Selecting the correct wallpaper material is the single most critical factor in preventing peeling, bubbling, and mold growth in a bathroom. Standard paper-based wallcoverings absorb ambient moisture, which quickly degrades the adhesive backing and compromises wall surfaces.
To ensure long-term performance under fluctuating humidity levels, you must evaluate the substrate material, protective coatings, and water-resistance ratings before purchasing.
Vinyl & Polyester vs. Non-Coated Paper: Why Material Choice Dictates Longevity
Vinyl and polyester-backed wallpapers excel in moist environments because their synthetic polymers form an impermeable barrier against airborne moisture. Non-coated paper wallpapers, by contrast, act like sponges, absorbing humidity and swelling until the adhesive layer separates from the substrate.
When comparing material properties for high-humidity installations, consider these core structural differences:
- Vinyl-Coated & Solid Vinyl Wallpaper: Engineered with a non-porous top layer that completely seals out steam, allowing condensed water to bead up on the surface rather than penetrate the wall.
- Polyester-Backed Wallpaper: Offers high dimensional stability, meaning it will not expand or shrink when exposed to sudden temperature changes during hot showers.
- Non-Coated Cellulose Paper: Highly susceptible to moisture absorption, leading to seam curling, backing rot, and rapid adhesive failure. Avoid non-coated paper in any space containing a tub or shower.
Waterproof vs. Water-Resistant: Understanding the Difference Before You Buy
Waterproof wallpapers can withstand continuous immersion or heavy splashing without physical breakdown or adhesive degradation. Water-resistant wallpapers withstand temporary high humidity and light steam, but they will fail if subjected to prolonged direct water contact.
Understanding these distinct performance thresholds ensures realistic expectations and prevents product failure across different bathroom layouts:
Top Recommended Brands for Bathroom Humidity
Not all peel and stick wallpaper manufacturers design their adhesives for high-moisture conditions. Selecting a manufacturer known for moisture-tested vinyl substrates ensures high adhesion strength and longevity.
When selecting wallpaper built specifically to handle humidity resistance, look to these industry leaders:
- Tempaper & Co.: Features heavy-duty, moisture-resistant vinyl options engineered specifically for high-moisture spaces. Review official manufacturer standards via the Tempaper Bathroom Wallpaper Guidelines for specific installation parameters.
- NuWallpaper: Offers budget-friendly, washable vinyl wallcoverings backed with high-tack, removable acrylic adhesive that resists steam lifting.
- York Wallcoverings: Produces premium, thick-gauge vinyl and polyester-backed options with protective wipeable topcoats ideal for full bathrooms.
Wall Preparation & Surface Requirements
Improper wall prep causes over 80% of premature peel and stick wallpaper failures in humid spaces. Skipping deep cleaning or attempting installation over unsuitable paint finishes prevents the acrylic adhesive from forming a strong, moisture-tight bond with the wall substrate.
Thorough surface preparation creates a clean, smooth, non-porous foundation that stops steam from seeping behind the seams and lifting the paper.
The Paint Finish Rule: Eggshell, Satin, and Semi-Gloss vs. Flat/Matte Paint
Peel and stick adhesives require a smooth, sealed paint sheen to stick securely. Flat and matte paints are highly porous and chalky; they absorb moisture from the air and pull the adhesive away from the vinyl, causing the paper to bubble or fall off within days.
Ensure your wall surface meets these sheen standards before attempting installation:
- Eggshell, Satin, & Semi-Gloss (Ideal): These finishes create a smooth, non-porous barrier that provides maximum tack for self-adhesive backings while blocking steam penetration.
- Flat & Matte Paints (Failure Risk): Require a coat of acrylic wall primer before wallpaper installation to prevent adhesive absorption and surface peeling.
- Teflon / Scrub-Resistant Stain Blockers (High-Risk): Washable paints with stain-resistant additives repel wallpaper adhesives. Sand these surfaces lightly and prime before hanging wallpaper.
How to Clean Walls Properly: The 1:1 Rubbing Alcohol Mix & TSP Solution
Microscopic dust, body oils, and hairspray residue invisible to the naked eye act as bond breakers. Cleaning the wall surface removes these contaminants, ensuring direct contact between the pressure-sensitive adhesive and the paint layer.
Follow this two-tier cleaning protocol based on your wall’s existing condition:
- Standard Cleaning (Isopropyl Alcohol Solution): Mix equal parts 70% rubbing alcohol and water in a spray bottle. Wipe down the entire wall surface with a lint-free microfiber cloth and let it dry completely for 2 to 4 hours.
- Deep Cleaning (Trisodium Phosphate / TSP Solution): For walls with heavy soap scum, grease, or grime build-up near vanities, wash the area with a diluted TSP (trisodium phosphate) solution. Rinse thoroughly with clean water to clear any residue, then allow 24 hours of drying time.
Handling Textured Walls & Raw Drywall: Skim-Coating vs. Wall Primers (Zinsser Shieldz)
Self-adhesive wallpaper needs continuous surface contact to maintain its grip. Textured drywall (such as orange peel, knock-down, or popcorn textures) traps air pockets under the paper, allowing steam to enter and destroy the bond.
Choose the correct remediation method based on your wall texture and substrate type:
Cure Time Warning: Why You Must Wait 4 Weeks After Fresh Paint
Applying peel and stick wallpaper over freshly painted walls is a primary cause of wall damage and bubbling. Even when paint feels dry to the touch within hours, it continues to off-gas VOCs (volatile organic compounds) and release moisture as it cures beneath the surface.
Trapping off-gassing solvents under airtight vinyl causes gas bubbles under the wallpaper and can melt the adhesive, ruining both the wallpaper and the paint underneath. Always allow fresh latex or acrylic paint to cure for at least 4 full weeks (28 days) before applying self-adhesive wallcoverings.
Step-by-Step Installation Guide for High-Humidity Spaces
Proper installation in a bathroom requires precise alignment, continuous smoothing, and strategic edge sealing to block steam penetration. This step-by-step guide ensures your peel and stick wallpaper withstands high humidity without lifting or peeling.
Following a systematic workflow prevents common installation errors that compromise adhesive strength in steam-heavy environments.
Step 1: Surface Degreasing & Environmental Temperature Setup
Before starting installation, ensure the room temperature stays between 60°F and 85°F to activate the pressure-sensitive adhesive properly. High ambient humidity during hanging prevents the glue from setting, so active ventilation is essential.
Prepare your workspace environment and walls using these core steps:
- Activate Exhaust Fan Ventilation: Run the bathroom exhaust fan continuously during installation and for 24 hours afterward to keep ambient moisture down.
- Check Wall Dryness: Verify that cleaned walls have dried completely from alcohol or TSP washes before touching any adhesive backing.
Step 2: Measuring, Cutting, and Allowing Pattern Overlap
Accurate measuring prevents material shortages and unsightly gaps along ceilings and baseboards. Always measure wall height from the baseboard to the ceiling, adding two extra inches for top and bottom trimming.
Account for humidity expansion and alignment continuity by following these cutting guidelines:
- Manage Pattern Overlap Seams: Overlap panel edges by approximately 1/8 to 1/4 inch to compensate for slight vinyl expansion caused by temperature and humidity fluctuations.
- Use Sharp Blades: Use a fresh utility knife blade for trimming excess paper to prevent tearing or jagged edges along moldings.
Step 3: Application Technique to Prevent Air Bubbles
Applying self-adhesive wallpaper requires a controlled, top-down approach to eliminate trapped air pockets. Peel back only the top six inches of the protective backing to anchor the panel level before smoothing.
Execute smooth application with proper tools:
- Use a Squeegee Tool: Firmly press and smooth the vinyl downward and outward from the center using a felt-edged squeegee tool to release air bubbles.
- Avoid Stretching: Never pull or stretch the vinyl film during application, as tension causes the material to retract and pull away from corners over time.
Step 4: Sealing the Perimeter: Applying Clear Silicone/Acrylic Caulk
Perimeter sealing is the ultimate defense against steam infiltration in full bathrooms. Running a thin bead of clear caulk along vulnerable edges stops condensation from tracking behind the vinyl backing.
Lock out moisture and protect your installation with these finishing steps:
- Apply Clear Caulk and Silicone Sealant: Run a fine, continuous bead of clear silicone sealant or acrylic caulk along baseboards, sink splashes, and ceiling lines where wallpaper meets trim.
- Apply a Seam Sealer: Run a liquid seam sealer along vertical panel joints to protect paper edges from steam exposure. Smooth all caulk lines immediately with a damp finger for a watertight seal.
Reddit Insights & Common Mistakes
Real-world experiences shared across community forums like Reddit (r/HomeDecorating) and Quora show that while self-adhesive wallcoverings offer a budget-friendly transformation, performance varies widely. Addressing common user pitfalls and understanding realistic product lifespans helps ensure a successful installation that lasts for years without hidden issues.
Learning from real DIY outcomes helps you avoid premature failure, prevent wall surface damage, and protect your home from moisture-related issues.
How Long Does Peel and Stick Wallpaper Realistically Last? (Powder Room vs. High-Steam Bathroom)
The lifespan expectations of self-adhesive wallpaper depend heavily on ambient moisture, ventilation habits, and overall wall preparation. While manufacturers often advertise multi-year durability, real-world longevity varies dramatically based on room function.
Expect these practical timelines based on room type and steam levels:
- Powder Rooms (3 to 5+ Years): Without a tub or shower generating steam, high-quality vinyl peel and stick wallpaper can last as long as traditional pasted options without edge lifting or fading.
- Well-Ventilated Full Baths (2 to 4 Years): When paired with vinyl materials, primed walls, edge caulking, and consistent exhaust fan usage, wallpaper performs reliably over the medium term.
- Poorly Ventilated or High-Steam Baths (6 to 18 Months): Without adequate humidity management or proper edge sealing, steam eventually weakens the acrylic adhesive, causing panel seams to curl and peel.
The Hidden Mold Danger: What Happens Underneath When Steam Penetrates
A primary concern among homeowners is the potential for mold underneath wallpaper when steam penetrates unsealed seams. Because vinyl wallcoverings are non-porous, any water vapor trapped between the impermeable backing and painted drywall cannot evaporate easily.
Protect your wall substrate from hidden moisture accumulation by following these preventive measures:
- Watch for Trapped Condensation: If steam penetrates unsealed seams, ambient moisture condenses against the cool drywall layer, creating an environment ripe for unseen mildew growth.
- Prevent Mold and Mildew: Ensure walls are completely dry before installation, seal all exposed edges with clear silicone sealant, and never apply wallpaper over active mold or damp drywall.
- Inspect Periodically: Periodically check panel corners near vanities and showers for localized bubbling, which often signals moisture buildup underneath.
Top 5 Mistakes Reddit Users Regret
Discussions across home improvement forums highlight recurring installation mistakes that compromise longevity. Analyzing these Reddit user experiences reveals simple steps to prevent installation failures.
Avoid these top five documented mistakes when applying wallpaper in high-humidity spaces:
Safe Removal Process: How to Peel Without Damaging Drywall
Although peel and stick products are designed for clean removal, high humidity and prolonged installation can strengthen the adhesive bond over time. Pulling panels off dry walls too quickly can tear surface paper and require drywall damage repair.
Follow these safe steps to remove wallpaper without harming your paint or drywall paper layer:
- Warm the Surface: Use a low-temperature heat gun or hair dryer held 6 inches away to gently warm the vinyl surface, softening the acrylic adhesive underneath.
- Peel at a 45-Degree Angle: Start at an upper corner, gently lift the edge with a putty knife, and peel the film back slowly parallel to the wall at a 45-degree angle.
- Remove Residual Adhesive: Clean remaining sticky spots with warm, soapy water or a mild adhesive remover, wiping the wall dry with a clean cloth.
2026 Bathroom Design Trends & Property Value Impact
Bathroom wallcoverings continue to dominate contemporary interior design, offering an accessible way to add texture, color, and character to smaller residential spaces. Understanding modern aesthetic shifts and home resale dynamics allows you to create high-impact visual upgrades without compromising long-term property value.
Balancing current decorative trends with practical material selection ensures your bathroom update looks sophisticated while remaining rental-friendly and marketable.
Is Wallpaper Out of Style in 2026? (Moody Accent Walls & Bold Botanicals)
Wallpaper is not out of style in 2026; rather, design preferences have shifted away from subtle, repetitive geometric grids toward expressive, immersive patterns. Designers increasingly utilize small footprint spaces like powder rooms and vanity nooks as high-contrast feature areas.
Key 2026 bathroom design trends shaping current interior spaces include:
- Moody Dark Tones: Deep forest greens, charcoal slates, and rich navy backdrops create dramatic, sanctuary-like atmosphere in compact powder rooms.
- Lush Botanical Prints: Over-scaled floral patterns, tropical fronds, and vintage botanical illustrations add organic movement and natural texture to modern vanity spaces.
- Textured & Tactile Prints: Vinyl patterns mimicking woven linen, grasscloth, and micro-fluted paneling provide sensory richness without the vulnerability of natural organic fibers to humidity.
Does Peel and Stick Wallpaper Devalue a Home? (Impact on Rental & Resale Value)
High-quality peel and stick wallpaper does not devalue a home, provided it is properly installed on smooth, primed walls and can be removed cleanly without tearing the underlying drywall surface. Real estate professionals view removable wallcoverings as ideal rental-friendly upgrades that allow personalization without permanent structural alterations.
Consider these financial and market factors before hanging self-adhesive wallpaper prior to listing a property:
Color Palettes That Make a Small Bathroom Look High-End
Strategic color selection turns modest bathroom spaces into sophisticated retreats. Choosing elevated tones with light-reflecting properties enhances ambient illumination while emphasizing architectural features.
To elevate small bathrooms and powder rooms, integrate these designer-approved color combinations:
- Warm Earth Tones & Ochre: Pairing terracotta, terracotta-clay tones, or warm Ochre prints with brushed brass fixtures yields a refined, boutique-hotel aesthetic.
- Monochromatic Charcoal & Crisp White: High-contrast black and white graphic prints paired with matte black hardware establish a sleek, modern look.
- Sage Green & Soft Cream: Muted botanical green motifs against warm cream backgrounds maximize light distribution while instilling a calming, spa-like feel.
Frequently Asked Questions
Here are answers to the most common questions regarding the installation, maintenance, and long-term performance of self-adhesive wallpaper in high-moisture spaces.
Is there a truly waterproof peel and stick wallpaper for showers?
No peel and stick wallpaper is 100% waterproof for direct shower installation. While many heavy-duty vinyl wallpapers are completely water-resistant and tolerate high humidity or steam, direct, continuous water exposure from a showerhead eventually degrades the self-adhesive backing and traps moisture against the wall. Reserve peel and stick wallpaper for areas outside the direct splash zone.
Can you put peel and stick wallpaper over existing bathroom tile?
You can put peel and stick wallpaper over existing ceramic or glass bathroom tile, but grout lines will show through as visible indentations unless properly filled. To achieve a smooth surface, fill grout lines with setting compound and sand them flat, or install a smooth liner sheet over the tile before applying your wallpaper. Ensure tiles are thoroughly cleaned with rubbing alcohol to remove soap scum prior to installation.
What should I do if the wallpaper starts peeling off the wall?
If your wallpaper edges or seams begin to peel, heat the affected area with a hairdryer on low heat for 10 to 15 seconds to reactivate the pressure-sensitive acrylic adhesive. Firmly press the vinyl back down using a felt-edge squeegee tool. For stubborn corners or permanent seam lifts in humid bathrooms, apply a small amount of clear seam sealer or washable border adhesive underneath the edge and smooth it down completely.
Is peel and stick backsplash better than peel and stick wallpaper for vanities?
Peel and stick backsplash tiles (such as thick vinyl, epoxy, or composite tile sheets) are generally better suited for vanity areas subject to constant water splashes. Backsplash tiles feature thicker wear layers and stronger adhesives designed specifically for direct water contact. Peel and stick wallpaper works well above vanity mirrors or on surrounding accent walls where direct water contact is minimal.

Oscar Vance | Master Plumber & Drainage Expert
Meet Oscar Vance, a licensed master plumber sharing practical solutions on residential repairs, preventive maintenance, and thoughtful home upkeep.