How Long Does Bathroom Caulk Take to Dry?
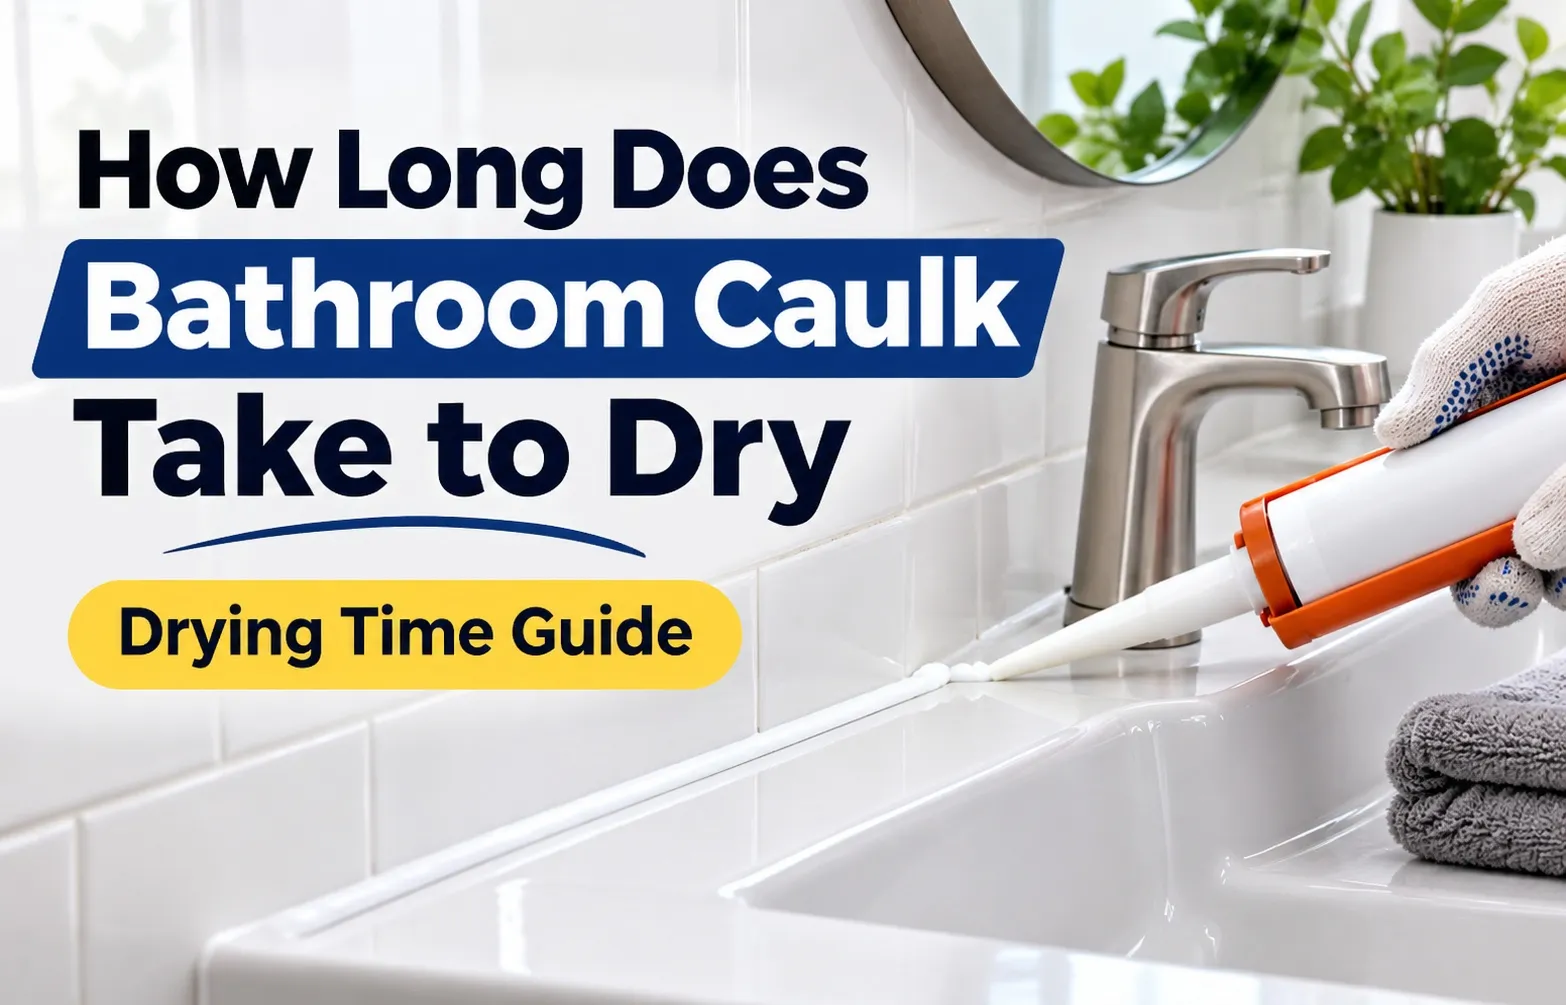 Standard bathroom caulk takes between 30 minutes and 4 hours to become water-resistant (shower-ready) and 24 to 48 hours to achieve a full cure. The exact timeframe depends primarily on whether you are using 100% silicone, siliconized acrylic, or a specialized fast-cure formula.
While the surface may feel dry to the touch in as little as 10 to 30 minutes, exposure to direct water pressure or heavy steam before the complete curing window can break the adhesive bond and cause seal failure.
How Long Does Bathroom Caulk Take to Dry?
Bathroom caulk drying time is divided into distinct stages. Knowing what happens at each stage prevents premature exposure to moisture and extends the lifespan of your seal.
- Skin Time (10 to 60 Minutes): The outer surface cures enough to form a thin protective skin that is dry to touch and no longer sticky.
- Shower-Ready Time (30 Minutes to 24 Hours): The material solidifies sufficiently to withstand light water exposure without washing away.
- Full Cure Time (24 to 48 Hours): The caulk hardens completely through the bead, attaining maximum adhesion, flexibility, and mold resistance.
Dry Time vs. Cure Time: Why the Difference Matters
Understanding the distinction between dry time and cure time prevents premature seal failure in bathroom environments. While surface drying occurs rapidly, complete internal curing requires significantly more time to establish a durable, waterproof bond.
Mistaking a tack-free surface for a fully cured bead often leads to displaced caulk, water seepage behind tiles, and mold proliferation beneath the sealant surface.
Phase 1: Skinning / Dry to the Touch
The skinning phase, often referred to as tack-free time, occurs within minutes of application. During this initial stage, the exposed outer layer reacts with ambient conditions to form a thin, non-sticky outer barrier.
- Surface Hardening: The skin prevents airborne dust, lint, and debris from settling into the wet joint.
- Internal Softness: Beneath the micro-thin skin time layer, the inner core remains liquid or semi-paste.
- Vulnerability: Pressing or touching the bead during skinning will puncture the surface skin, releasing uncured caulk underneath and ruining the smooth finish.
Phase 2: Water-Resistant / Shower-Ready
The shower-ready milestone indicates that the surface cure has progressed deep enough to withstand indirect moisture. Light splashing will no longer dissolve or wash away the fresh joint.
- Moisture Tolerance: The bead resists ambient steam, high humidity, and incidental water exposure.
- Mechanical Limitations: Direct high-pressure water spray, vigorous scrubbing, or heavy physical contact can still breach the seal.
- Substrate Adhesion: Deep adhesion to joint surfaces like tile, glass, or porcelain is still developing during this phase.
Phase 3: The Full Chemical Cure
A full chemical cure is achieved when the entire bead solidifies completely through to the backer rod or substrate joint depth. This process seals the joint permanently against structural movement and water intrusion.
- Maximum Performance: The material reaches its rated tensile strength, ultimate joint flexibility, and long-term mold resistance.
- Complete Cross-Linking: All internal solvents or moisture have evaporated or reacted, creating a unified elastomeric rubber matrix.
- Stress Resilience: Fully cured caulk expands and contracts seamlessly with tub filling and temperature fluctuations without peeling or cracking.
Caulk Types Breakdown & Popular Brand Comparison
Selecting the correct caulk formulation directly impacts your project timeline and seal longevity. Different materials cure through unique chemical processes, requiring distinct waiting periods before water exposure.
Understanding how 100% silicone, siliconized acrylics, and fast-acting specialty products behave ensures you select the right product and allow adequate curing time for your specific application.
100% Silicone Caulk (Best for Showers & Tubs)
100% silicone caulk cures through a moisture-cure reaction, absorbing ambient moisture from the air to build a flexible, waterproof matrix. It provides superior elasticity and long-term durability in high-moisture environments.
- Optimal Applications: Bathtub perimeters, shower enclosures, glass enclosures, and sink basins.
- Curing Characteristics: Forms a tack-free skin quickly (10 to 30 minutes) and remains completely waterproof once cured.
- Key Limitation: Standard mold-resistant silicone is non-paintable and requires specialized solvent cleaners for surface preparation and tool cleanup.
Acrylic Latex & Siliconized Acrylic Caulk (Best for Dry Areas & Trim)
Acrylic latex and siliconized acrylic caulk cure through water evaporation. As the water content evaporates into the surrounding air, the acrylic polymers pull together to solidify the joint.
- Optimal Applications: Bathroom baseboards, crown molding, vanity trim, and low-moisture splash zones.
- Paintability: Easily covered with latex or oil-based paints once the surface dry window is reached.
- Curing Limitations: High room humidity significantly slows drying, and early exposure to water can re-emulsify the paste, causing the bead to wash out.
Fast-Drying & Specialty Formulations
Fast-drying specialty caulks utilize modified polymer chemistry or accelerated silicone additives to shorten the water-ready phase without sacrificing flexibility.
- Rapid Water-Readiness: Formulations can achieve shower-ready water resistance in as little as 30 minutes to 3 hours.
- Application Precision: Requires rapid tooling and smoothing due to extremely short skinning windows (5 to 10 minutes).
- Full Cure Duration: While surface water exposure is allowed quickly, achieving maximum structural joint adhesion still requires a full 24-hour period.
Real-World Brand Cure Time Cheat Sheet
Product performance varies significantly between manufacturers. Always verify the curing requirements listed on your specific tube before exposing fresh seals to steam or water spray.
Key Factors That Speed Up or Delay Caulk Drying
Environmental conditions and application methods significantly influence how quickly bathroom caulk sets and cures. Minor variations in room temperature, moisture, and bead dimensions can drastically alter drying windows.
Monitoring these external factors ensures that your sealant achieves maximum structural integrity without unexpected delays or premature bond failures.
Temperature and Humidity Levels
Ambient temperature and relative humidity act as the primary catalysts or inhibitors during the curing phase. However, their impact varies dramatically depending on the chemical composition of the product you choose.
- The Silicone Paradox: High relative humidity actually accelerates 100% silicone cure because silicone relies on atmospheric moisture to cross-link and solidify.
- Acrylic Latex Reaction: Conversely, high humidity delays acrylic latex drying, as those formulas depend entirely on water evaporation into the surrounding air.
- Temperature Thresholds: Cold environments below 50 degrees Fahrenheit slow down the chemical reaction in all caulk types, extending cure times significantly.
Bead Thickness and Joint Depth
The physical volume of the sealant bead dictates how long internal moisture or solvents take to escape. Deep gaps require extended cure periods regardless of surface conditions.
- Standard vs. Wide Beads: A thin, shallow skim bead cures within hours, whereas a thick caulk bead in a wide corner joint traps solvents inside.
- Substrate Airflow: Backer rods help control joint depth, preventing overly thick beads that fail to cure thoroughly through the core.
Air Circulation and Bathroom Ventilation
Proper airflow prevents stagnant moisture from accumulating around fresh sealant joints, facilitating consistent drying across all exposed surfaces.
Running a bathroom exhaust fan or opening a window helps stabilize room humidity and speeds up the overall curing process.
Expired or Old Caulk Tubes
Checking the expiration date on your caulk tube is essential for a successful DIY bathroom project. Old sealant loses its chemical stability and fails to cure properly.
- Shelf Life Warnings: Most unopened caulk tubes last 12 to 18 months; expired products often remain tacky indefinitely even after 48 hours.
- Curing Failures: If caulk comes out clumpy or refuses to skin over, discard the tube immediately and apply fresh material to avoid water leaks.
Troubleshooting: Why Is Your Caulk Still Sticky or Not Drying?
When bathroom caulk remains soft, tacky silicone after 24 hours, the underlying seal is compromised. Diagnosing the exact cause allows you to determine whether environmental adjustments can save the bead or if uncured caulk removal is necessary.
Consulting manufacturer guidelines like the Flooring Supply Shop Caulk Guide confirms that while surface skinning happens quickly, environmental or material factors can interrupt the deep chemical cure.
Common Reasons Caulk Won’t Cure
Three primary culprits prevent bathroom caulk from curing completely, leaving the joint vulnerable to moisture intrusion and structural failure.
- Expired Product: Caulk past its shelf life loses its chemical catalysts. Expired silicone or acrylic will remain sticky indefinitely and will never achieve full cure.
- Extreme Cold and Lack of Airflow: Temperatures below 50°F severely retard the chemical cross-linking process, while stagnant air prevents necessary moisture exchange or solvent evaporation.
- Trapped Moisture Underneath: Applying fresh caulk over damp substrates locks water beneath the bead, causing the undersurface to unbond and stay wet.
Can You Use a Hairdryer or Space Heater to Speed It Up?
Using heat tools is a common mistake during DIY bathroom projects. Heat affects acrylic latex and 100% silicone in completely opposite ways.
- Hairdryer Caulk Drying on Acrylic: Using a hairdryer on a low, warm setting increases airflow and accelerates water evaporation in acrylic latex formulations.
- Thermal Distortion on Silicone: Excessive direct heat can ruin silicone. High temperatures dry out ambient air, slowing the moisture-cure reaction, and can cause the outer skin to blister or warp.
- Space Heater Risks: Placing a space heater too close to wet sealant can cause uneven curing, skin cracking, and joint failure.
What to Do If Water Touched Caulk Before It Cured
Exposing uncured sealant to water disrupts the bonding process, causing the joint to fail prematurely.
- Visual Signs of Damage: Early water contact causes acrylic caulk to turn into a milky caulk paste and wash away. Silicone may form surface bubbles, unbond from tile joints, and turn cloudy.
- Complete Removal: You cannot apply new sealant over damaged material. Scrape away the affected section using a caulk removal tool until the substrate is clean.
- Surface Re-Preparation: Wipe the exposed area thoroughly with isopropyl alcohol or denatured alcohol to strip away chemical residue, let the joint dry completely, and reapply fresh material.
Pre-Caulking & Application Rules: Re-Caulking over Old Caulk
Preparing the surface correctly before applying fresh sealant dictates how well the bead adheres and how quickly it dries. Skipping proper prep leads to premature joint failure, regardless of the quality of caulk used.
Thorough removal of aged sealant and careful joint tooling ensure a uniform depth, establishing a long-lasting, mold-resistant waterproof barrier.
Can You Caulk Over Old Caulk? (The Verdict)
No, you should never caulk directly over old caulk. New sealant—especially 100% silicone—will not adhere to cured existing silicone or dirty acrylic joints.
- Adhesion Loss: Fresh silicone lacks the chemical capacity to bond to previously cured silicone, causing the new layer to peel away within weeks.
- Trapped Contaminants: Layering over old sealant traps moisture, body oils, soap scum, and hidden mold spores underneath, destroying joint integrity.
- Mandatory Removal: Removing old caulk completely down to the bare substrate is mandatory to achieve full structural adhesion and a proper chemical cure.
How to Properly Prep the Surface for Fast Curing
Substrate cleanliness directly impacts curing speed and bond strength. Proper preparation eliminates barrier layers that delay chemical cross-linking.
- Mechanical Scraping: Use a dedicated caulk removal tool or razor scraper to strip away every trace of old sealant without damaging tile or tub enamel.
- Chemical Degreasing: Wipe the joint thoroughly with denatured alcohol or isopropyl alcohol to dissolve soap films, body oils, and residual chemical residue.
- Sanitizing & Drying: Treat underlying mold or mildew spots with a bleach solution, then allow the area to dry completely before laying down the new bead.
Finger vs. Caulk Smoothing Tool: Which Creates a Better Seal?
Tooling the wet joint flattens the bead, forces sealant deep into microscopic surface pores, and establishes a uniform thickness for even drying.
- The Gloved Finger Method: A wet, gloved finger dipped in soapy water (for acrylic) or alcohol/spray wax (for silicone) offers high control but can push skin oils into the joint if un-gloved.
- Silicone Caulk Applicator Tool: A dedicated silicone profiling tool creates crisp, consistent angled edges without concave dips that trap water.
- Cure Uniformity: Using a dedicated smoothing tool ensures consistent joint depth across the entire bead, preventing thick pockets that take days longer to cure.
Frequently Asked Questions
Do I really need to wait 24 hours for caulk to dry?
Yes, waiting 24 hours is highly recommended to achieve a full cure and maximum joint adhesion. While fast-drying formulas become water-resistant sooner, the inner core requires 24 to 48 hours to fully harden and develop complete mold resistance and flexibility.
How long after caulking can I take a hot shower?
You can take a hot shower once the caulk reaches its shower-ready window, which is 30 minutes to 3 hours for fast-cure formulas or 12 to 24 hours for standard 100% silicone. Avoid high shower steam and direct heavy spray until the full 24-hour cure is complete to prevent weakening the fresh seal.
Can caulk get wet after 12 hours?
Standard 100% silicone caulk can usually withstand light water exposure after 12 hours without dissolving or washing away. However, acrylic latex caulk often requires up to 24 hours in moderate humidity levels before it can safely come into contact with water.
How long does caulk take to dry before painting?
Paintable acrylic latex or siliconized acrylic caulk can typically be painted within 2 to 4 hours after application. Standard 100% silicone caulk is permanently non-paintable, as paint will bead up and fail to adhere to its surface.
Where should you NOT use 100% silicone caulk?
Do not use 100% silicone caulk on surfaces you plan to paint, as paint cannot stick to silicone. Additionally, avoid using standard silicone on porous natural stones like marble or granite without testing, as silicone oils can bleed into the stone and create permanent dark stains.

Oscar Vance | Master Plumber & Drainage Expert
Meet Oscar Vance, a licensed master plumber sharing practical solutions on residential repairs, preventive maintenance, and thoughtful home upkeep.