Can Roofing Be Done in the Rain?
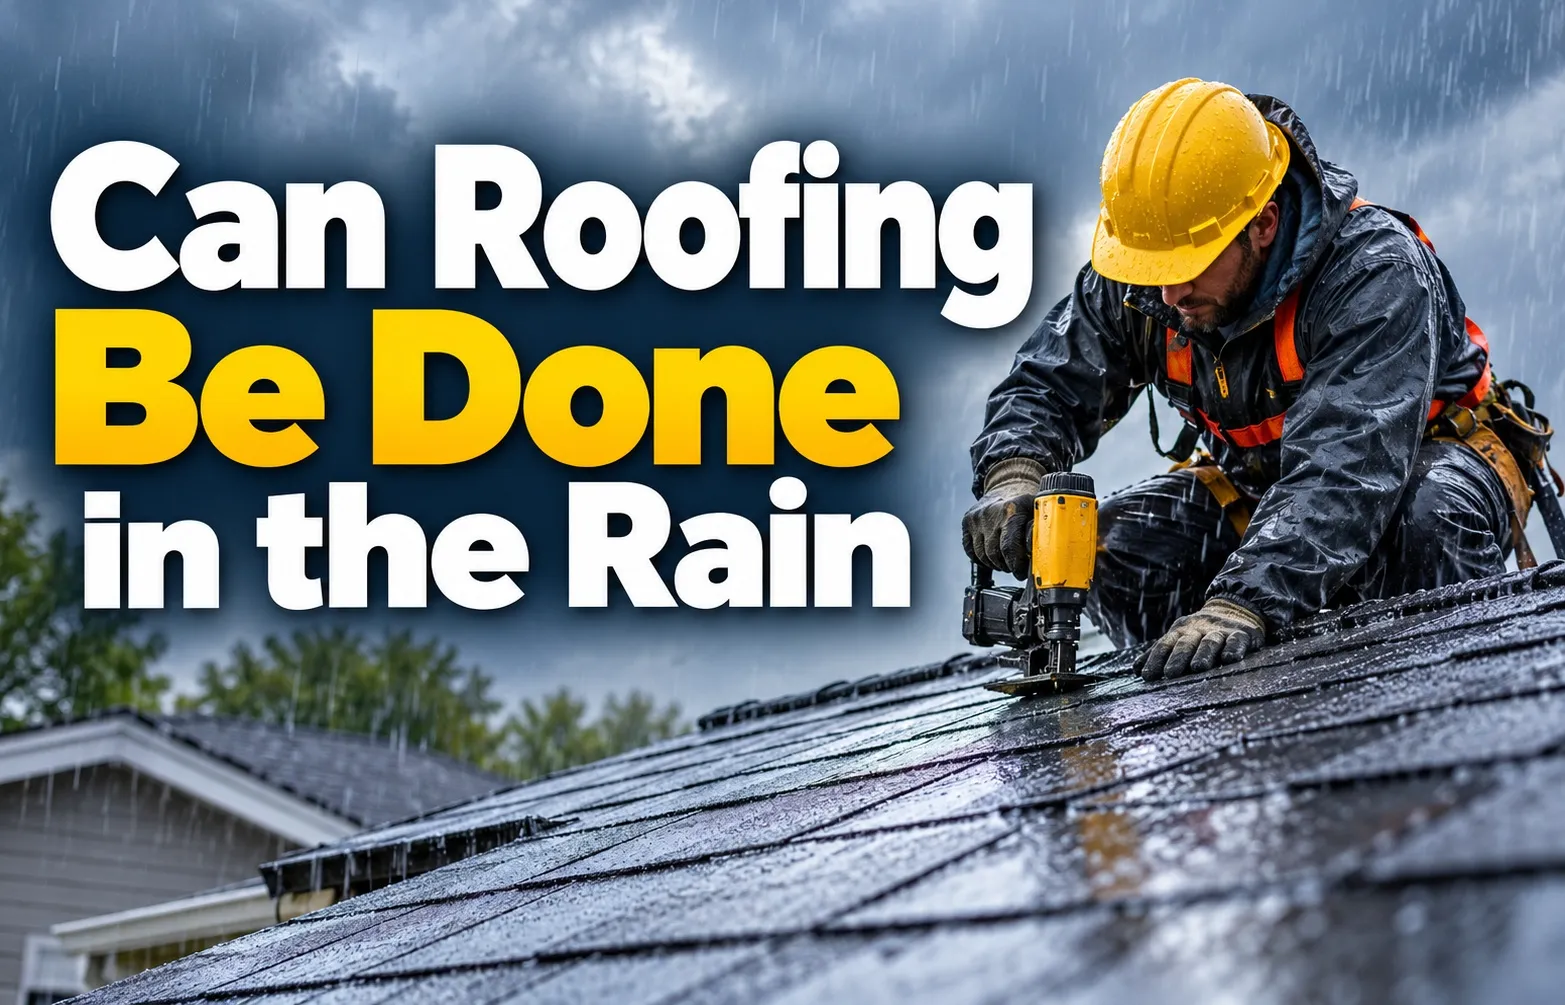 Roof replacements, tear-offs, and shingle installations must never be performed during active rain. Installing roofing materials on a wet substrate traps moisture inside the structural assembly, compromises adhesive bonding, voids manufacturer warranties, and poses severe safety hazards for installation crews.
While full installations must pause during precipitation, professional contractors distinguish strictly between complete replacements and temporary emergency measures. Understanding where the boundary lies between safe intervention and structural damage is critical for maintaining your home’s envelope.
Can You Install or Replace a Roof in the Rain?
No, full roof installations and complete tear-offs cannot be safely performed in active rain. When workers strip old shingles during a storm, the bare roof deck is immediately exposed to direct water intrusion, which rapidly saturates OSB or plywood decking, framing timber, and ceiling insulation.
Applying new asphalt shingles over a wet roof deck leads to severe long-term structural failures. Entrapped water beneath newly installed materials triggers wood rot, promotes mold growth inside the attic cavity, and prevents thermal self-sealing adhesive strips from bonding correctly.
- Material Degradation: Moisture trapped under synthetic or felt underlayment causes wood decking to swell, warp, and buckle over time.
- Adhesive & Sealant Failure: Thermal tar strips on asphalt shingles require clear sun exposure and dry surfaces to seal properly against wind uplift.
- Crew Safety & Compliance: Wet roof surfaces present high-risk slip hazards that violate standard safety protocols enforced by regulatory authorities like OSHA fall protection standards.
Emergency Repairs vs. Full Roof Replacements: Where Is the Line Drawn?
Professional roofing contractors draw a strict operational boundary between emergency water mitigation and standard installation procedures. Emergency repairs prioritize immediate water containment to safeguard the building’s interior, whereas permanent replacements demand totally dry conditions.
When unexpected weather shifts occur mid-project, crews shift from installation mode to containment protocols. Rather than applying final surface materials, workers secure heavy-duty waterproof tarps over exposed decking to establish a temporary protective barrier until dry weather returns.
- Emergency Tarping & Patching: Executed immediately during active leaks to shield open framing, ceiling drywall, and electrical systems from incoming rain.
- Drying-In Securing: If synthetic underlayment is fully installed and cap-nailed prior to rain, work halts, but the existing barrier temporarily sheds moisture safely.
- Full System Installation: Nails, shingles, starter strips, and flashing assemblies are strictly held until moisture meter testing confirms substrate dryness.
The Core Risks: Why Rain Ruins Roof Installations
Attempting to install a roof in rainy conditions introduces technical, physical, and financial failure points. Water trapped within a roofing assembly damages core building materials, compromises structural stability, and causes long-term system failure long after the storm passes.
Understanding these specific mechanisms highlights why professional standards mandate completely dry conditions before driving fasteners or laying down new materials.
Adhesive Failure & Thermal Strip Activation
Modern asphalt shingles rely on self-sealing adhesive strips activated by solar heat to bond overlapping courses into a continuous wind-resistant mat. Liquid water, high humidity, or residual surface moisture prevents these thermal seals from achieving proper bonding contact.
When moisture sits between shingle layers, it creates a physical barrier that stops the tar sealant from adhering. Trapped water under sealed shingles reduces shear strength, making the roof vulnerable to blow-offs during high-wind events and significantly lowering overall wind uplift resistance.
- Loss of Thermal Seal: Trapped moisture reflects solar heat away, delaying or completely stopping the chemical activation of thermal adhesive strips.
- Blistering & Delamination: Heat from the sun boils trapped water under shingles, creating steam pockets that burst the shingle surface and cause premature blistering.
- Wind Lift Vulnerability: Unsealed edges allow wind driven by storms to get underneath shingle courses and peel whole sections off the roof deck.
Substrate Saturation: OSB & Plywood Decking Swelling
Roof decking composed of Oriented Strand Board (OSB) or plywood must maintain strict dryness standards during installation. Professional guidelines require that the wood deck moisture content percentage remains strictly below 18% to 20% before installing underlayment and shingles.
Driving fasteners into wet OSB causes rapid edge expansion and structural weakness. As saturated wood fibers dry under locked-in roofing layers, the decking warps and releases fasteners, compromising the system’s structural holding power.
- Reduced Fastener Pull-Out Strength: Wet wood fibers soften, lowering the withdrawal resistance of ring-shank nails and pneumatic staples.
- OSB Expansion & Ridging: Saturated OSB panel edges swell up to 15% thicker, creating visible ridges across the finished roof surface.
- Mold & Mildew Colonization: Sealed-in moisture creates an ideal environment for mold and fungal decay inside the roof deck and attic space.
Voided Manufacturer Warranties (GAF, CertainTeed, Owens Corning)
Leading shingle manufacturers such as GAF, CertainTeed, and Owens Corning enforce strict installation manuals that explicitly require dry substrates. Installing shingles over wet underlayment or saturated decking violates these application instructions and voids structural warranty coverage.
If a leak or wind damage occurs later, manufacturer field inspectors routinely check for water staining on the underside of decking and unactivated tar strips. Evidence of moisture entrapment during installation results in denied warranty claims, leaving property owners fully liable for repair costs.
- Installation Manual Non-Compliance: Deviating from published instructions regarding dry surface preparation invalidates wind blow-off and material defect warranties.
- Denied Claim Verification: Adjusters and technical inspectors identify moisture-trapped seal failure patterns immediately during failure evaluations.
- Transferability Cancellation: Moisture-damaged roofs fail pre-transfer home inspections, rendering valuable extended manufacturer warranties non-transferable to future buyers.
Crew Safety & Crew Slip Hazards Under OSHA Standards
Wet roof decks create hazardous working conditions for installation crews. Rain transforms slick synthetic underlayments, wet plywood, and smooth metal valley flashings into fall hazards, severely compromising worker traction.
Federal OSHA safety standards require work to halt when environmental conditions put workers at risk of slips, falls, or structural collapse. Reduced visibility during heavy rain, combined with handling power tools and electrical cords on wet metal surfaces, greatly increases safety hazards across the job site.
Roofing Materials & Rainy Weather Compatibility
Different roofing materials react differently to moisture, but all standard systems share strict limitations during active precipitation. Understanding how asphalt, membranes, underlayments, and metal respond to wet conditions determines when installation must stop and when temporary protections apply.
Asphalt Shingles (Architectural vs. 3-Tab)
Architectural and 3-tab asphalt shingles cannot be installed on a wet roof deck because moisture compromises the self-sealing adhesive strips. Both shingle types require bone-dry surfaces to ensure the thermal tar strip activates properly under solar heat and resists wind uplift.
Water trapped between shingle courses prevents proper sealing, leading to wind blow-offs and premature granule degradation across both multi-layer architectural profiles and traditional 3-tab designs.
Synthetic Underlayment & Asphalt Felt Paper
Synthetic felt paper and ice and water shield act as secondary weather barriers designed to shed temporary moisture. However, laying these underlayments over standing water or wet decking traps moisture underneath and ruins fastener seals.
While high-performance synthetic felt paper resists water penetration better than traditional organic felt, it still cannot be installed over a soaking wet wood substrate without risking long-term deck rot.
Flat Roof Systems: TPO, PVC, and EPDM Membranes
Flat roof systems including TPO, PVC, and EPDM membranes strictly cannot be installed during wet weather due to heat-welding seam failure. Moisture on the substrate prevents thermal fusion and chemical bonding, causing membrane peeling and catastrophic leaks.
Single-ply membrane systems depend on automated hot-air welding or specialized adhesives to create waterproof seams. Even microscopic traces of water vapor or standing puddles ruin these welds, making flat roof installation in rain completely impossible.
Metal Roofing Installations in Light Drizzle
Metal roofing installations face severe safety challenges in light drizzle because slick metal panels create extreme slip hazards for crews. While factory-finished metal panels themselves do not absorb moisture, working on them during damp conditions violates safety rules.
Exposed fastener metal roofs and standing seam systems rely on specialized neoprene washers and butyl tape sealants. Applying these sealants onto wet metal surfaces prevents proper adhesion and invites future leaks around screw penetrations.
Sudden Rain Protocol: What Professional Roofers Must Do
When unexpected precipitation threatens an active job site, experienced contractors rely on structured containment procedures rather than improvising under stress. Professional job site management hinges on rapid response protocols that shield exposed structures before rainfall begins.
Understanding how qualified crews manage sudden weather shifts provides peace of mind and demonstrates the operational standards that separate licensed professionals from unreliable operators.
The 3-Step Emergency Work Stop Protocol
The moment weather radar tracking shows rain cells moving toward a job site, the project supervisor executes a mandatory work-stop protocol. This orderly sequence secures vulnerable areas within minutes, ensuring water intrusion containment before rain lands on the roof structure.
Rather than rushing to nail down additional shingles during a storm shift, installation crews immediately transition into emergency weatherproofing mode.
- Halt Work & Secure Loose Materials: Installers immediately stop shingle placement, power down pneumatic tools, and anchor uninstalled material bundles to prevent wind hazards.
- Seal Open Decking Penetrations: Crew members cap-nail synthetic underlayment over exposed plywood seams and install temporary flashing tape around pipe boots and chimneys.
- Deploy Waterproof Barriers: Workers pull heavy-duty tarps across incomplete sections, securing edges to structural anchor points to shed water away from the house envelope.
Drying-In a Roof vs. Tarping Over Exposed Decking
Contractors differentiate strictly between establishing a true “dry-in” stage and deploying emergency tarp coverings. Reaching the dry-in phase means synthetic underlayment has been fully installed, capped, and sealed over a dry deck, creating a reliable temporary moisture barrier.
If an unexpected downpour hits before underlayment is complete, crews must rely on heavy-duty tarps anchored with furring strips and cap nails to seal exposed decking until the storm clears.
- The Dry-In Advantage: Synthetic underlayment secured with ring-shank cap nails can withstand light precipitation for days without leaking into the attic space below.
- Emergency Tarping Strategy: Heavy-gauge reinforced tarps are stretched taut over raw wood decking, extending past the ridge line and over fascia edges to ensure complete perimeter sealing.
- Perimeter Sealing & Anchoring: Tarps are weighted down and nailed using wooden batten strips to prevent high winds from ripping the temporary protective barrier off during severe storms.
Sectional Tear-Off Strategy to Prevent Water Exposure
Reputable roofing companies mitigate weather hazards by using a sectional tear-off strategy rather than stripping an entire roof structure down at once. By working in manageable squares, installers ensure that any open decking can be completely dried-in before moving to the next section.
This methodical approach ensures that no more roof deck is exposed than the crew can dry-seal within a 30-to-40-minute window should sudden rain develop.
- Zone-by-Zone Execution: Crews strip old materials, replace damaged decking, and lay synthetic underlayment on one roof plane before disturbing adjacent slopes.
- Weather Radar Monitoring: Site managers actively monitor live Doppler weather radar tracking to adjust daily tear-off limits based on incoming cloud formations.
- End-of-Day Securing: Every workday ends with 100% of exposed wood decking fully covered by underlayment or sealed tarps, regardless of whether rain is in the immediate forecast.
Post-Rain Timeline & Recovery: How Long to Wait Before Resuming Work
Resuming roofing operations after a rainstorm requires strict adherence to drying timelines and material verification protocols. Evaporative drying depends heavily on ambient temperature, wind movement, humidity levels, and direct sunlight exposure before new shingle courses can be nailed down.
Rushing the recovery process traps residual moisture beneath waterproof barriers, inviting subfloor warping and structural degradation. Implementing systematic post-rain inspection standards ensures the roof deck meets required dryness levels before construction restarts.
Drying Time Matrix (Temperature, Humidity, & Sun Exposure)
The time required for a saturated roof deck to dry varies drastically based on local weather dynamics. Contractors evaluate environmental factors to establish precise waiting periods before allowing crews back onto the slopes.
The following matrix outlines standard drying estimates based on ambient temperature, relative humidity, and solar intensity:
Can You Put Shingles Over Wet Underlayment?
No, you cannot install asphalt shingles over wet underlayment or damp roof decking. Even though advanced synthetic underlayment materials offer superior breathability and water resistance, they still trap residual moisture if sealed over a soaking wet wood substrate.
Laying shingles on damp underlayment prevents thermal adhesive strips from curing, compromises fastener holding power, and violates manufacturer installation warranties. Every layer must achieve complete surface dryness before finish materials are applied.
- Underlayment Breathability Limits: While synthetic sheets allow moisture vapor to escape slowly, trapped standing water beneath the sheet cannot evaporate once covered by shingles.
- Fastener Corrosion & Leakage: Nails driven through wet underlayment into damp wood create rust channels and gaps that invite future roof leaks.
- Adhesive Seal Breakdown: Moisture on top of the underlayment stops shingle tar strips from bonding during initial thermal activation.
Post-Rain Quality & Moisture Inspection Checklist
Before any installation crew unpacks tools after a rain event, the project supervisor must conduct a rigorous quality and moisture inspection. This verification step prevents hidden water damage from being permanently sealed inside the roof structure.
Professional inspection standards require specific diagnostic checks to confirm structural readiness across all exposed roof planes:
- Moisture Meter Testing: Use pin-type or digital non-invasive meters to verify that OSB and plywood decking moisture content levels have dropped below the strict 18%–20% threshold.
- Subfloor Warping Check: Inspect panel edges for cupping, ridging, or buckling caused by water absorption during the storm.
- Underlayment Integrity Review: Examine synthetic felt paper and ice and water shield barriers for tearing, pooling water, or compromised anchor caps before shingling begins.
Homeowner Emergency Checklist: What to Do If It Rains Mid-Project
Unexpected rainfall during an active roof replacement causes immediate panic for homeowners. While professional installation crews execute emergency containment protocols on the roof deck, property owners must take proactive steps inside the home to monitor vulnerabilities and protect interior living spaces.
Taking structured action during a storm minimizes interior water damage, secures safety, and establishes clear documentation if structural repairs become necessary.
Interior Moisture Monitoring Checklist (Attic & Ceiling)
Monitoring vulnerable interior spaces provides an early warning system for water intrusion. Rain entering through unsecured roof deck seams will migrate quickly through structural framing, saturating attic insulation before revealing itself on ceiling drywall.
Inspect interior locations systematically using focused light to detect active moisture accumulation or framing saturation:
- Attic Space Inspection: Safely access the attic and inspect structural rafters, roof deck undersides, and floor joists for active dripping or wet sheen.
- Attic Insulation Check: Examine blown-in fiberglass or cellulose insulation directly beneath open roof sections for dampness or compression caused by water impact.
- Ceiling & Drywall Monitoring: Check top-floor ceilings and upper wall corners for fresh drywall staining, brown water rings, or bubbling paint.
- Light Fixture Alert: Inspect around recessed ceiling lights and ceiling fan mounts for active dripping, which indicates water pooling above the drywall.
Step-by-Step Actions to Take While Waiting for Crews
If rain hits while your roof is opened up, taking immediate temporary protective measures safeguards personal property while installation crews deploy emergency tarp service on the roof exterior.
Execute these practical steps sequentially to contain internal water spread until weather conditions clear:
- Move Furniture & Valuables: Clear the area directly below vulnerable ceiling areas, moving furniture, electronics, and floor rugs into adjacent dry rooms.
- Deploy Containment Buckets: Place heavy-duty plastic buckets or storage totes under active ceiling drips to catch falling water and protect subflooring.
- Puncture Bulging Drywall: If water pools behind ceiling paint and creates a heavy sagging blister, carefully puncture the center with a small nail to release trapped water cleanly into a bucket.
- Clear Interior Drainage Points: Ensure attic access points and interior access paths remain unobstructed so emergency roofer crews can move freely when onsite.
Documenting Water Damage for Insurance Claims
When rain enters an open structure during construction, establishing clear evidence determines contractor liability and streamlines potential property insurance claims. Comprehensive documentation prevents disputes regarding pre-existing conditions versus storm-induced losses.
Collect structured proof immediately after discovering water intrusion to preserve your legal and financial protections:
- Photo & Video Verification: Capture clear, high-resolution photos and video clips showing active water intrusion points, ceiling stains, and damaged interior belongings.
- Log Time-Stamped Incidents: Note exact timestamps for when rain began, when leaks appeared inside, and when you contacted your roofing contractor.
- Maintain Written Communication: Send written updates to your contractor detailing the extent of interior damage, requesting immediate confirmation of emergency response protocols.
- Preserve Damaged Materials: Retain saturated insulation, stained drywall cutouts, or ruined personal property in sealed bags until insurance adjusters conduct formal site evaluations.
Frequently Asked Questions About Roofing in the Rain
Get fast, clear answers to common questions about wet weather roof repairs, installation risks, drying timelines, and manufacturer warranty rules.
What do roofers do if it starts raining?
When unexpected rain hits mid-project, roofers halt shingle installation immediately, power down electrical tools, and monitor weather tracking. Crews secure loose materials, cap-nail synthetic underlayment over exposed seams, and deploy heavy-duty waterproof tarps to isolate open decking and prevent water intrusion.
Can roofers work in light rain or drizzle?
Roofers should avoid working in light rain or drizzle. Even minor precipitation creates dangerous fall hazards on slick decking and underlayment. Furthermore, moisture traps beneath new shingle courses, preventing thermal adhesive strips from bonding and violating manufacturer installation standards.
How long does it take for a roof to dry after rain?
A roof takes between 4 to 24 hours to dry after rain depending on temperature, humidity, and direct sunlight exposure. Warm, sunny weather with wind speeds recovery to 4 to 8 hours, whereas cold or overcast conditions require 24 to 48 hours to reach safe moisture levels.
What happens if shingles get wet before installation?
If shingle bundles get wet before installation, moisture traps between layers inside the packaging. Trapped water softens the asphalt mat, damages granule coatings during handling, and prevents factory-applied thermal sealant strips from activating properly under heat once laid on the roof deck.
Does roofing in the rain void my shingle warranty?
Yes, installing shingles in active rain or over wet decking voids your shingle warranty. Major manufacturers like GAF, CertainTeed, and Owens Corning strictly mandate dry substrates in their installation specifications to ensure long-term thermal bonding and structural wind uplift protection.

Oscar Vance | Master Plumber & Drainage Expert
Meet Oscar Vance, a licensed master plumber sharing practical solutions on residential repairs, preventive maintenance, and thoughtful home upkeep.

