Quick Answer & Drying Stages
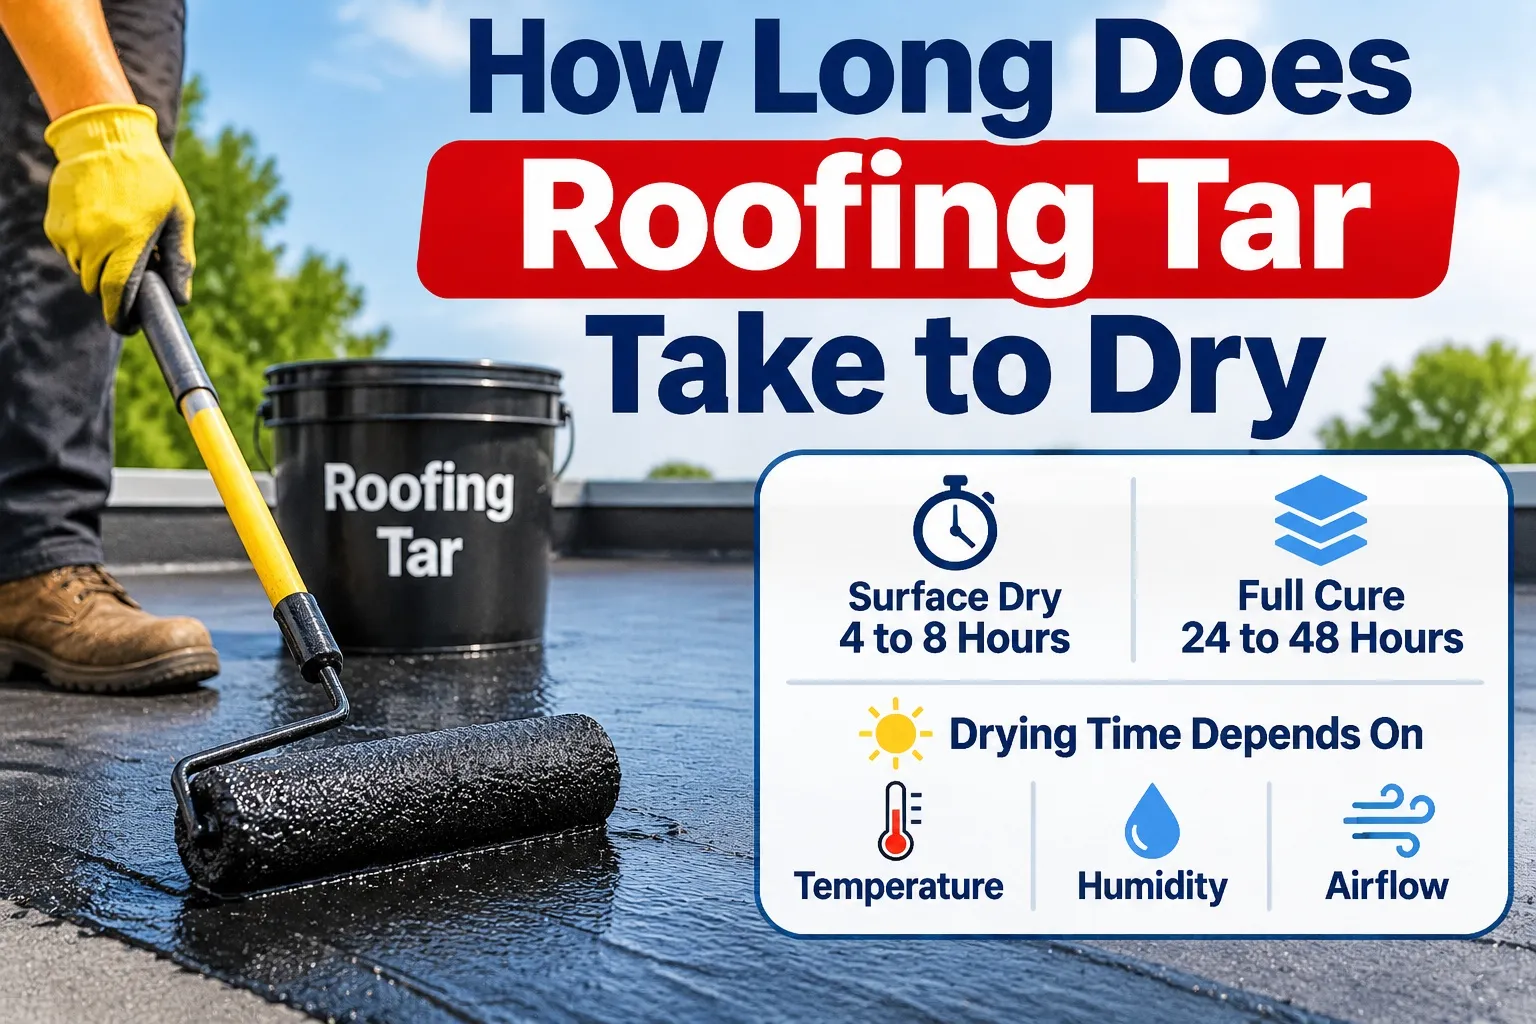 Roofing tar typically takes 8 to 24 hours to become surface dry and tack-free, 24 to 36 hours to become rain-safe, and 3 to 7 days to complete a full chemical cure. Total drying times depend heavily on ambient temperature, humidity, application thickness, and sun exposure.
At a Glance: Roofing Tar Drying & Curing Timeframe
Roofing tar dry time is determined by solvent evaporation rather than water loss. Understanding the key timeframes allows you to protect fresh repairs from weather damage and prevent accidental seal disruption during routine roof work.
To help plan your repair schedule effectively, review the general timeline for standard cold-process petroleum-based roof cements:
- Surface / Tack-Free Time: 8 to 24 hours (safe from light dust accumulation and gentle contact).
- Rain-Safe Threshold: 24 to 36 hours (capable of withstanding light to moderate precipitation without washing away).
- Full Chemical Cure: 3 to 7+ days (complete evaporation of petroleum solvents and full structural hardening).
The 3 Critical Phases of Roofing Tar Curing
The drying process of petroleum-based roof coatings follows three distinct physical and chemical stages. Knowing what happens during each phase ensures you do not disturb the patch before it achieves structural integrity.
Phase 1: Surface / Tack-Free Time (8 to 24 Hours)
During the initial phase, volatile organic compounds (VOCs) and lightweight petroleum solvents rapidly flash off from the exposed top layer. This reaction creates a thin, flexible skin over the liquid tar beneath.
- Forms a protective upper barrier that prevents airborne debris, leaves, and dust from embedding in the liquid asphalt.
- Remains extremely soft underneath; walking on or applying pressure to the patch during this window will rupture the skin and delay drying.
Phase 2: Rain-Safe Threshold (24 to 36 Hours)
As solvent evaporation reaches deeper into the application layer, the surface skin thickens enough to resist water damage. Achieving this rain-safe threshold is vital for maintaining a durable seal during unexpected weather events.
- Protects the patch against washout, surface erosion, and moisture infiltration from light downpours.
- Requires warm temperatures (above 70°F) and moderate air movement to form a stable water-resistant barrier within 24 hours.
Phase 3: Full Chemical Cure (3 to 7+ Days)
The final phase completes the entire full cure cycle as deep-seated solvents release through the porous upper membrane. The applied coating transitions into a flexible, fully solidified rubberized mass.
- Ensures maximum tensile strength, long-term adhesion to shingles or flashing, and resistance to thermal expansion.
- Thick applications exceeding 1/8 inch or patches applied in temperatures below 50°F may require up to two weeks to achieve complete surface hardening throughout.
Environmental & Application Factors
Roofing tar curing times are governed by physical exposure variables that dictate how rapidly volatile solvents escape the petroleum base. Environmental conditions and application technique directly control whether a repair sets in hours or remains uncured for weeks.
Temperature and Drying Thresholds (The 50°F to 70°F Rule)
Ambient temperature determines the kinetic energy available for solvent release. Operating within ideal thermal windows ensures proper surface hardening and prevents premature patch failure.
- Above 70°F (21°C): Optimal curing environment. Solvents evaporate efficiently, allowing the material to reach its rain-safe state within 24 hours.
- 50°F to 70°F (10°C to 21°C): Standard drying conditions. Curing times extend by 30% to 50%, requiring up to 36 hours before rain exposure.
- Below 50°F (10°C): Critical slowdown threshold. Solvent movement drops drastically, extending the full cure cycle beyond 10 to 14 days and risking structural sag.
Relative Humidity and VOC Evaporation Rates
High moisture levels in the surrounding air create atmospheric pressure that hinders volatile organic compounds (VOCs) from escaping the wet compound. Air circulation plays a crucial role in maintaining proper evaporation velocity.
- Low Humidity (Under 50%): Accelerates VOC release, allowing the outer skin to form evenly without trapping liquid pockets beneath.
- High Humidity (Over 80%): Saturates the boundary layer directly above the tar, doubling the required tack-free drying window.
- Stagnant Air Conditions: Traps heavy solvent vapor over the roof surface, necessitating natural wind movement or gentle air flow to clear the vapor layer.
Application Thickness: Why Globs Fail to Cure
Excessive material depth is the leading cause of non-curing roof repairs. Applying tar beyond standard tolerances triggers a skinning effect that isolates the underlying compound from the atmosphere.
- Optimal Layer Thickness: Apply in a uniform 1/8-inch layer to ensure consistent solvent flash-off throughout the entire patch depth.
- The Skinning Effect Risk: Excessive thickness creates an airtight top crust that seals liquid petroleum solvents inside, leaving the core permanently soft.
- Layering Strategy: For deep gaps or flashing repairs, apply multiple thin coats, allowing each layer to become tack-free before adding the next.
Direct Sunlight Exposure vs. Shaded Roof Sections
Solar radiation significantly elevates surface temperatures above ambient air readings, directly altering solvent evaporation behavior across different roof elevations.
- Direct Sun Exposure: Dark asphalt absorbs ultraviolet light, raising surface temperatures up to 30°F higher than surrounding air to speed up skinning.
- Shaded Roof Sections: Areas beneath overhangs, trees, or North-facing gables experience reduced surface heat, extending the tack-free time by 12 to 24 hours.
- Thermal Shock Warning: Extreme summer heat above 90°F can cause rapid surface skinning while the interior expands, resulting in surface blistering or pinholes.
Environmental Matrix & Product Comparison
Comparing environmental drying variables and product formulations allows you to select the ideal repair material for specific weather conditions. Analyzing quantitative data matrices prevents premature patching failures caused by unsuited product choices.
Environmental Drying Time Matrix (Temperature vs. Humidity)
The following drying chart details how varying thermal ranges and moisture levels interact to impact the surface skinning and full curing timelines of standard roofing asphalt products.
Drying Times by Roofing Tar Product Type
Different chemical formulations serve unique repair requirements, altering how cold-process adhesives and protective sealants cure under standard roof exposure.
- Solvent-Based Asphalt Cement: Standard heavy-duty repair mastic requiring dry substrates; skins over in 12–24 hours and fully cures in 5–7 days.
- Rubberized Wet-Patch: Formulated with specialized displacing agents to bond instantly to damp surfaces; achieves initial grab within 4 hours and rain-safe status in 24 hours.
- Aluminum / Elastomeric Roof Coatings: Liquid-applied reflective barriers with high elasticity; dry to the touch in 2 to 6 hours, achieving full elastomeric curing in 48 to 72 hours.
Field Testing & Rain Emergency Guide
Evaluating the dryness of a roof repair without compromising the seal requires specific inspection techniques. Having a clear emergency response protocol ensures your repair remains intact when unexpected weather interrupts the curing process.
The Safe Touch Test: How to Check Curing Without Breaking the Seal
A surface skin inspection allows you to determine if roofing tar has reached its tack-free stage without rupturing the newly formed protective barrier underneath.
- Light Pressure Touch Test: Gently press a clean, gloved finger onto the thickest area of the patch. If the material feels firm and leaves no black residue on the glove, the surface skin is intact.
- Avoid Deep Depression: Do not twist, press heavily, or puncture the surface skin. Disrupting the outer skin exposes uncured liquid petroleum underneath, extending the overall cure cycle.
- Visual Inspection Indicators: Look for a dull, matte sheen across the repair area. A glossy, wet appearance typically indicates active solvent evaporation and an uncured top layer.
Emergency Protocol: What to Do If Rain Hits Fresh Roofing Tar
If sudden precipitation occurs before the patch reaches its 24-hour rain-safe threshold, immediate action is required to prevent water penetration and tar washout.
- Deploy Emergency Roof Tarping: Secure a heavy-duty woven polyethylene tarp over the fresh patch. Elevate the tarp slightly using 2×4 lumber blocks so it does not touch or stick to the soft tar.
- Maintain Perimeter Drainage: Ensure rainwater flows around and away from the repair site rather than pooling directly against the edges of the fresh compound.
- Evaluate Community Real-World Scenarios: Experienced contractors and home improvers frequently share field-tested strategies in DoItYourself community roofing discussions for managing unexpected downpours during active cures.
Identifying Washout, Bubbling, and Trapped Moisture
Post-storm inspections help identify damage caused by premature water exposure, allowing you to execute waterproofing recovery before permanent leaks develop.
- Detecting Tar Washout: Look for streaks of displaced asphalt along drainage paths or exposed roof mesh underneath. Washout indicates the top layer was washed away before forming a skin.
- Identifying Membrane Blistering: Inspect for raised bubbles on the patch surface. Trapped moisture under a soft skin expands as temperatures rise, causing pinhole leaks and membrane failure.
- Executing Waterproofing Recovery: Allow damaged areas to dry completely for 24 to 48 hours. Scrape away soft, water-damaged edges and apply a fresh thin layer of wet-patch roof cement over the affected section.
Application Safety & Troubleshooting
Safe application practices and proper environmental preparation prevent jobsite hazards while ensuring long-term bond strength. Following correct handling guidelines and knowing how to rectify application mistakes keeps roofing repairs effective and safe.
Optimal Application Temperatures: Can You Apply Tar in Cold or Rain?
Adhesion performance depends heavily on surface moisture levels and ambient temperature during initial placement. Applying products outside recommended thermal windows risks immediate seam failure.
- Minimum Application Temperature: Most standard roof cements require an ambient temperature of at least 50°F (10°C) to spread smoothly and adhere securely to asphalt shingles or flashing.
- Cold-Weather Application Risks: Below 40°F (4°C), standard tar thickens into a stiff paste, making proper trowel application nearly impossible and preventing proper mechanical bonding.
- Wet Surface Application Guidelines: Standard asphalt cement will not adhere to wet substrates. For emergency repairs during active rain or damp conditions, you must exclusively use specialized rubberized wet-patch formulations designed to displace water.
Safety First: Fume Inhalation and Proper Ventilation
Solvent-based roof coatings release concentrated petroleum vapors during the initial volatile organic compound (VOC) flash-off period. Protecting installer health requires strict jobsite safety protocols.
- Mitigating Toxic Fumes: Solvent off-gassing can cause dizziness, headaches, and respiratory irritation when inhaled in enclosed roof spaces or near fresh air intakes.
- Personal Protective Equipment (PPE): Wear a NIOSH-approved organic vapor respirator mask, safety goggles, and heavy-duty nitrile gloves when applying or working near large volumes of liquid tar.
- Ventilation Controls: Seal air intake vents near the work zone and ensure continuous outdoor air circulation when applying roof coatings near parapet walls or enclosed structural corners.
How to Remove or Dissolve Misapplied Roofing Tar
Accidental spills on gutters, siding, or tools must be treated quickly using appropriate petroleum or organic solvents before full surface curing occurs.
- Mineral Spirits and Paint Thinners: Apply mineral spirits directly to uncured tar on metal or masonry surfaces to break down the petroleum binder for easy wiping with a shop rag.
- Citrus-Based Solvents: Use d-limonene or citrus-based tar removers for skin or plastic surfaces. These organic solvents soften the asphalt compound without causing skin burns or degrading sensitive building trims.
- Mechanical Tar Removal on Hardened Material: Once roofing tar reaches a full cure, chemical solvents become less effective; chill the tar with ice to make it brittle, then carefully chip it off using a stiff plastic putty knife.
Frequently Asked Questions
Clear, direct answers to common questions about roofing tar application times, weather restrictions, and material behavior ensure successful repairs and long-lasting seals.
Will roofing tar stop a leak immediately?
Yes, roofing tar provides an immediate leak repair by creating a physical waterproof barrier over cracks and punctures as soon as it is applied. However, standard roof cements must remain undisturbed while curing to maintain that seal over time.
- Forms an instant mechanical plug against active water intrusion upon troweling or brushing.
- Requires careful surface preparation around the leak zone to prevent water from lifting the wet tar edge before it skin-cures.
Can you put tar on a roof when it is wet?
Standard asphalt roofing tar cannot be applied to a wet roof because water prevents the petroleum solvents from bonding to the substrate. You can only apply tar to damp or wet surfaces if you use a specialized wet surface patch product.
- Standard roof cements trap water underneath, causing severe blistering and early patch detachment.
- Rubberized “wet patch” formulations contain surface-active agents that push moisture away to adhere directly to wet shingles or metal flashing.
What is the 25 rule in roofing?
The 25 rule in roofing generally refers to the guideline that if more than 25% of a roof’s total area is damaged or needs repair, a full roof replacement is typically more cost-effective and structurally sound than localized patching.
- Helps property owners evaluate whether repeated spot treatments with roof tar are economically viable long-term.
- Serves as a common benchmark used by building inspectors and insurance adjusters during storm damage assessments.
Will roofing tar fully harden like rock?
No, quality roofing tar does not harden like solid rock; it cures into a firm but flexible seal that expands and contracts with structural movement. Remaining pliable prevents the material from cracking during sudden temperature shifts.
- Retains core flexibility to accommodate thermal expansion and contraction across roof decks and flashing joints.
- If roofing tar becomes completely brittle or rock-hard, it indicates severe aging and UV degradation, signaling the patch needs reapplication.
How long does roof coating need to dry before rain?
Roof coatings require a rain window of at least 24 to 36 hours of dry, warm weather (above 70°F) after application to become fully rain-safe and resistant to washout.
- Specialized elastomeric or silicone coatings may achieve rain resistance in 2 to 12 hours depending on ambient temperature and air movement.
- Always check the manufacturer forecast requirements to avoid water damage during the initial volatile flash-off stage.
What dissolves roofing tar from hands or tools?
Petroleum solvents like mineral spirits, paint thinners, or specialized citrus-based cleaners dissolve wet or partially cured roofing tar quickly from tools and skin.
- For Skin: Apply a citrus-based solvent cleaner or baby oil, rub thoroughly to loosen the tar, and wash off with warm soap and water.
- For Tools & Equipment: Wipe trowels and putty knives immediately with shop rags soaked in mineral spirits or kerosene before the tar achieves its surface skin.

Oscar Vance | Master Plumber & Drainage Expert
Meet Oscar Vance, a licensed master plumber sharing practical solutions on residential repairs, preventive maintenance, and thoughtful home upkeep.

