How Many Inches Do You Overlap Metal Roofing?
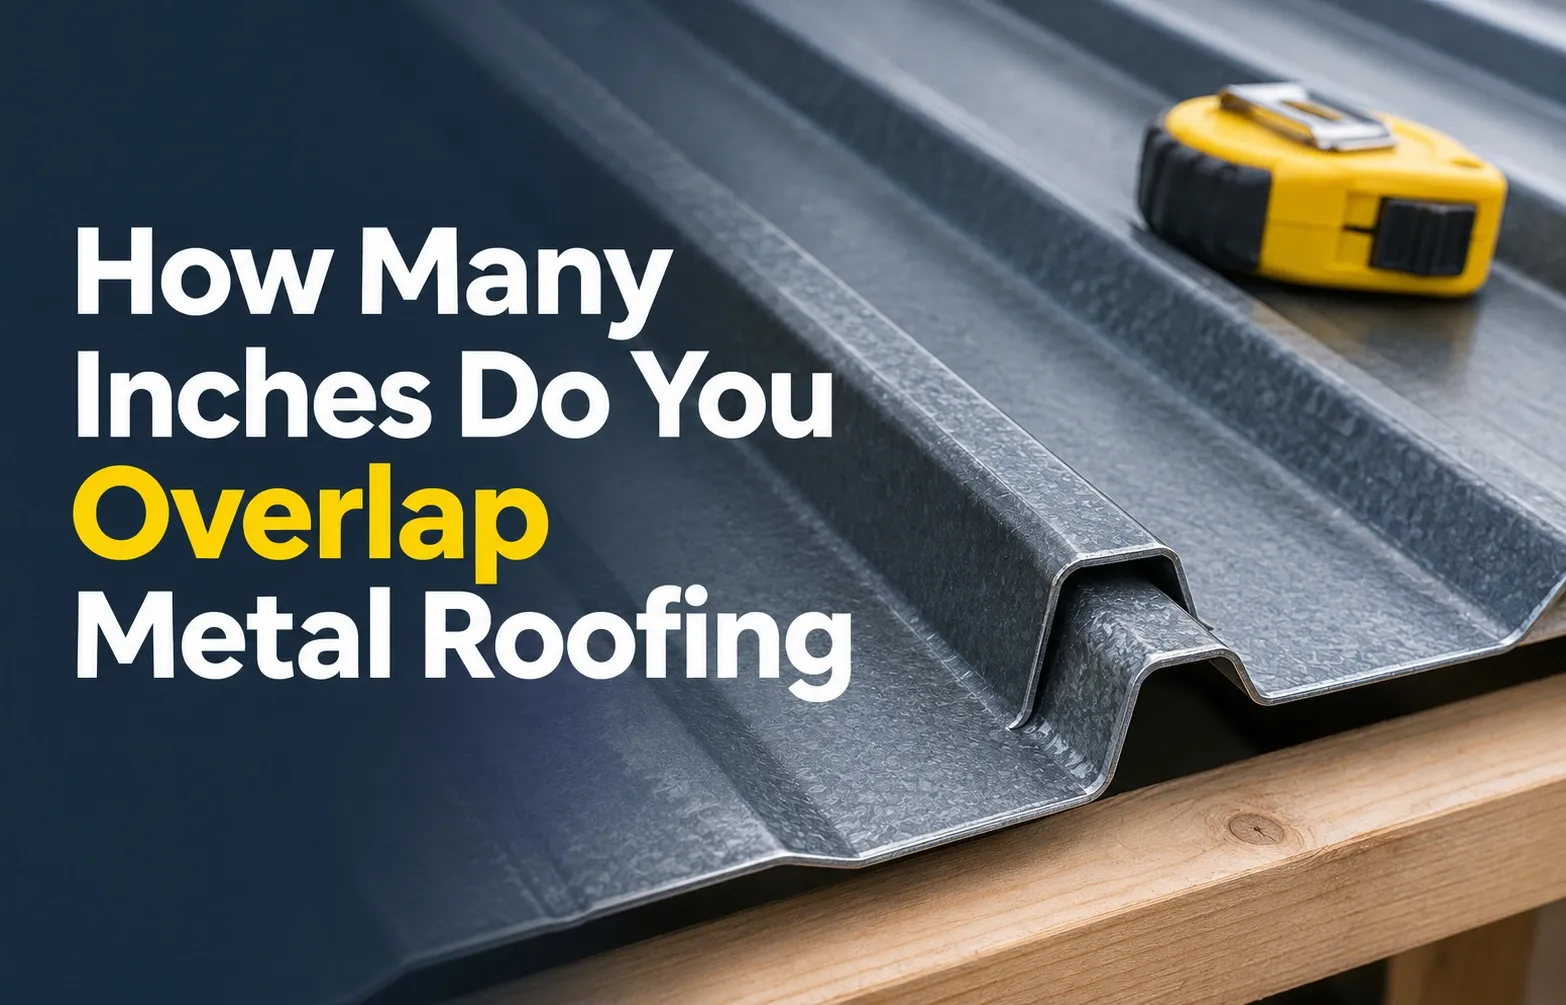 Improperly overlapping metal roofing panels creates severe vulnerabilities for capillary water infiltration, wind uplift failure, and premature structural corrosion during heavy storms. Ensuring precise horizontal and vertical overlaps protects your roof deck from leaks while accommodating normal thermal expansion and contraction cycles.
The exact overlap distance depends entirely on whether you are joining panels side-to-side or end-to-end down the slope:
- Side Laps (Width-wise): Typically require 1 to 2 inches, or 1.5 full corrugations for corrugated sheets, and 1 full overlapping rib equipped with an anti-siphon channel for R-panels.
- End Laps (Length-wise): Require a minimum of 6 inches for standard slopes (3/12 pitch and greater) and 8 to 12 inches for low-slope applications where water runoff velocity slows down.
- Trim & Ridge Caps: Require a minimum 3 to 4-inch overlap for rake/gable trim and at least a 6-inch overlap across opposing roof planes for ridge caps.
Metal Roofing Overlap Requirements by Panel Type
Metal roofing installation techniques vary significantly based on the specific panel profile you choose. Understanding how each profile interlocks prevents structural leaks and ensures proper weatherproofing.
Corrugated Metal Panels (1.5 to 2 Corrugations)
Corrugated panels rely on overlapping wave curves to shed water effectively. Stopping at a half-corrugation creates an upward-facing trough that invites capillary suction and wind-driven rain inside.
- Overlap panels by a minimum of 1.5 to 2 full corrugations to establish a secure capillary break.
- Ensure the overlapping edge points downward to match natural drainage patterns.
- Commonly manufactured in 29-gauge and 26-gauge steel for residential and agricultural structures.
R-Panel and Ribbed Agricultural Panels (1 Full Rib Minimum)
R-panels feature distinct trapezoidal ribs and specialized channels designed for low-to-medium slope buildings. Correct orientation of the overlapping edges is critical to prevent moisture entrapment.
- Overlap by at least 1 full rib, aligning the overlap leg directly over the purlin bearing leg.
- Utilize the built-in anti-siphon drain channel on the lap edge to catch and divert any creeping moisture harmlessly down the roof.
- Never reverse the lap direction, as this bypasses the anti-siphon channel and causes immediate interior leaks.
Standing Seam Metal Roofing (Zero Traditional Overlap)
Concealed fastener standing seam systems eliminate traditional flat panel overlapping entirely. Instead, panels connect through vertical interlocking mechanisms.
- Panels feature snap-lock profiles or mechanically seamed vertical legs that lock together tightly.
- Concealed clips secure the panels to the deck, eliminating exposed fastener holes across the roof surface.
- Thermal movement is accommodated by sliding clips rather than stretching fastener holes.
Ridge Caps, Flashing, and Trim Overlaps
Roof accessories and trim pieces require precise overlapping to protect vulnerable junctions like ridges, eaves, and gable rakes.
- Overlap ridge caps by a minimum of 6 inches where individual cap sections meet along the ridge line.
- Overlap gable/rake trim and drip edges by 3 to 4 inches to maintain continuous water protection.
- Extend your eave overhang 1.5 to 2 inches past the fascia board so runoff clears the structure entirely.
Side Lap vs. End Lap: How Roof Pitch Dictates Lengthwise Overlaps
While horizontal side laps remain consistent across most roof angles, lengthwise end laps depend heavily on roof pitch and gravity. Steeper roofs shed water rapidly, whereas gentle slopes allow water to pool and creep upward between overlapping metal sheets.
Standard Roof Slopes (3/12 Pitch and Steeper)
On roofs with a 3/12 roof pitch or steeper, gravity accelerates water runoff velocity enough to prevent water backup at horizontal seams. A minimum 6-inch lengthwise overlap provides ample protection against rain intrusion when paired with proper sealant.
- Fast water drainage reduces the time moisture sits directly over the seam transition.
- Always position end laps directly over solid structural framing or purlins to prevent panel deflection.
- Account for daily thermal expansion and contraction by avoiding overly rigid fastening across the joint.
Low-Slope Metal Roofs (Under 3/12 Pitch)
Low-slope roofs below a 3/12 pitch experience significantly slower water runoff velocity, creating hydrostatic pressure during heavy downpours. You must increase your lengthwise overlap to 8 to 12 inches to prevent capillary action from drawing water uphill between the panels.
- Capillary action pulls moisture through narrow spaces between tight metal sheets even against gravity.
- Double rows of butyl tape sealant are mandatory on low-slope end laps to create a watertight barrier.
- According to installation standards outlined by the Metal Construction Association, exposed-fastener panels require strict slope verification and enhanced seam sealing when installed on low-slope decks.
Which Direction Should You Overlap Metal Roofing?
Proper overlap orientation uses natural weather patterns to keep water out of both horizontal and vertical joints. Installing sheets in the wrong sequence exposes raw panel edges directly to incoming storms.
- Start Away from Prevailing Winds: Begin laying your first panel at the gable end opposite your area’s prevailing wind direction so storm winds blow over the seams rather than underneath them.
- Work From Eave to Ridge: Install lower courses at the eaves first, then lap upper sheets over the lower sheets so water cascades downward cleanly.
- Maintain Consistent Alignment: Check squareness every three to four sheets to prevent horizontal overlap drift across long roof runs.
How Overlaps Affect Your Material Ordering Math (Coverage Calculator Guide)
Ordering metal roofing panels based on their total physical width instead of their overlapped coverage width is one of the most expensive mistakes in roofing estimation. Every horizontal side lap sacrifices 1.5 to 2 inches of exposed metal, reducing the actual surface area each sheet covers.
Nominal Width vs. Effective Coverage Width
Manufacturers measure panels using nominal panel width (the flat metal sheet width before overlap) and net effective coverage (the actual width covered once overlapped). Always divide your roof dimensions by the net effective coverage to avoid running short on materials.
- Standard R-Panel: Measures approximately 38 inches in overall nominal width, yielding exactly 36 inches (3 feet) of net effective coverage after overlapping 1 full rib.
- Standard Corrugated Sheet: Measures 26 inches in overall nominal width, dropping to 24 inches (2 feet) of net effective coverage after a 1.5- to 2-corrugation side lap.
- Wide-Coverage Agricultural Panels: Often measure 39 to 40 inches edge-to-edge while providing 36 inches of net coverage.
Step-by-Step Roof Area Calculation Example
Use this panel count formula to calculate exact sheet quantities and waste factors for a standard 20-foot-wide by 16-foot-long roof slope using 36-inch net coverage R-panels:
- Convert Roof Width to Inches: Multiply your 20-foot roof width by 12 to get 240 total inches.
- Divide by Net Effective Coverage: Divide 240 inches by the 36-inch net panel coverage to get 6.67 panels, which always rounds up to 7 full panels per row.
- Calculate Lengthwise End Lap Allowance: If installing two 8.5-foot panels instead of a single 16-foot sheet, add 6 to 12 inches of linear footage per panel run to cover the end lap overlap.
- Add a 10% Waste Factor: Order 10% extra material beyond your exact roof square calculation to cover gable cuts, starter strips, and installation mistakes.
How to Seal and Fasten Metal Roofing Overlaps Without Leaks
Properly sealing and fastening overlapping metal seams prevents moisture infiltration, fastener pullout, and premature corrosion. Master mechanics know that the difference between a watertight roof and a leaky one lies entirely in precise sealant placement and screw torque control.
Where to Place Butyl Tape on End Laps and Side Laps
Double-sided butyl tape acts as the primary hydrostatic barrier between overlapping metal sheets. Incorrect placement allows wind-driven rain to bypass the mastic seal entirely.
- Position a continuous bead of double-sided butyl tape directly across the upper edge of the lower sheet, running it just above the pre-drilled screw line.
- Ensure the butyl tape rests directly over solid framing, such as 1×4 purlins or plywood sheathing, so it compresses evenly when tightened.
- For multi-ply side laps on low-pitch applications, sandwich a continuous 3/8-inch bead of tape within the interlocking channel before driving stitch screws.
Screw Placement and Torque Rules (Avoiding Washer Blowout)
Fastening metal roofing requires balancing structural holding power with washer preservation. Overdriving fasteners ruins the seal and invites leaks.
- Use structural wood or metal screws with EPDM rubber washers for primary panel attachment, and shorter stitch screws with neoprene washers specifically for side laps.
- Never overdrive your fasteners; stop tightening the moment the rubber/neoprene washer compresses outward to the outer edge of the metal screw head.
- Always ensure that every end lap lands directly over solid 1×4 purlins or continuous plywood sheathing to provide firm backing against driving forces.
Common Overlap Mistakes That Cause Premature Rust and Leaks
Job-site shortcuts often compromise the structural integrity and aesthetic lifespan of a metal roof system.
- Skipping Stitch Screws: Failing to place stitch screws at regular 12-to-18-inch intervals along long side laps allows wind to lift the seam, causing oil canning and moisture entry.
- Leaving Metal Swarf in Seams: Failing to sweep away metal shavings (swarf) left from cutting or drilling causes galvanic corrosion and rust staining right over the overlaps.
- Overlapping Against Prevailing Winds: Lapping sheets toward incoming storm winds forces rainwater directly beneath the edge, bypassing the butyl tape.
Frequently Asked Questions About Metal Roofing Overlaps & Underlayment
Can you overlap metal roofing end to end instead of ordering full-length sheets?
Yes, you can overlap metal roofing panels end-to-end using a 6- to 12-inch lengthwise lap positioned directly over a solid purlin or structural deck. However, ordering custom full-length panels is always the superior choice when delivery logistics allow, as single-piece runs eliminate horizontal seams and potential leak points completely.
- Use a minimum 6-inch end lap for standard slopes (3/12 pitch and steeper) and an 8- to 12-inch lap for low-slope roofs.
- Always install double-sided butyl tape between overlapping panel ends to seal against capillary water draw.
How far should a metal roof overhang gutters and eaves?
Metal roofing panels should extend 1.5 to 2 inches past the drip edge and fascia board at the eaves. This exact gutter overhang directs rainwater cleanly into the center of the gutter trough while preventing water from wicking backward onto wooden trim.
- Extending less than 1 inch allows surface tension to pull water back under the panel edge, causing fascia rot.
- Extending beyond 2.5 inches leaves the unsupported metal edge vulnerable to bending under heavy snow loads or high winds.
Why do you put 1×4 purlins or plywood under a metal roof?
Installing 1×4 wood purlins or continuous plywood sheathing provides the solid structural backing required to anchor fasteners securely and support overlapping seams. Without solid framing directly beneath end laps, driving screws will bend the metal and fail to compress the butyl sealant.
- 1×4 purlins create a ventilated air gap beneath the metal panels, reducing heat transfer into the attic.
- Continuous plywood sheathing offers superior sound dampening during rainstorms and adds shear strength against wind uplift.
Do you need a moisture barrier, tar paper, or drip edge under metal roofing?
Yes, installing a high-temperature synthetic underlayment or moisture barrier alongside metal drip edges is essential for protecting your roof deck from condensation and wind-driven rain. Metal panels cool rapidly at night, causing underside condensation that will rot unprotected wood decking over time.
- Synthetic Underlayment vs. Tar Paper: High-temp synthetic underlayment resists tearing during installation and withstands extreme under-panel heat far better than traditional asphalt tar paper.
- Drip Edge Flashing: Mandatory along all eaves and rakes to channel runoff away from the fascia board and seal the deck perimeter.
What is the 25% rule in roofing?
The 25% roofing rule is a strict building code compliance standard stating that if more than 25% of a roof section is repaired, replaced, or re-covered within a 12-month period, the entire roof section must be brought up to current local building codes.
- When replacing more than a quarter of your metal panels, you may be legally required to upgrade underlayment, fastening schedules, and edge flashing across the entire slope.
- Always verify local municipal code amendments before starting partial roof replacements or storm damage repairs.

Oscar Vance | Master Plumber & Drainage Expert
Meet Oscar Vance, a licensed master plumber sharing practical solutions on residential repairs, preventive maintenance, and thoughtful home upkeep.

