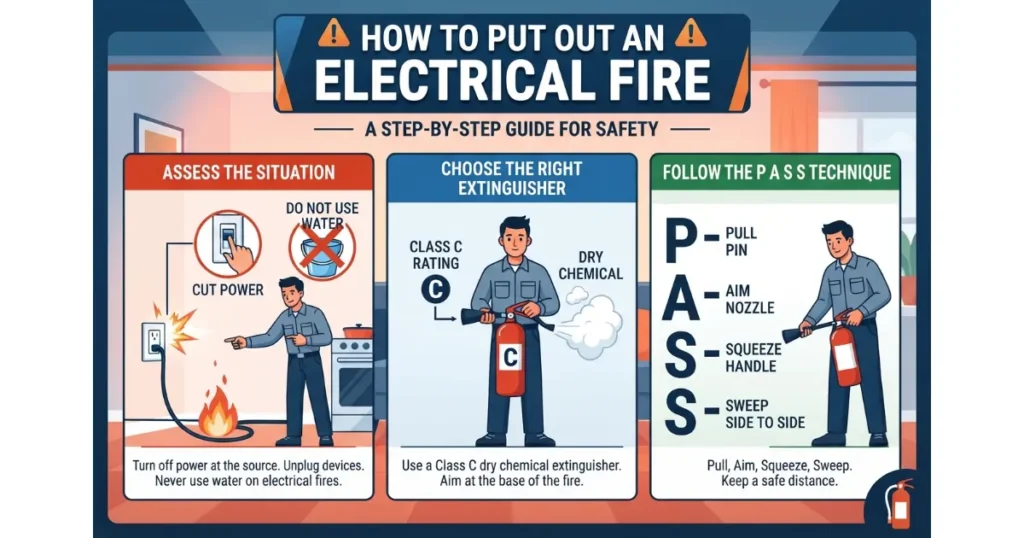
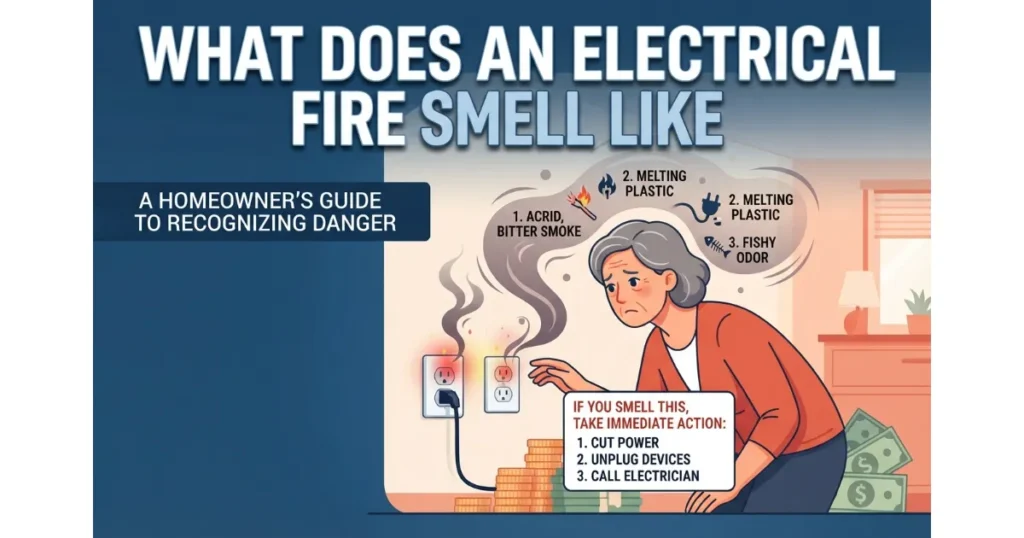
Introduction & The Critical Live Wire Reality
 Discovering cut, exposed, or dangling electrical wires inside your home requires immediate attention and strict adherence to safety protocols. Failing to properly secure these conductors can lead to severe electrical shocks, dangerous short circuits, or catastrophic electrical fires.
Understanding the Risks of Exposed Electrical Wires
Exposed copper conductors carry invisible hazards that demand absolute caution during any home maintenance project. Even standard residential wiring can arc, spark, or deliver a dangerous current if mishandled or left unprotected.
- Electrical Shock Hazard: Accidental contact with bare energized copper can disrupt heart rhythms or cause severe tissue damage.
- Thermal Short Circuits: Uncapped wires touching metal boxes or structural framing can instantly trigger hidden electrical fires.
- Environmental Degradation: Insulation stripped back too far leaves conductors vulnerable to moisture, dust, and corrosion over time.
Can You Cap Off a Live Wire?
Never attempt to cap off a live, energized electrical wire directly with bare hands or standard connectors without shutting off power at the main service panel. Attempting to insulate a hot wire while current is flowing introduces extreme electrocution and arc-flash risks.
- Always switch off the specific circuit breaker governing the workspace before touching any wiring.
- Verify zero voltage using a reliable non-contact voltage tester directly on the bare conductor.
- Treat every wire as live until proven dead with certified test equipment and strict verification steps.
Essential Tools, Materials, and Wire Gauge Selection
Having the correct tools and selecting properly sized connectors are non-standard requirements for safe and code-compliant electrical work. Using substandard gear or mismatched wire connectors can cause loose connections, arcing, and hazardous electrical failures.
Professional Tools and Safety Gear Checklist
Gathering professional-grade equipment ensures you can safely strip, test, and secure conductors without risking physical damage to the copper wire.
- Non-Contact Voltage Tester: Essential for double-checking that power is entirely cut off before handling any live circuit.
- Wire Strippers: Precision tools designed to remove insulation cleanly without nicking the underlying metal.
- Wire Nuts / Wire Connectors: Twist-on caps that securely bind and insulate exposed wire ends together.
- Electrical Tape: Used as secondary mechanical reinforcement wrapped around the base of the connector.
How to Match Wire Nut Colors to Wire Gauges (12 AWG vs. 14 AWG)
Selecting the correct wire connector depends entirely on the wire gauge (AWG) of your residential copper wiring. Mismatched wire nuts leave bare copper exposed or fail to lock conductors tightly, creating severe fire hazards.
Always verify the manufacturer’s packaging guidelines printed on the connector box to confirm the exact minimum and maximum wire combination capacity before installation.
The Danger Zone: Why DIY Improvised Tapes Cause Fires
Improvised household adhesives like packing tape, duct tape, or Band-Aids offer zero certified protection for terminating electrical wires and dramatically increase the risk of thermal failure. Using makeshift wraps instead of rated wire connectors leaves circuits vulnerable to dangerous arcing and sudden ignition.
The Myth of Using Packing Tape or Band-Aids on Wires
Relying on non-electrical household items to insulate bare copper wires creates a false sense of security while violating fundamental safety standards. Household tapes lack the dielectric strength required to stop electrical leakage and contain highly combustible materials.
- Band-Aids: Porous cloth and cotton pads absorb ambient moisture, creating a conductive path straight to surrounding metal structures.
- Packing Tape: Thin plastic film melts under minimal electrical or ambient heat, leaving bare copper exposed to adjacent conductors.
- Duct Tape: Fabric mesh and rubber-based adhesive degrade rapidly, turning sticky, fluid, and flammable under active current loads.
Why Household Adhesives Melt and Cause Electrical Fires
Electrical current generates cumulative thermal energy, causing low-grade household adhesives to undergo rapid thermal breakdown. When ordinary tape melts away from the conductor, exposed hot wires touch or arc against structural surfaces, initiating devastating fire hazards.
- Thermal Breakdown: Standard adhesive glues liquefy under minor heat loads, completely losing their insulating properties within hours.
- Short Circuit Prevention Failure: Without rigid mechanical enclosures or rated wire nuts, electrical sparks freely jump across degraded tape barriers.
- Fire Hazard Accumulation: Trapped heat combined with degraded chemical compounds accelerates combustion hidden inside wall or ceiling cavities.
How to Safely Cap Off Electrical Wires
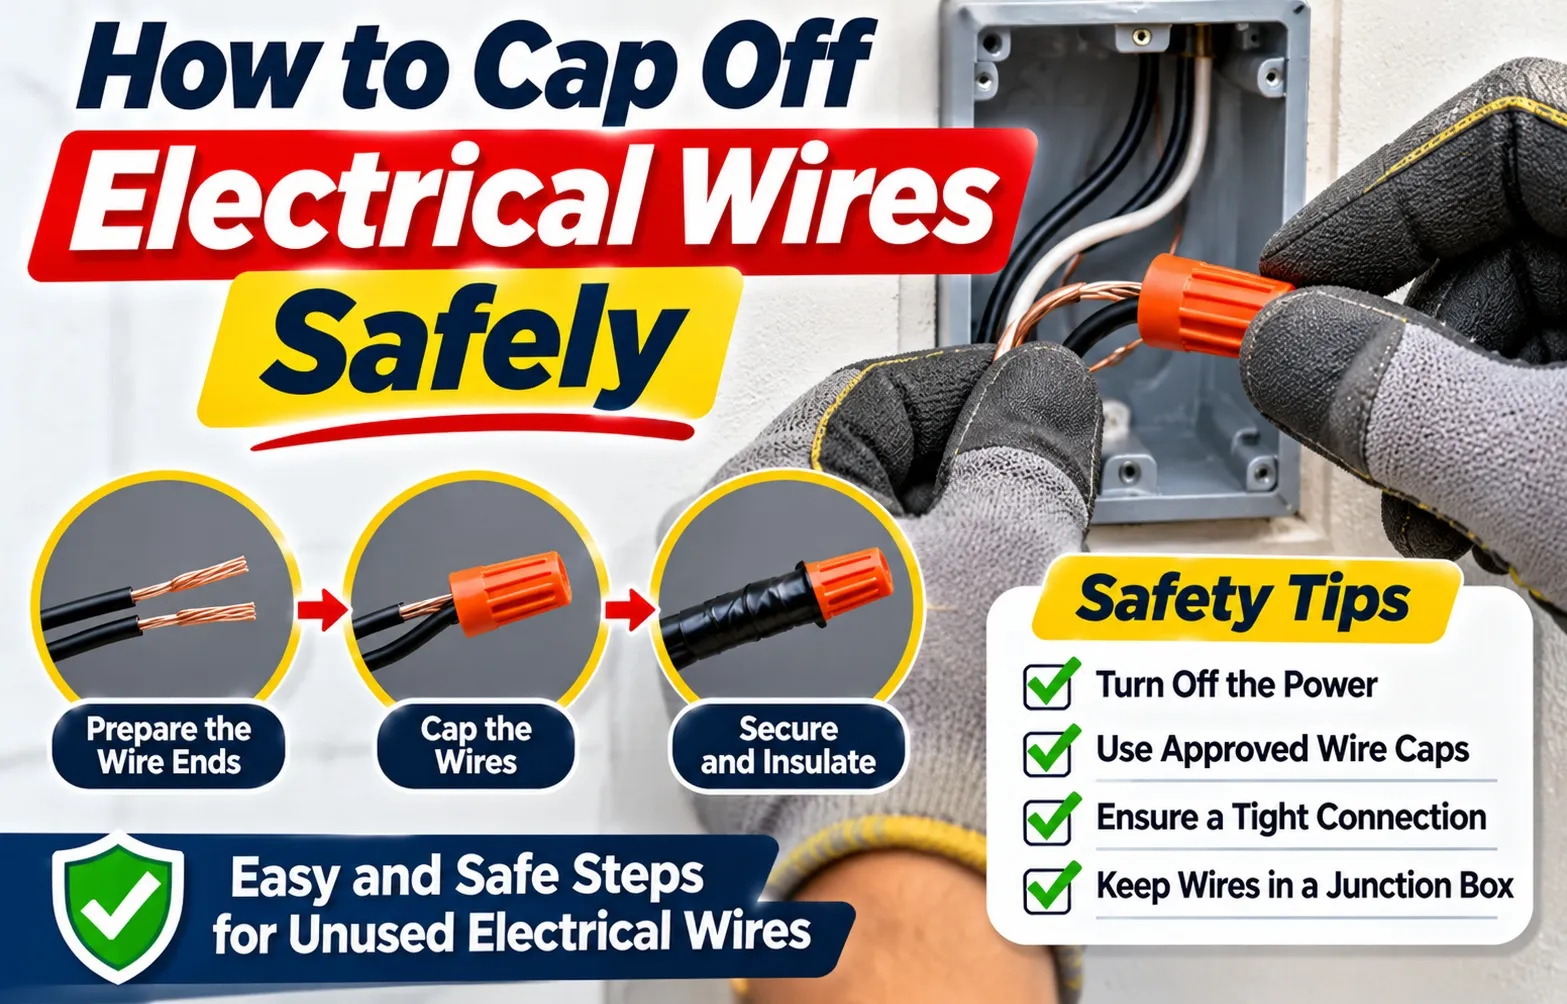
Properly terminating electrical wires requires a methodical sequence of actions, starting from de-energizing the circuit to sealing the connection inside an approved container. Adhering to these strict procedural steps protects you from electrical hazards and ensures full regulatory compliance.
Step 1: Shut Off Power and Test with a Voltage Tester
Turn off the power at your main circuit breaker panel and verify zero voltage using a non-contact voltage tester before touching any exposed conductors. This critical step eliminates electrocution risks and ensures the workspace is entirely dead before you begin any work.
- Locate the correct circuit breaker controlling the target wire and flip it to the OFF position.
- Place your non-contact voltage tester directly against the conductor to confirm no electrical current is present.
- Double-check adjacent wires in the same box, as multi-wire branch circuits can carry backfeed power.
Step 2: Trim and Strip the Copper Wire Correctly
Trim the wire tip clean and use a wire stripper to expose exactly 1/2 inch of bare copper. Avoid stripping too much insulation, as exposed copper remaining outside the connector creates an immediate short-circuit hazard.
- Cut the damaged or frayed wire end cleanly using insulated side-cutting pliers.
- Insert the conductor into the correct gauge slot on your wire stripper and pull gently to remove the plastic jacket.
- Inspect the exposed metal to ensure the copper strands are undamaged and free of nicks or cuts.
Step 3: Twist and Secure the Wire Nut
Select a properly sized wire connector, twist it firmly in a clockwise direction onto the conductors until tight, and perform a physical pull test. A reliable mechanical connection will grip the wires securely without slipping off under tension.
- Choose a wire nut rated specifically for your wire gauge combination and copper strand count.
- Push the connector straight onto the conductor ends and rotate clockwise until firmly seated.
- Give each individual wire a gentle pull test to verify that the connector locks them securely in place.
Step 4: Add Secondary Support with Electrical Tape
Wrap a small strip of professional-grade electrical tape around the base of the wire nut and onto the wire insulation for extra mechanical reinforcement. This secondary layer prevents the connector from loosening over time due to vibration or thermal expansion.
- Start wrapping the tape tightly around the lower skirt of the plastic wire nut.
- Extend the tape downward onto the solid wire insulation by at least one inch for a secure anchor.
- Tear or cut the tape cleanly without leaving sticky residue loops that could unravel later.
Step 5: Enclose in an Approved Junction Box (NEC Compliance)
Per the National Electrical Code (NEC), you must tuck all capped wires inside a mounted electrical box and install a blank cover plate. Never leave live or capped splices loose or hidden inside a wall cavity without an accessible enclosure, as outlined by National Fire Protection Association (NFPA 70 / NEC) standards.
- Neatly fold the capped wire bundle back into the approved metal or plastic junction box.
- Ensure no copper or wire nuts are pinched against the sharp edges of the box housing.
- Secure a blank cover plate tightly over the junction box opening to maintain a fully code-compliant and fire-rated installation.
Scenario-Specific Capping: Ceilings, Walls, and Outdoors
Terminating wires safely requires adapting your technique to unique architectural environments like overhead junction boxes, closed drywall cavities, or moisture-prone outdoor locations. Applying the correct containment strategy prevents hazardous electrical faults across diverse residential zones.
How to Safely Cap Wires in a Ceiling (Removing Light Fixtures)
When removing a ceiling light fixture, you must secure the bare wires inside an approved metal or plastic ceiling box rather than stuffing them into the open ceiling void. Every overhead electrical splice requires physical enclosure and a rated cover plate to comply with residential fire codes.
- Disconnect Power: Switch off the wall switch and main breaker before detaching the old ceiling fixture from its mounting strap.
- Cap and Secure: Strip copper ends cleanly, apply properly sized wire nuts, and reinforce with professional electrical tape.
- Install Cover Plate: Tuck the capped assembly neatly into the ceiling box and secure a heavy-duty blank cover plate flush against the drywall.
Dealing with Abandoned Wires Inside Drywall Walls
Abandoned live wires discovered inside a drywall cavity can never be permanently buried behind drywall without an accessible junction box. Electrical safety standards mandate that all capped splices remain accessible for future inspection, strictly prohibiting concealed splices within wall insulation.
- Trace the Circuit: Follow the cable back to its active breaker origin to determine if the line can be disconnected permanently.
- Use Retrofit Boxes: Install a remodel old-work electrical box flush with the drywall surface if the wire must remain live or active.
- Maintain Accessibility: Cover the accessible junction box with an approved blank wall plate to maintain total code compliance and safety.
Outdoor and Wet Locations: Using Silicone-Filled Waterproof Wire Nuts
Outdoor and damp-location wiring requires specialized silicone-filled waterproof wire connectors to block moisture infiltration and galvanic corrosion. Standard indoor plastic wire nuts will quickly degrade when exposed to rain, condensation, or direct ground contact.
- Use Waterproof Connectors: Select gel-filled or silicone sealant wire connectors specifically rated for wet or exterior electrical boxes.
- Apply External Sealant: Add supplementary exterior-grade silicone sealant around conduit entry points and enclosure gaskets to block water.
- Use NEMA Enclosures: Enclose all outdoor wire terminations within a weatherproof, NEMA-rated box featuring a tight-fitting gasketed lid.
Automotive and Low-Voltage Wire Capping Differences
Terminating low-voltage and direct current systems requires entirely different methods and materials compared to standard 120V household alternating current networks. Using residential wire nuts in vehicles or HVAC control lines creates unreliable connections that fail under physical stress and environmental exposure.
Terminating 12V DC Automotive Wires vs. Household AC Wires
Automotive wiring operates on low-voltage 12V DC systems exposed to constant vehicle vibrations, extreme temperature fluctuations, and moisture. Unlike rigid household AC wires housed in junction boxes, automotive cables require specialized crimp-style butt connectors and adhesive-lined heat shrink tubing to withstand harsh mechanical stress and prevent terminal corrosion.
- Vibration Resistance: Standard twist-on wire nuts loosen under vehicle motion, making crimped butt connectors essential for secure 12V DC joints.
- Environmental Protection: Adhesive-lined heat shrink tubing melts around the crimp connection, creating a waterproof and airtight seal against road salt and moisture.
- Gauge Differences: Automotive wiring utilizes primary wire sizes measured differently from standard residential solid copper wire.
Best Practices for Thermostat and Low-Voltage Capping
Low-voltage cables like HVAC thermostat lines carry minimal electrical current but demand careful insulation to prevent phantom voltage loops or short circuits against control boards. Securing these delicate multi-strand or solid wires requires specialized low-voltage connectors rather than heavy-duty residential wire caps.
- Gel-Filled Connectors: Use moisture-resistant jelly-crimped connectors to safeguard low-voltage splices from condensation inside walls.
- Clear Labeling: Tag individual thermostat wires securely before capping to prevent wiring confusion during system upgrades.
- Insulation Integrity: Strip only the minimal insulation necessary to ensure no bare wire strands touch adjacent low-voltage terminals.
Frequently Asked Questions
Addressing high-velocity user concerns and regulatory compliance questions ensures absolute clarity on proper electrical termination practices, keeping your home safe and fully code-compliant.
Can I leave capped wires loose inside a wall?
Leaving capped electrical wires loose inside a drywall cavity is a severe drywall code violation and an extreme fire hazard. The National Electrical Code (NEC) explicitly mandates that all wire splices and capped conductors must remain permanently accessible inside an approved junction box with a closed cover plate.
Concealing capped wires behind drywall prevents future inspection and traps heat, significantly increasing the risk of unnoticeable electrical arcing and combustion.
- NEC Compliance: Every wire termination must be housed in an accessible enclosure that can be inspected without tearing down walls.
- Fire Safety: Enclosing wires prevents sparks from igniting surrounding building insulation, dust, or wooden framing studs.
- Retrofit Boxes: Always install an old-work junction box if you need to safely store abandoned or unused cables within a finished wall.
What can I use instead of wire nuts in an emergency?
In an emergency wire termination, never rely on household alternatives like packing tape, duct tape, or Band-Aids, as they lack dielectric strength and melt under thermal loads. Instead, proper wire cap alternatives include code-approved lever-actuated connectors or certified crimp connectors protected by heat shrink tubing.
Using improper improvised materials creates immediate short-circuit risks and violates fundamental safety standards. Always use rated electrical hardware designed specifically for current-carrying copper conductors.
- Lever Connectors: Modern spring-lever wire connectors clamp stranded and solid copper safely without requiring complex twisting motions.
- Crimp Connectors: Insulated butt splices provide a secure metal-to-metal physical connection when compressed with proper crimping tools.
- Avoid Household Tapes: Ordinary adhesive tapes degrade rapidly under ambient heat and cannot substitute for mechanical wire connectors.
How do I know if an electrical wire is completely dead?
Verifying that an electrical wire is completely dead requires thorough voltage verification using a reliable non-contact voltage tester or digital multimeter. Never assume a wire is de-energized just because a wall switch is turned off or a breaker has been flipped at the main panel.
Testing live circuits prevents accidental electrocution and confirms zero electrical potential before you begin handling, stripping, or capping exposed conductors.
- Voltage Verification: Place a calibrated non-contact voltage tester directly against the exposed copper conductor to check for hidden current.
- Check All Conductors: Test every individual wire within a bundle, including hot lines, neutral wires, and backfed multi-wire branch circuits.
- Test the Tester: Always verify your testing tool works properly on a known live source both before and after checking your target wire.

Oscar Vance | Master Plumber & Drainage Expert
Meet Oscar Vance, a licensed master plumber sharing practical solutions on residential repairs, preventive maintenance, and thoughtful home upkeep.