Understanding HVAC Airflow Basics: Why Your Home Loses Airflow
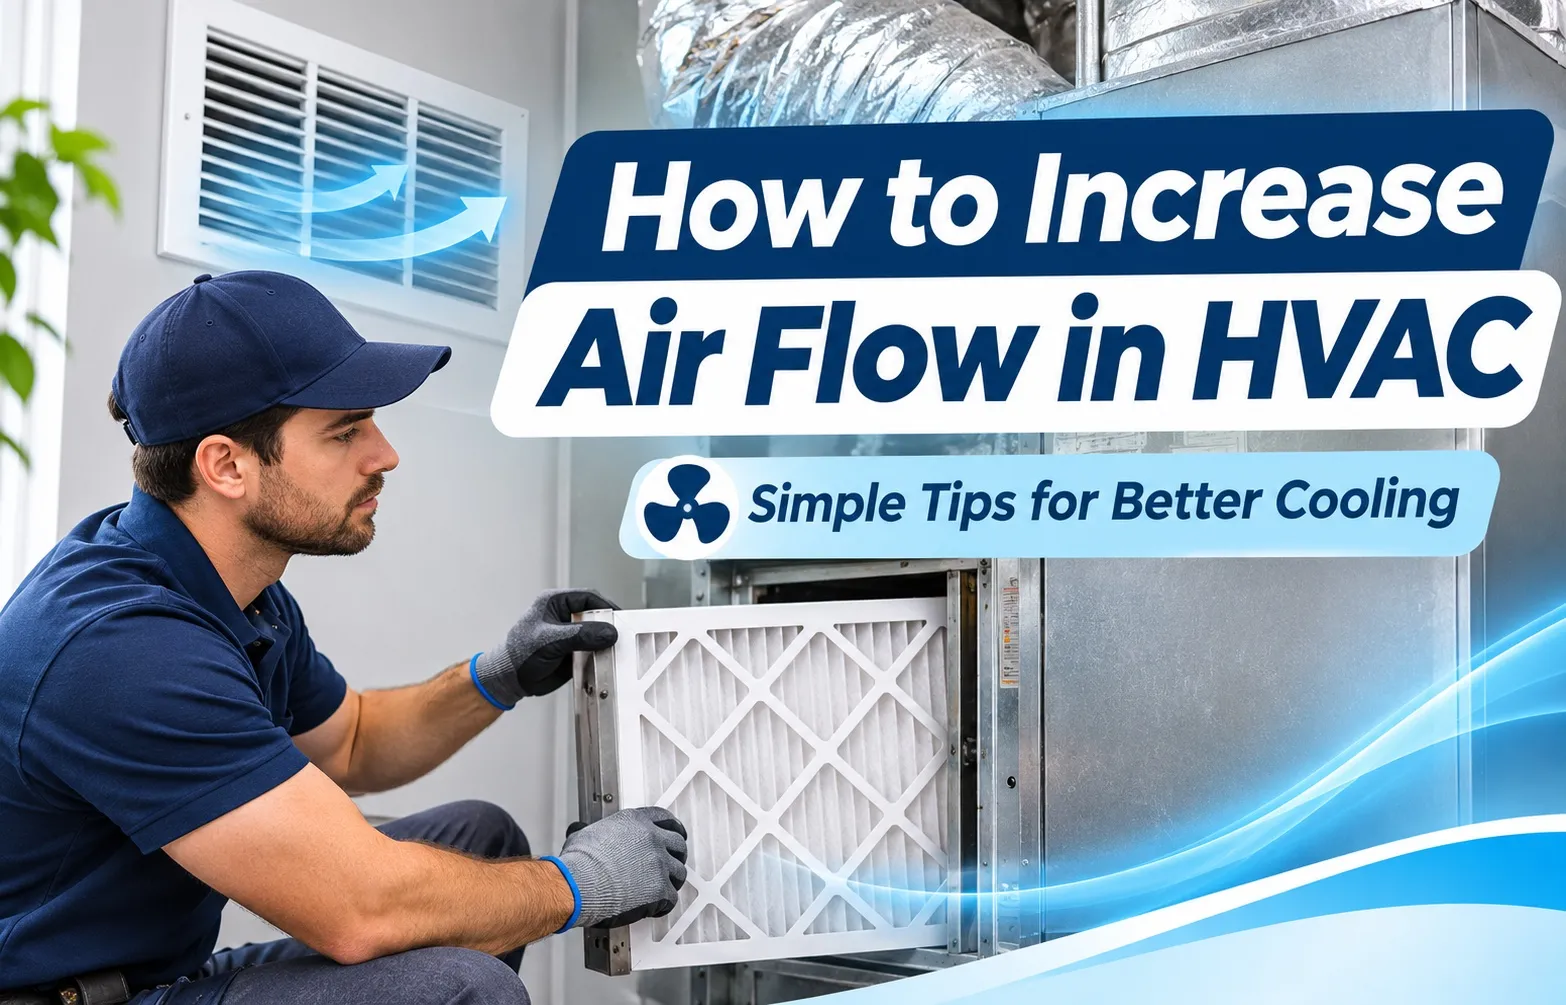 Struggling with weak HVAC airflow, stuffy rooms, or uneven temperatures can make your living space uncomfortable while driving up your monthly energy bills. Understanding how air moves through your ductwork and blower motor is essential for diagnosing performance bottlenecks and restoring efficient home comfort.
Why Does Your HVAC Airflow Suddenly Drop?
A sudden decrease in weak AC airflow is typically triggered by restrictions that force your blower motor to work harder against rising static pressure and compromised duct pressure. When air pathways become choked, your system cannot deliver optimal volume to your supply vents.
- Clogged air filters blocking the primary intake stream and choking system velocity.
- Dust and debris accumulation reducing blower fan aerodynamic efficiency.
- Kinked or crushed flexible ducts restricting internal air volume and pressure.
The Difference Between Whole-House Weakness and Room-Specific Issues
Isolating your airflow problem begins by determining whether the restriction impacts your entire property or just an isolated area. Whole-house issues point to central mechanical or filter failures, while single-room weaknesses usually indicate localized duct or return imbalances.
- Whole-House Symptoms: Caused by central restrictions like dirty evaporator coils, failing blower components, or heavily restricted main filters.
- Room-Specific Symptoms: Caused by long branch duct runs, closed butterfly dampers, or restricted return air paths in isolated bedrooms.
The Quick 5-Minute DIY Airflow Diagnostic Checklist
Running an immediate airflow diagnostic helps pinpoint whether your weak vent output stems from a simple room-level blockage or a deeper mechanical failure. Use this rapid five-minute checklist to evaluate your HVAC system before calling a technician or buying replacement parts.
Step 1: The Tissue Test on Supply Vents
Performing a tissue test provides a reliable visual indicator of actual velocity coming out of your supply vents. Tape a single sheet of facial tissue lightly over the register while the system runs to gauge whether pressure pushes it outward or lets it sag.
- Strong Blow: Tissue flies outward at a 45-to-90-degree angle, confirming adequate duct pressure and velocity.
- Weak Flutter: Tissue ripples slightly or hangs limp, indicating a major restriction upstream or a failing blower component.
Step 2: Evaluating the Thermostat Fan Setting (Auto vs. On)
Checking your thermostat fan setting is a critical troubleshooting step that often explains why air feels stagnant between cooling or heating cycles. Leaving the fan set to “On” keeps the blower running continuously, whereas “Auto” runs the fan only when conditioned air is actively generated.
- Continuous “On” settings can sometimes make air feel lukewarm when the compressor is off, creating a false impression of weak airflow.
- Switching between modes helps determine if your blower motor responds properly to active thermostat signals.
Step 3: Differentiating a Blocked Register vs. System-Wide Restriction
Isolating whether low output affects a single room or every register in the house dictates your next troubleshooting move. A localized drop usually points to a closed damper or crushed flex duct, while total failure signals a central restriction.
- Check multiple rooms to see if velocity drops uniformly across the entire property or remains isolated to a distant extension.
- Inspect individual floor and ceiling registers for heavy dust mats, furniture obstructions, or closed internal louvers.
The Hidden Culprit: Fixing Return Air Starvation
While most homeowners focus entirely on supply registers, restricted return airflow is the single most overlooked cause of weak HVAC performance. If your blower fan cannot pull sufficient volume back from the living spaces, it cannot effectively push conditioned air forward.
Why Supply Vents Can’t Blow Air Out If Return Vents Can’t Pull Air In
Your HVAC system operates on a closed-loop balance where every cubic foot of air pushed out through supply vents must be pulled back through return air vents. When return pathways are restricted, the blower starves for intake air, resulting in a severe drop in overall system velocity.
- Air handler blowers require equal intake and output volume to maintain peak operational static pressure.
- Undersized or blocked return grills create a vacuum effect that lowers supply register velocity across the entire home.
The Closed Bedroom Door Problem and Negative Pressure
Modern airtight construction means that closing bedroom doors traps supply air inside while blocking its return path to the central hallway. This creates localized negative pressure, forcing the blower fan to fight against backpressure and drastically reducing airflow into those rooms.
- Closed doors seal off rooms, preventing conditioned air from escaping back to central return vents.
- Positive pressure builds inside the sealed room while negative pressure starves the HVAC system’s intake loop.
Practical Fixes: Door Undercuts, Transfer Grilles, and Jump Ducts
Restoring balanced return airflow requires creating alternative pathways for air to travel back to the main intake when doors are closed. Simple architectural modifications like door undercuts or installed transfer grilles instantly relieve negative pressure.
- Door Undercuts: Trimming 1 to 1.5 inches off the bottom of bedroom doors allows air to flow freely back to the hallway return.
- Transfer Grilles: Installing passthrough louvers in the wall above the door frame facilitates seamless return airflow without compromising room privacy.
- Jump Ducts: Connecting a short, baffled flex duct between the ceiling of a bedroom and the main hallway plenum provides a dedicated pressure-relief path.
Zero-Cost Maintenance: Filters, Coils, and Register Clearing
Performing routine maintenance on your HVAC system is the most effective way to eliminate airflow restrictions without spending money on professional repairs. Clearing blockages around your air filter, evaporator coils, and registers instantly reduces static pressure and restores system velocity.
Replacing and Choosing the Right Air Filter (MERV Rating Caution)
A clogged filter is the single most common culprit behind weak supply airflow and frozen evaporator coils. Replacing your filter every one to three months ensures unobstructed intake volume, but you must choose the correct MERV rating to prevent accidental airflow restriction.
- Avoid ultra-high MERV ratings (MERV 13+) unless your specific residential HVAC blower motor is explicitly rated to handle high-resistance filtration.
- Standard residential systems perform best with MERV 8 to MERV 11 filters, balancing high particle capture with optimal air permeability.
- Check and replace pleated filters monthly if you have shedding pets, heavy dust, or household allergies.
Clearing Blocked Supply and Return Registers
Household furniture, heavy area rugs, and long draperies frequently obstruct supply and return registers, choking room-level circulation. Inspect every room to ensure your floor and ceiling vents remain completely uncovered and unobstructed.
- Pull furniture at least six to twelve inches away from floor registers to let conditioned air disperse freely into the room.
- Remove thick carpeting or floor mats that overlap supply vent edges and trap pressurized air beneath the flooring.
- Keep return intake grills free of dust buildup, pet hair, and storage boxes stacked against hallway walls.
Cleaning Dust-Choked Evaporator Coils and Blower Wheels
Dust and organic debris accumulating directly on your evaporator coil or blower wheel restrict heat transfer and mechanical air movement. Periodic professional cleaning or careful DIY brushing prevents fine particulate layers from choking internal airflow.
- Inspect the indoor air handler cabinet and blower assembly annually for heavy dust accumulation on the fan blades.
- Clogged blower wheel fins lose their aerodynamic pitch, significantly reducing the cubic feet per minute (CFM) pushed through your ducts.
- Ensure condensate drain lines remain clear so standing moisture doesn’t combine with dust to form thick sludge on your coils.
Step-by-Step Manual Duct Damper Balancing Guide
Mastering manual duct damper balancing allows you to redirect airflow precisely where your home needs it most without throwing your entire HVAC system off balance. Follow this systematic adjustment protocol to eliminate hot and cold spots across different rooms.
What Are Duct Dampers and Where to Find Them
Duct dampers are internal butterfly or blade valves located inside your metal ductwork near the main trunk line junction. They feature external handle levers or small screws on the outside of the duct that indicate the internal blade angle.
- Locate your dampers in the basement, crawlspace, or main ceiling trunk lines where individual branch lines fork away from the central air handler.
- When the external lever aligns parallel with the duct, the internal damper is fully open; when perpendicular, it is closed.
- Mark your existing damper positions with a permanent marker before making adjustments so you can easily revert if necessary.
The Golden Rule of Balancing: Never Close Vents Blindly
Completely closing room registers or dampers in unused rooms is a common mistake that drastically increases static pressure and risks freezing your evaporator coil. Instead of shutting vents, you should incrementally restrict airflow near the system source to force velocity down distant branch lines.
- Never close more than 10 to 20 percent of your home’s total register or damper capacity at any given time.
- Restriction should always be applied closest to the furnace or air handler, leaving distant room runs fully open.
- Maintain balanced static pressure to protect your blower motor from overheating or premature electrical burnout.
Step-by-Step Guide to Adjusting Branch Line Levers for Maximum Comfort
Balancing your duct system requires a methodical, step-by-step approach to redirect air volume evenly from the closest rooms to the furthest extensions. Take small adjustment steps and wait several minutes for room temperatures to stabilize between tests.
- Step 1: Fully open every duct damper and wall register across the entire house to establish your baseline airflow.
- Step 2: Locate the branch lines serving rooms closest to the air handler that receive excessive airflow.
- Step 3: Turn those specific branch dampers inward by 15 to 20 degrees to slightly restrict their intake volume.
- Step 4: Leave the dampers for furthest upstairs or distant rooms completely wide open to capture the redirected static pressure.
Inspecting and Repairing Ductwork Flaws in Attics and Crawlspaces
Inspecting your attic or crawlspace ductwork is essential for resolving hidden airflow restrictions that rob your living spaces of conditioned air velocity. Addressing crushed flex ducts and leaky seams restores optimal static pressure throughout the house.
Un-kinking and Resrapping Flexible Ducts in the Attic
Flexible ducts often sag, bend sharply, or twist in tight attic spaces, creating massive airflow restrictions that choke supply volume. Straightening these runs and installing supportive hanging straps eliminates internal pinching and restores smooth airflow.
- Inspect attic layouts for sharp 90-degree bends or pinched sections where flexible ducts fold over floor joists.
- Use wide hanging straps or duct saddles to support sagging runs, ensuring the inner core remains fully rounded and unobstructed.
- Avoid over-stretching or compressing flexible ducts, keeping them pulled taut without introducing tension on collar connections.
Detecting and Sealing Air Leaks with Mastic Tape and Foil Sealant
Air leaks at duct junctions and collar connections allow precious heating and cooling capacity to escape into unconditioned attic spaces. Sealing these gaps permanently with professional-grade mastic paste or UL-listed foil tape ensures maximum air volume reaches your vents.
- Run your hand carefully along sheet metal joints, takeoff collars, and plenum connections to feel for escaping air streams.
- Apply a thick, brush-grade layer of mastic paste over all metal-to-metal duct seams and collar connections for a permanent airtight seal.
- Use heavy-duty UL-181 foil tape to secure outer vapor barriers on flexible ducts, avoiding standard duct tape that dries out and peels off over time.
Advanced Mechanical Solutions and Booster Systems for Stubborn Rooms
When standard duct balancing and filter changes fail to fix airflow in remote or upper-level rooms, advanced mechanical solutions can bridge the gap. Upgrading hardware components and adding auxiliary boosters provides the extra push needed to overcome long duct runs and manage system static pressure effectively.
Installing Register Booster Fans and Inline Duct Boosters
Adding electric register booster fans or inline duct boosters provides direct mechanical assistance for hard-to-reach rooms at the end of long runs. These motorized units actively draw or push conditioned air into stagnant areas to normalize temperature control.
- Register Booster Fans: Plug-in fans mounted directly over surface vents detect airflow and activate automatically to pull air upward.
- Inline Duct Boosters: Installed inside flexible ductwork mid-run, these motorized fans increase CFM output before air reaches the register.
Adjusting Blower Motor Speed Taps (When to Call an HVAC Tech)
Adjusting your air handler’s blower motor speed tap allows an experienced technician to increase overall cubic feet per minute (CFM) output. Modern multi-speed and variable-speed blowers can be professionally reconfigured to deliver higher airflow velocity across your entire duct network.
- Professional HVAC technicians measure total external static pressure before altering blower speeds to prevent motor burnout.
- Variable-speed blowers automatically ramp up torque to compensate for long duct runs and multi-story home layouts.
- Never attempt to rewire blower motor speed taps independently due to severe electrical shock and system damage risks.
Upgrading Stamped Registers to High-Efficiency Bar-Type Registers
Replacing cheap, restrictive stamped-face floor or ceiling registers with engineered high-efficiency bar-type grilles instantly improves directional throw and volume. Standard stamped registers often choke airflow by up to 20 percent due to tight, restrictive metal stampings.
- Curved bar-type registers direct air outward into the room instead of letting it billow straight up against walls or windows.
- Upgrading to modern multi-shutter registers reduces acoustic turbulence and minimizes pressure drops at the room terminal.
Frequently Asked Questions About HVAC Airflow
Get direct, expert answers to the most common questions homeowners ask about HVAC airflow, system pressure, and temperature imbalances.
Is it safe to close vents in unused rooms?
Closing vents in unused rooms is generally discouraged because it disrupts the system’s design balance and spikes static pressure. When you shut off supply registers, your blower motor must work harder against restricted pathways, which can reduce efficiency, cause air leaks in the ductwork, and even freeze your evaporator coil.
- Closing more than 10 to 20 percent of your home’s total vents creates damaging pressure imbalances.
- It does not save energy; instead, it forces the system to consume more power while struggling against backpressure.
Why are upstairs rooms always hotter or colder?
Upstairs rooms suffer from thermal physics and duct length drop-off, as warm air naturally rises to the upper floors while long vertical duct runs lose velocity. Additionally, solar heat gain through roofs and windows places an extra cooling burden on upper-level spaces.
- Ductwork running through unconditioned attics absorbs heat during summer, warming the air before it reaches upstairs vents.
- Balancing manual dampers or installing booster fans can help force heavier volumes of conditioned air up to upper levels.
How much airflow should actually come out of my vents?
A properly functioning residential HVAC system should deliver a strong, steady stream of air that travels roughly two to three feet outward from a floor register. While exact cubic feet per minute (CFM) output varies by room size, you should easily feel active air movement without needing to hold your hand directly against the grille.
- Weak or sluggish airflow usually points to a clogged filter, closed damper, or return air restriction.
- If airflow feels completely dead across all vents, your blower fan or evaporator coil likely requires professional cleaning.

Oscar Vance | Master Plumber & Drainage Expert
Meet Oscar Vance, a licensed master plumber sharing practical solutions on residential repairs, preventive maintenance, and thoughtful home upkeep.