Can You Do Roofing in the Winter?
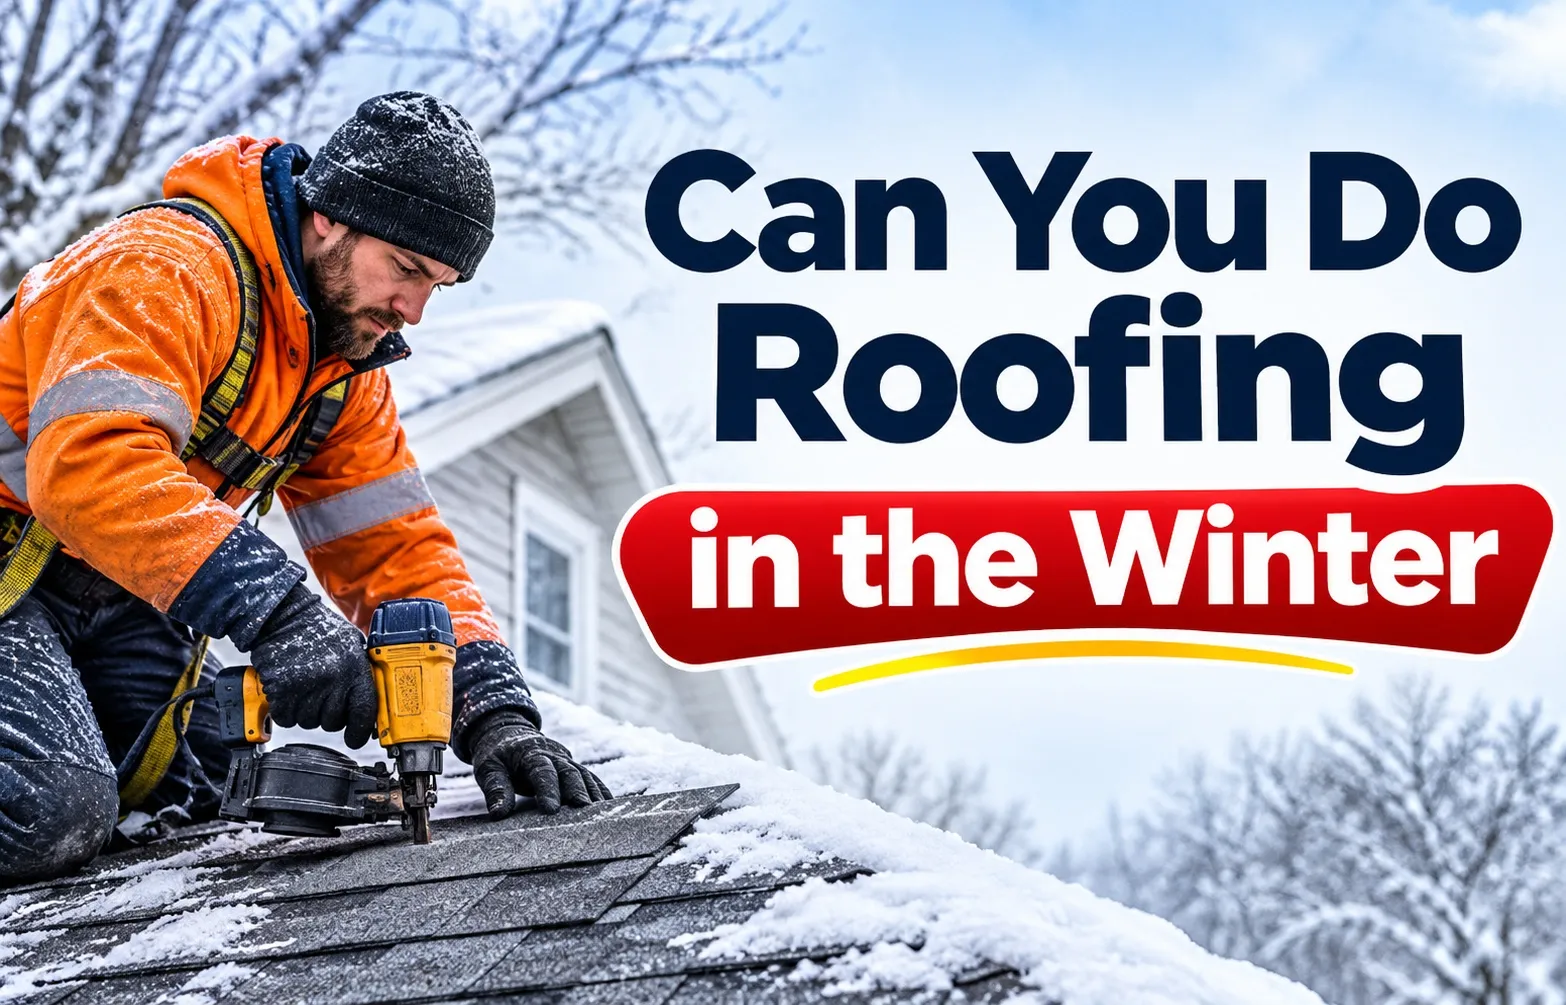 Roofing projects can proceed during winter, but freezing conditions introduce specific material limitations and safety challenges. Successful cold-weather installations require specialized techniques, modified installation schedules, or alternative materials to ensure structural integrity and maintain manufacturer warranty coverage.
Can You Roof in the Winter?
Yes, you can roof in the winter, but asphalt shingles require specialized cold-weather techniques (hand-sealing) or alternative materials like metal/slate to prevent failure below 40°F (4.4°C). Standard self-sealing adhesive strips remain dormant in freezing temperatures, making manual intervention essential.
- Asphalt Shingles: Require manual application of asphalt plastic cement and temperature-controlled storage before installation.
- Metal & Slate Systems: Can be installed year-round without thermal dependency for mechanical fasteners.
- Emergency Repairs: Temporary tarping and structural stabilization are recommended until ambient temperatures permit full installation.
The Science of Cold-Weather Roofing & Temperature Limits
Understanding how sub-zero and low ambient temperatures alter roofing materials is critical for preventing catastrophic system failures. Material physics dictate strict operational limits for standard asphalt shingles during winter construction.
What Temperature Is Too Cold for Asphalt Shingles?
Temperatures dropping below 40°F (4.4°C) mark the critical threshold where standard asphalt shingles require specialized installation modifications. Working below this limit without proper thermal management or manual adhesive application dramatically increases the likelihood of premature roof failure.
- Critical Threshold: Installations conducted below 40°F require heightened care during handling and cutting.
- Sub-Freezing Hazard: At or below 32°F (0°C), standard asphalt matting loses structural flexibility entirely.
- Thermal Shock: Rapid temperature drops during installation cause severe thermal shock, fracturing the granule-embedded surface.
How Cold Weather Impacts Material Physics (Brittle Thresholds)
Freezing weather fundamentally alters the structural composition of asphalt shingles, lowering their brittle point and making them highly susceptible to mechanical damage. High relative humidity and frost further exacerbate installation risks by trapping moisture beneath underlayment layers.
- Brittle Point Fractures: Stiffened shingles shatter or crack easily when bent over ridges or valleys.
- Pneumatic Nail Gun Pressure: High-pressure pneumatic nail guns easily over-drive or cut through frozen shingle mats if tool PSI is not adjusted downward.
- Blow-Off Vulnerabilities: Compromised fastening and unsealed tabs create immediate structural vulnerabilities against winter wind gusts.
Thermal Activation & Self-Sealing Tar Strips Explained
Asphalt shingle self-sealing tar strips require sustained ambient temperatures between 40°F and 50°F combined with direct solar radiation to achieve complete thermal activation. Without sufficient natural heat energy, factory-applied adhesive strips remain dormant and fail to bond.
In cold-weather conditions, installers cannot rely on sun-driven thermal activation alone. The absence of proper thermal bonding leaves individual shingles loose and susceptible to wind uplift until manual sealing methods are applied.
Major Manufacturer Cold-Weather Rules & Warranty Risks
Leading roofing manufacturers maintain strict technical specifications for sub-50°F installations to ensure material performance standards are met. Failing to execute winter-specific installation directives directly compromises system reliability and jeopardizes manufacturer-backed warranty protection.
GAF Cold-Weather Installation Protocols
GAF mandates distinct application methods when ambient temperatures fall below 40°F during installation. According to GAF’s official cold-weather roofing application guidelines, shingles installed in cold conditions require manual sealing to prevent wind damage before thermal bonding occurs.
- Manual Adhesive Requirement: Apply 1/4-inch to 3/8-inch spots of asphalt plastic cement under each shingle tab for immediate wind resistance.
- Fastener Placement: Ensure strict adherence to enhanced six-nail patterns to prevent pull-through in cold-hardened asphalt mats.
- Storage Conditions: Bundles must be stored in warm environments above 70°F for at least 24 hours prior to application to retain flexibility.
Owens Corning Winter Guidelines & Thermal Requirements
Owens Corning winter replacement guidelines specify that self-sealing adhesive strips require direct exposure to solar radiation and ambient heat to bond permanently. When installing in low temperatures, contractors must manually apply roofing cement to compensate for dormant thermal adhesive strips.
- Adhesive Application: Apply high-grade asphalt roof cement directly beneath the lower corners of each shingle shingle tab.
- Pneumatic Pressure Adjustment: Daily monitoring of air compressor pressure is required to avoid fracturing cold shingle substrates.
- Thermal Delay Awareness: Acknowledge that shingles installed during late fall or winter may not fully seal until warmer spring temperatures arrive.
Does Installing a Roof in Winter Void Your Warranty?
Installing asphalt shingles in winter does not automatically void a manufacturer warranty, but failure to follow mandated cold-weather steps can void your wind blow-off warranty coverage. If unsealed shingles lift or blow off during winter storms because manual sealing was omitted, repairs are generally classified as installation errors rather than manufacturing defects.
Roofing Material Comparison in Freezing Weather
Selecting the right roofing material for winter construction minimizes installation complications and protects against severe freeze-thaw cycles. Different roofing products react uniquely to sub-zero temperatures, requiring careful evaluation before winter replacement projects begin.
Architectural Shingles vs. Standard 3-Tab in Freezing Weather
Architectural shingles feature a heavier, multi-layered fiberglass mat that provides superior rigidity and wind resistance compared to standard 3-tab shingles during cold weather installation. However, both variants still require manual adhesive sealing when temperatures drop below the manufacturer’s threshold.
- Architectural Shingles: Thicker laminate profile resists cold-weather cracking better than standard 3-tab designs.
- Standard 3-Tab Shingles: Highly brittle in freezing conditions, making them prone to breakage under pneumatic nail guns.
- Synthetic Underlayment Integration: Pairing shingles with high-performance synthetic underlayment ensures waterproof protection against wind-driven winter moisture.
Metal Roofing: The Ultimate Winter-Proof Option
Metal roofing systems, including standing seam metal configurations, offer exceptional performance in freezing climates because they eliminate the need for thermal adhesive curing. Panels lock together mechanically, allowing contractors to complete installations safely in sub-zero environments.
- Metal Roofing Pros: Complete immunity to cold-weather brittle cracking, rapid snow shedding, and zero dependence on sun-activated adhesive strips.
- Metal Roofing Cons: Higher initial material investment and specialized installation skill requirements during extreme cold conditions.
- Asphalt Comparison: Traditional asphalt requires warm-weather storage or manual hand-sealing, whereas metal panels utilize mechanical clip and fastener locking systems.
Pro Tip:
Metal roofing panels don‘t rely on heat activation, making them ideal for sub-zero installations where asphalt seal strips would remain dormant and fail.
Slate, Tile, and Stone-Coated Metal (DECRA) Performance
Premium materials like slate, concrete tile, and stone-coated metal (DECRA) deliver outstanding durability against heavy snow loads and freeze-thaw degradation. DECRA systems combine the strength of steel with interlocking panels that prevent wind uplift during severe winter blizzards.
- Stone-Coated Metal (DECRA): Interlocking panels resist freeze-thaw cycles and shed heavy snow loads efficiently without material degradation.
- Natural Slate: Highly durable in cold climates, though individual tiles require expert handling to prevent breakage on frosty decks.
- Thermal Expansion Management: Professional installations account for minor metal and stone structural movement caused by rapid winter temperature fluctuations.
Contractor Best Practices & Cold-Weather Protocols
Certified roofing contractors rely on specialized installation procedures to maintain structural integrity when working in sub-freezing conditions. Implementing strict cold-weather protocols ensures materials remain pliable, fasteners hold securely, and safety standards are maintained throughout winter construction.
Hand-Sealing Each Shingle with Roofing Cement
Because self-sealing adhesive strips stay dormant below 40°F (4.4°C), manual application of asphalt plastic cement is required for every shingle. This step provides instant uplift resistance against winter windstorms until seasonal warm weather permanently bonds the factory adhesive.
- Ice & Frost Removal: Clear all frost, snow, and moisture from the roof deck using soft-bristle brooms or leaf blowers before laying underlayment.
- Thermal Conditioning: Retrieve heated shingle bundles directly from warm storage facilities or job-site hot boxes immediately prior to placement.
- Manual Glue Application: Apply two to four dabs of asphalt roofing cement (quarter-sized) beneath the lower corners of each shingle tab.
- Precise Fastener Placement: Execute a straight six-nail installation pattern, ensuring correct pneumatic pressure or manual hand nailing without puncturing the mat.
- Immediate Tab Compression: Press each shingle tab firmly down into the freshly applied cement to establish a instant wind-resistant bond.
Thermal Bundling: Using Heated “Hot Boxes” & Heated Trailers
Proper job-site material conditioning prevents asphalt shingles from cracking or breaking during installation. Professional crews keep shingle bundles inside insulated hot boxes or climate-controlled trailers heated to at least 70°F until the exact moment they are nailed to the roof deck.
- Hot Box Material Storage: Insulated containers equipped with safe heat sources keep shingle bundles flexible for precise cutting and bending.
- Staggered Roof Transport: Crews bring up only two to three bundles at a time to prevent materials from cooling and hardening on the cold roof deck.
- Thermal Warming Protocols: Keeping tools, flashing materials, and asphalt plastic cement warm guarantees smooth application and prevents adhesive clumping.
Equipment Adjustments: Hand-Nailing vs. Reduced Air Compressor Pressure
Sub-freezing temperatures alter how pneumatic equipment interacts with roofing materials. Cold renders asphalt mats brittle, making calibrated tools and adjusted techniques essential for avoiding costly structural damage.
Caution: Over-Driving Fasteners in Cold Weather
Hardened, frozen shingle mats break easily under high impact. Excessive pneumatic compressor pressure causes nails to blow completely through cold asphalt shingles, destroying their holding power and voiding manufacturer wind warranties.
- Pneumatic Pressure Calibration: Lower air compressor PSI settings incrementally to compensate for cold-hardened shingle resistance.
- Hand Nailing Preference: Many contractors prefer manual hand-nailing in extreme cold to maintain complete control over nail depth and angle.
- Fall Protection & Rigging: Workers wear specialized winter footwear, use ice-cleared ladders, and attach safety harness systems to secure roof anchors at all times.
Homeowner Quality Control Checklist: Is Your Roofer Cutting Corners?
Homeowners hiring contractors during winter months often worry about rushed work or skipped procedures. Implementing a structured quality control checklist allows you to monitor job-site safety, verify roofer winter protocols, and protect your investment from improper cold-weather installation techniques.
5 Things to Inspect on Day 1 of a Winter Roofing Job
Catching installation shortcuts on the first day prevents structural damage and ensures your contractor is adhering to cold-weather best practices. You can easily check these critical milestones from the ground or by asking your crew foreman targeted questions before tear-off begins.
- Heated Material Storage: Verify that shingle bundles are stored in a heated trailer, garage, or hot box rather than sitting in frozen stacks outside.
- Foreman Question: “Where are our shingles being conditioned, and are they being kept above 70 degrees before nailing?”
- Deck Moisture & Frost Removal: Ensure the roof deck is completely cleared of frost, ice, and morning condensation before underlayment goes down.
- Foreman Question: “How is the crew drying and prepping the plywood deck if there was overnight frost?”
- Pneumatic Gun Pressure Settings: Check that air compressor gauges are adjusted downward to prevent nail heads from cutting through cold-hardened shingle mats.
- Foreman Question: “What PSI are you running on the nail guns to account for cold shingle density?”
- Underlayment Integration: Confirm that a high-performance synthetic underlayment or ice-and-water shield is fully sealed along eaves and valleys.
- Foreman Question: “Are we installing a full self-adhering leak barrier across the lower eaves?”
- Crew Safety Rigging: Look for secure tie-offs, ice-cleared ladders, and proper harness usage to maintain job-site safety on slick winter roofs.
- Foreman Question: “Are all crew members tied off with OSHA-compliant fall protection harnesses?”
How to Check If Your Shingles Were Properly Hand-Sealed
Because factory adhesive strips remain dormant in freezing weather, performing thorough shingle hand-sealing verification is mandatory to prevent wind blow-offs. Inspecting the roof edge after installation reveals whether the crew applied the required asphalt plastic cement.
- Spot Check Edges: Gently lift a lower shingle tab to inspect whether quarter-sized dabs of roofing cement were manually placed underneath.
- Adhesive Presence: Confirm that black asphalt cement is visible and tacky, anchoring the tab securely to the shingle below.
- Manufacturer Compliance: Ensure hand-sealing was performed across all sloped sections, as required by major warranty guidelines.
Red Flags That Signal an Unsafe Cold-Weather Installation
Recognizing contractor red flags early lets you pause work before substandard installation causes leaks or structural failure. Shingle rippling, cracked tabs, and visible fastener blow-throughs are primary warning signs of a compromised winter roofing job.
- Cracked Shingle Mats: Shingles snapping, splintering, or breaking when bent over ridges indicate cold materials that were not properly pre-warmed.
- Shingle Rippling or Buckling: Uneven surfaces or rippling patterns happen when underlayment is installed over trapped frost or frozen moisture.
- Over-Driven Nails: Fasteners driven straight through the shingle surface show excessive pneumatic pressure and create immediate leak pathways.
- Refusal to Hand-Seal: If a contractor claims hand-sealing is unnecessary in 35°F weather, they are violating manufacturer specifications and risking your warranty.
Are Winter Roofs Actually Cheaper?
Replacing a roof during the winter months presents a unique economic trade-off between off-season contractor discounts and increased cold-weather labor overhead. Analyzing these financial variables helps homeowners evaluate total installation cost against seasonal pricing trends.
Off-Season Discount Savings vs. Cold-Weather Labor Costs
December, January, and February are statistically the cheapest months for roofing because contractor demand drops significantly. To keep crews employed, roofing companies frequently offer off-season labor discounts ranging from 5% to 15% off standard project estimates.
However, these upfront savings are often partially offset by additional cold-weather operational expenses. Winter jobs take longer to complete due to shortened daylight hours, equipment warming procedures, and the slow process of manually hand-sealing each asphalt shingle tab with cement.
- Contractor Discount Potential: Lower demand allows homeowners to negotiate better rates and secure faster project scheduling.
- Labor Overhead Increases: Specialized requirements—like heating shingle bundles in hot boxes and hand-nailing—add hours to total project duration.
- Net Financial Impact: While winter roofing is rarely substantially more expensive, net savings often shrink from 15% down to a modest 3% to 5% net reduction after factoring in extra labor hours.
Average Cost Breakdown by House Size (2,200 sq. ft. vs. 4,000 sq. ft.)
Total roof replacement cost varies significantly based on square footage, roof pitch complexity, and seasonal labor rates. Evaluating standard season costs against winter installation estimates clarifies expected price ranges for common home footprints.
Is the Winter Discount Worth the Potential Risks?
Deciding to move forward with a winter roof replacement depends on your roof’s current condition and your contractor’s expertise. If your roof is actively leaking or structurally compromised, waiting until spring poses a far greater financial risk due to interior water damage and mold remediation costs.
- When to Proceed: Emergency leak repairs, severe storm damage, or installations using cold-friendly materials like metal or slate.
- When to Wait for Spring: Non-urgent asphalt shingle replacements where temperatures consistently remain below 32°F (0°C) for weeks.
- Contractor Selection: Ensure your estimate explicitly details cold-weather protocols (such as hand-sealing) so extra labor costs don’t appear as surprise change orders.
Emergency Winter Solutions: What to Do If You Have an Active Leak Now
When an active roof leak strikes during severe winter weather, executing a full roof replacement is often impossible until conditions stabilize. Deploying targeted emergency roof repair techniques protects your home interior from water damage, mold growth, and structural decay while waiting for warmer weather.
Emergency Tarping & Temporary Leak Patching
Emergency crews utilize specialized temporary stabilization methods to secure active roof leaks in sub-zero environments. Applying durable, weather-resistant barriers over damaged areas keeps water from penetrating the deck until permanent spring restoration can occur.
- Locate the Entry Point: Trace interior ceiling stains up to the roof deck, accounting for water traveling along rafters before dripping down.
- Clear Surface Ice and Debris: Safely clear accumulated snow, slush, and frost from the target area using non-abrasive roof rakes or soft brooms.
- Apply a Synthetic Membrane Patch: Seal localized punctures or missing shingle gaps using a high-tack synthetic membrane patch engineered for low-temperature adhesion.
- Secure Heavy-Duty Emergency Tarping: Drape a thick, UV-resistant tarp over the roof ridge, extending it past the damaged zone to ensure complete water shedding.
- Anchor with Wooden Furring Strips: Fasten the tarp edges tightly to the roof deck using 1×2 wooden furring strips and exterior screws to prevent wind tear-offs.
Warning: Extreme Safety Hazard on Winter Roofs
Never attempt DIY emergency roof tarping or repairs on ice-slick surfaces. Sub-freezing temperatures, hidden black ice, and steep pitches create severe slip and fall risks. Always hire licensed emergency roofing professionals equipped with proper safety harnesses and fall arrest gear.
Mitigating Ice Dams Before Work Begins
Ice dams form when heat escaping from an under-insulated attic melts snow on the upper roof deck, causing meltwater to pool and freeze along colder eaves. This trapped water backs up beneath shingles, creating severe active leaks inside exterior walls during winter storms.
- Safe Ice Dam Removal: Professional crews melt channels through ice dams using calcium chloride de-icing socks or low-pressure steam units.
- Attic Thermal Management: Immediately address internal causes by sealing attic air leaks and adding temporary insulation to keep the roof deck cold.
- Rake Snow Off Eaves: Regularly clear the lower three to six feet of snow from your roof line using a ground-operated roof rake to eliminate the raw material that fuels ice dams.
Can You Repair a Roof During an Active Snowfall?
Contractors cannot perform structural repairs or shingle replacements while snow or freezing rain is actively falling. Moisture trapped beneath newly installed underlayment or shingles creates rot, deck warping, and premature system failure once sealed into the roofing assembly.
- Winter Hazard Mitigation: Professional crews wait for active snowfall to cease before deploying emergency tarping or clearing ice.
- Deck Surface Drying: Roof decks must be 100% dry and free of frost before applying emergency patches, adhesives, or underlayments.
- Temporary Triage Strategy: Interior water collection buckets, ceiling relief holes, and temporary tarps buy critical time until a safe dry window opens up for formal repairs.
Frequently Asked Questions About Winter Roofing
Address common questions regarding cold-weather roof replacement, material performance, and household logistics during winter construction.
How long does it take for asphalt shingles to seal in winter?
Asphalt shingles may take several weeks or even months to self-seal during winter because factory adhesive strips remain dormant without sustained ambient temperatures above 40°F (4.4°C) and direct sunlight. Professional roofers apply asphalt plastic cement beneath each tab during installation to ensure immediate wind resistance until warm spring weather permanently bonds the shingles.
Can a roof be replaced in the rain or snow?
No, a roof should never be replaced while rain or snow is actively falling. Trapping moisture under new underlayment or shingles leads to wood deck rot, mold growth, and compromised material adhesion. Professional crews wait for clear, dry conditions and thoroughly dry the roof deck before installing new materials.
Can I live in my house while the roof is being replaced in winter?
Yes, homeowners can safely remain inside during a winter roof replacement, as crews tear off and re-roof in sectioned phases to keep the home protected. However, prepare for significant construction noise, minor interior vibrations, and temporary heating loss while old materials and decking are exposed to cold outside air.
Can I shower while my roof is being replaced?
Yes, you can shower during a roof replacement, but it is best to coordinate with your contractor beforehand. Construction vibrations can cause minor wall shaking, and crews working around plumbing stacks on the roof can occasionally create temporary noise or odor disruptions in vent lines.
Is a degree of lifting or rippling normal for a newly installed winter roof?
Minor lifting or slight unevenness can be normal immediately after a cold-weather installation because rigid winter shingles take longer to lay completely flat. Once warm spring temperatures arrive and activate the thermal self-sealing strips, the shingles naturally relax, flatten out, and bond flush against the roof deck.

Oscar Vance | Master Plumber & Drainage Expert
Meet Oscar Vance, a licensed master plumber sharing practical solutions on residential repairs, preventive maintenance, and thoughtful home upkeep.

