Catching HVAC Warning Signs Early Before Total Failure
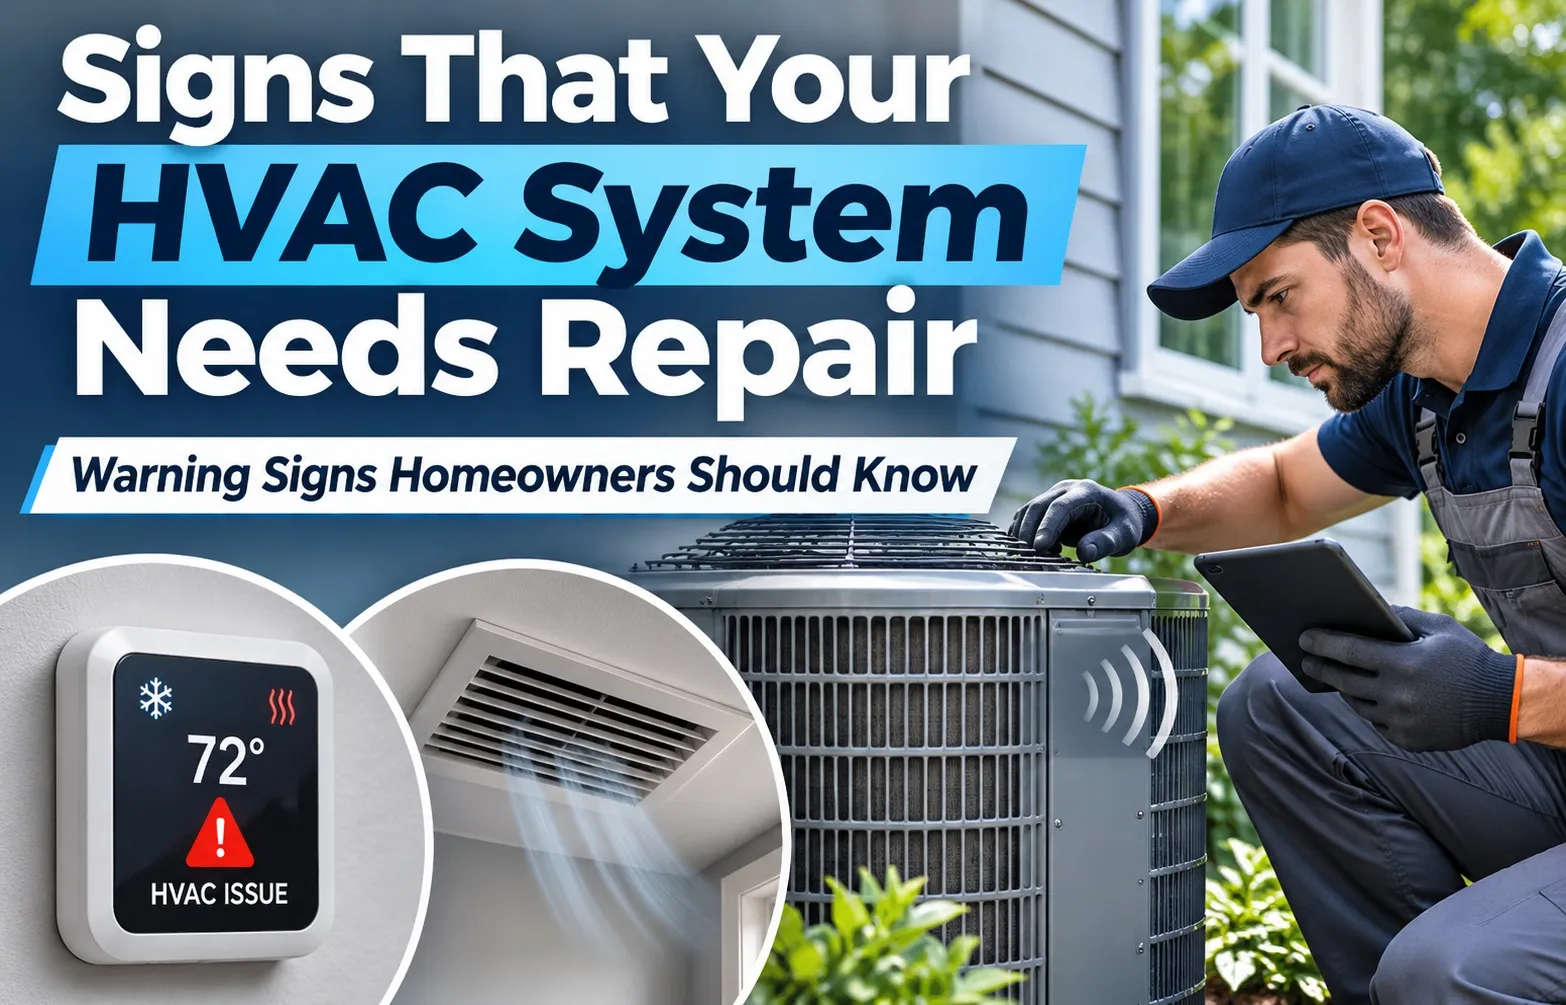 HVAC breakdowns rarely happen when outdoor temperatures are mild; instead, they usually strike during the dead of winter or the peak of summer heatwaves. When heating and cooling systems are pushed to their maximum operational capacity, minor, underlying mechanical issues quickly escalate into catastrophic failures.
Homeowners often overlook subtle performance drops until the equipment completely shuts down. Recognizing early diagnostic warning signs is the single most effective way to prevent costly emergency replacements.
- Extreme weather places maximum thermal and electrical stress on compressors, blower motors, and electrical components.
- Neglecting routine preventive maintenance allows minor friction and component wear to snowball into system-wide breakdowns.
- Emergency technician callouts during peak seasonal extremes often carry premium labor rates and frustrating wait times.
The Hidden Dangers of Ignoring Minor Heating and Cooling Symptoms
Ignoring early warning signs like subtle airflow reductions or faint mechanical noises can quickly transform a manageable $150 repair into a $6,000 full system replacement. Delaying service forces every internal part to work twice as hard, accelerating wear and driving up monthly utility bills.
Proactive troubleshooting safeguards your equipment, preserves peak energy efficiency, and protects your household budget from sudden financial strain.
- Small underlying issues like a failing capacitor or restricted coils force the entire HVAC network to consume excessive electrical power.
- Extended runtime cycles cause premature motor burnouts, refrigerant pressure drops, and severe compressor damage.
- Catching symptoms early ensures long-term system reliability, lower energy consumption, and preserved manufacturer warranty coverage.
The 7 Critical Warning Signs Your HVAC System Needs Repair
When your vents blow weak air or lukewarm air instead of strong, temperature-controlled airflow, it usually indicates restricted air movement or declining system pressure. A failing blower motor or blocked ductwork prevents conditioned air from circulating efficiently throughout your home.
Identifying airflow issues early prevents total system strain and protects internal components from overheating.
- Clogged or dirty air filters severely restrict airflow, forcing the system to choke and struggle against resistance.
- A failing or worn blower motor cannot push air effectively through your home’s complex ductwork network.
- Low refrigerant levels or leaking lines prevent the evaporator coil from properly absorbing heat and cooling air.
2. Unusual or Loud Mechanical Noises (Squealing, Grinding, and Banging)
Sharp squealing, grinding, or banging noises coming from your indoor unit or outdoor condenser signal failing mechanical parts that require immediate professional attention. Ignoring these distinct acoustic warnings can lead to a seized motor or a catastrophic compressor failure.
Different sounds point to distinct internal mechanical failures that escalate quickly if left unaddressed.
- High-pitched squealing or screeching usually points to a slipping or worn fan belt needing adjustment.
- Grinding and scraping sounds indicate failing motor bearings requiring urgent lubrication or component replacement.
- Loud banging or rattling noises mean loose internal components or a broken compressor mounting bracket.
3. Foul, Musty, or Burning Odors (Mold vs. Electrical Hazards)
Unpleasant odors blowing from your vents point directly to microbial growth within your system or dangerous overheating electrical components. Catching these smells early protects your indoor air quality and prevents potential electrical fires caused by electrical friction.
Recognizing the difference between organic odors and chemical smells is vital for home safety.
- Musty or mildew smells indicate mold or stagnant water trapped inside dirty ductwork or the condensate pan.
- Burning, plastic, or electrical odors signal overheating wires, failing capacitors, or severe motor stress.
- Musty “dirty sock syndrome” often stems from bacterial buildup accumulating directly on the evaporator coils.
4. Frequent Short-Cycling (Thermal Overload and Thermostat Glitches)
Short-cycling occurs when your HVAC system turns on and off rapidly without completing a full, normal cooling or heating cycle. This frustrating behavior places immense electrical strain on your compressor and failing components like the run capacitor.
Frequent cycling prevents proper temperature regulation while driving up wear and tear.
- Thermal overload protection triggers automatic system shutdowns to prevent permanent motor burnout from overheating.
- Faulty thermostat wiring or incorrect sensor calibration can send erratic signals directly to the control board.
- Severe airflow restrictions cause internal temperatures to spike, forcing emergency safety shutdowns.
5. Inconsistent Room Temperatures and High Indoor Humidity
If certain rooms in your house feel uncomfortably hot while others remain freezing, or your home feels overly muggy, your system is losing overall efficiency. Imbalanced distribution and poor humidity control mean the equipment can no longer manage your home’s thermal load.
Uneven cooling points directly to structural delivery failures or declining cooling capacity.
- Leaking, disconnected, or unsealed ductwork allows conditioned air to escape into unconditioned crawlspaces.
- Degraded insulation or failing zoning dampers disrupt balanced airflow delivery across different rooms.
- An underperforming air conditioner fails to extract adequate moisture from indoor air, leaving it humid.
6. Unexplained Spikes in Monthly Utility Bills
When your monthly utility bills jump dramatically without any changes in your household energy habits, your HVAC system is working overtime to compensate for internal mechanical damage. Hidden inefficiencies force the unit to run twice as long to achieve target temperatures.
Monitoring utility cost trends is an effective diagnostic indicator of underlying mechanical decline.
- Dirty coils and worn-out components drastically reduce energy efficiency, driving up electrical consumption.
- Continuous runtime cycles caused by minor malfunctions waste substantial amounts of electricity daily.
- Tracking sudden cost increases helps catch failing parts before they cause a complete system breakdown.
7. Water Leaks and Excess Moisture Pooling Around Units
Finding puddles or heavy water pooling around your indoor or outdoor HVAC units is a definitive sign of trouble that demands prompt intervention. Moisture issues usually stem from blocked drainage pathways or dropping pressure tied to a refrigerant leak.
Addressing moisture accumulation prevents severe structural water damage and mold proliferation.
- A clogged condensate drain line causes backup water to overflow into your living spaces or utility room.
- Frozen evaporator coils melting during off-cycles generate excessive water volume that overwhelms the drain pan.
- A developing refrigerant leak causes indoor coils to freeze solid, creating large melting water pools.
Homeowner Quick Diagnostic Checklist Before Calling a Technician
Need a quick DIY troubleshooting cheat sheet before paying for an expensive service call? Run through this simple four-step homeowner diagnostic checklist to safely check and resolve basic system faults in under ten minutes.
Verifying these four common trouble spots saves you unnecessary diagnostic fees and gets your equipment running smoothly again.
Step 1: Inspect and Replace Your Air Filter
A clogged air filter is the number one cause of unexpected HVAC shutdowns and restricted airflow. Inspect your filter immediately and replace it if it looks dark, dusty, or caked with debris.
- Pull out the existing filter from the return vent or blower compartment slot.
- Check the airflow direction arrow to ensure proper orientation before installing a fresh filter.
- Replacing a dirty filter instantly restores proper airflow and relieves thermal stress on the blower motor.
Step 2: Verify Thermostat Settings, Calibration, and Batteries
Incorrect control settings or dead thermostat batteries can mimic major mechanical breakdowns by halting system communication entirely. Double-check your user interface settings before assuming a component failure has occurred.
- Confirm the system mode is explicitly set to cool or heat, and adjust the target temperature five degrees past room temperature.
- Swap out old thermostat batteries with fresh alkaline cells to restore uninterrupted display panels and relay signals.
- Check schedule configurations to ensure automatic programming overrides are not unintentionally locking out operation.
Step 3: Check the Main Circuit Breaker Panel and Fuses
Electrical surges or heavy operating loads frequently trip dedicated circuit breakers protecting your indoor handler and outdoor condenser unit. Locate your home breaker box to verify that no switches have flipped to the off position.
- Inspect the main electrical panel for any tripped breakers labeled furnace, air conditioner, or HVAC.
- Reset a tripped breaker firmly by flipping it completely to the off position before switching it back on.
- If the breaker immediately trips a second time, stop troubleshooting and call a professional electrician or technician.
Step 4: Clear Debris and Vegetation Around the Outdoor Condenser
Restricted airflow around your outdoor condenser unit traps heat and forces the system into emergency thermal shutdown. Clear away leaves, tall grass, and overgrown bushes to restore proper heat exchange efficiency.
- Maintain a mandatory two-foot clearance zone around all sides of the outdoor cabinet.
- Remove accumulated leaves, dirt, and lawn clippings trapped against the aluminum condenser fins.
- Ensure the top fan grille remains completely unobstructed by low-hanging tree branches or structural overhangs.
The $5,000 Rule: Should You Repair or Replace Your HVAC Unit?
Facing a hefty repair bill for a malfunctioning HVAC unit leaves many homeowners wondering whether to fix it or invest in a brand-new system. The $5,000 rule provides a reliable financial framework to help you navigate this critical repair vs replace dilemma.
To calculate the rule, multiply the age of your equipment in years by the estimated cost of the current repair. If the final calculation exceeds $5,000, investing in an HVAC replacement is usually the smarter financial choice.
- Multiply your unit’s current age by the technician’s estimated repair quote to establish your financial threshold score.
- An 8-year-old air conditioner needing an $800 repair equals 6,400, making an upgrade far more cost-effective over time.
- A 4-year-old system requiring a $500 fix equals 2,000, indicating that a straightforward repair remains a sound investment.
Typical System Lifespan Benchmarks: AC Units, Heat Pumps, and Furnaces
Understanding expected equipment longevity is vital when evaluating whether to service aging hardware. Most heating and cooling systems operate on predictable timelines before mechanical wear outpaces efficiency.
Reviewing trusted industry resources such as the Energy Star HVAC guidelines helps homeowners determine when units approach the end of their optimal operational life.
- Standard central air conditioning units typically last between 10 to 15 years with proper annual maintenance.
- Versatile heat pumps generally provide efficient heating and cooling service for 10 to 15 years.
- Gas furnaces boast the longest average system lifespan, operating safely for 15 to 20 years before retirement.
When Frequent Breakdowns Mean It’s Time to Upgrade
Sinking money into continuous minor repairs quickly drains your savings account without resolving underlying systemic decline. When service calls become a recurring annual ritual, upgrading your equipment is the most practical financial decision.
Transitioning to a modern, high-efficiency system eliminates chronic repair headaches and drastically lowers monthly utility expenses.
- Paying for multiple service visits or major component replacements within a single 12-month window signals end-of-life failure.
- Older units utilizing obsolete R-22 refrigerant carry exorbitant recharging and maintenance costs when leaks happen.
- Modern system replacements deliver superior humidity control, ultra-quiet operation, and significantly higher energy efficiency.
Most Common HVAC Part Failures and Estimated Repair Costs
Run Capacitors and Contactors (The Most Common Electrical Failures)
Run capacitors and electrical contactors are the single most frequent points of component failure in heating and cooling systems. When these parts degrade from power surges or summer heat, your outdoor unit fails to turn on, resulting in average repair costs between $150 and $400.
Understanding these electrical parts helps you identify minor faults before they cause complete system shutdowns.
A failing run capacitor loses its ability to store electrical energy, often producing an audible humming noise while preventing the compressor or fan motor from starting.
The contactor acts as the primary electrical switch directing high voltage to your unit; pitted or burned contacts prevent the outdoor system from engaging.
Prompt replacement of electrical components prevents secondary damage to expensive motors and compressors.
Flame Sensors and Igniters (Why Your Furnace Won’t Stay Lit)
If your furnace ignites briefly before shutting down immediately, a dirty flame sensor or a cracked hot surface igniter is usually to blame. Replacing these safety components typically carries an average repair cost ranging from $75 to $350 depending on the specific part.
Gas heating systems rely heavily on precise electronic safety controls to operate safely.
Carbon and soot buildup on the flame sensor tricks the control board into thinking no flame is present, triggering an immediate safety lockout.
Hot surface igniters become brittle over time, eventually cracking and failing to generate enough heat to light the gas burners.
Routine annual tune-ups often include cleaning flame sensors to prevent unexpected winter heating emergencies.
Refrigerant Leaks and Evaporator Coils
Refrigerant leaks and corroded evaporator coils represent some of the most expensive and complex mechanical failures you can face. Fixing leak points and recharging system refrigerant generally requires an average repair cost between $250 and $1,500 depending on leak severity.
A sealed system failure compromises cooling capacity and demands expert technician intervention.
Corrosion from indoor air pollutants can pit copper tubing inside evaporator coils, creating microscopic holes where refrigerant escapes.
Low refrigerant pressure causes indoor coils to freeze solid into blocks of ice, halting all effective heat transfer.
Detecting and sealing leaks permanently requires specialized diagnostic gauges, nitrogen pressure testing, and professional recovery equipment.
Frequently Asked Questions About HVAC Repairs and Lifespan
What time of year is the cheapest to replace an HVAC system?
The cheapest times to replace your HVAC system are during the off-peak shoulder seasons of early spring and late autumn. Contractors experience lower demand during these temperate months, frequently offering seasonal discounts, manufacturer rebates, and flexible scheduling incentives to keep crews busy.
Planning your replacement during these windows prevents you from paying emergency premium rates during summer or winter extremes.
- Shoulder months like March through April and October through November offer the best contractor availability and promotional pricing.
- Off-peak installation discounts help homeowners save hundreds on labor and equipment markup costs.
- Purchasing equipment before seasonal price hikes take effect maximizes your overall financial savings.
How can I tell if my AC compressor is completely dead?
You can identify a dead AC compressor when the outdoor unit hums loudly but the fan fails to spin, or when the main circuit breaker instantly trips upon startup. If the compressor has suffered an internal electrical burnout, it will fail to pump refrigerant entirely and may emit a sharp electrical odor.
Distinguishing between a failed capacitor and a dead compressor requires professional electrical diagnostic testing.
- A seized or burned-out compressor draws excessive electrical current, causing the dedicated breaker to flip immediately.
- Loud internal rattling or metallic clanking sounds during startup indicate broken internal scroll plates or pistons.
- If the outdoor fan runs normally but the lines remain warm, the compressor is no longer compressing refrigerant.
Is short-cycling always an expensive fix?
No, short-cycling is not always an expensive fix, as it can sometimes be resolved by simply replacing a severely clogged air filter or resetting a miscalibrated thermostat. However, if the issue stems from a refrigerant leak, restricted airflow, or an oversized unit, the repair costs can escalate significantly.
Diagnosing the root cause quickly prevents continuous thermal wear on your compressor motor.
- Basic fixes like changing a dirty filter or swapping dead thermostat batteries cost very little and resolve many cycling issues.
- Mid-tier repairs such as replacing a faulty control board or faulty limit switch range from $150 to $500.
- Severe underlying causes like chronic refrigerant leaks or incorrect system sizing can require expensive major overhauls.

Oscar Vance | Master Plumber & Drainage Expert
Meet Oscar Vance, a licensed master plumber sharing practical solutions on residential repairs, preventive maintenance, and thoughtful home upkeep.