Mildew vs. Mold on Bathroom Walls How to Tell the Difference
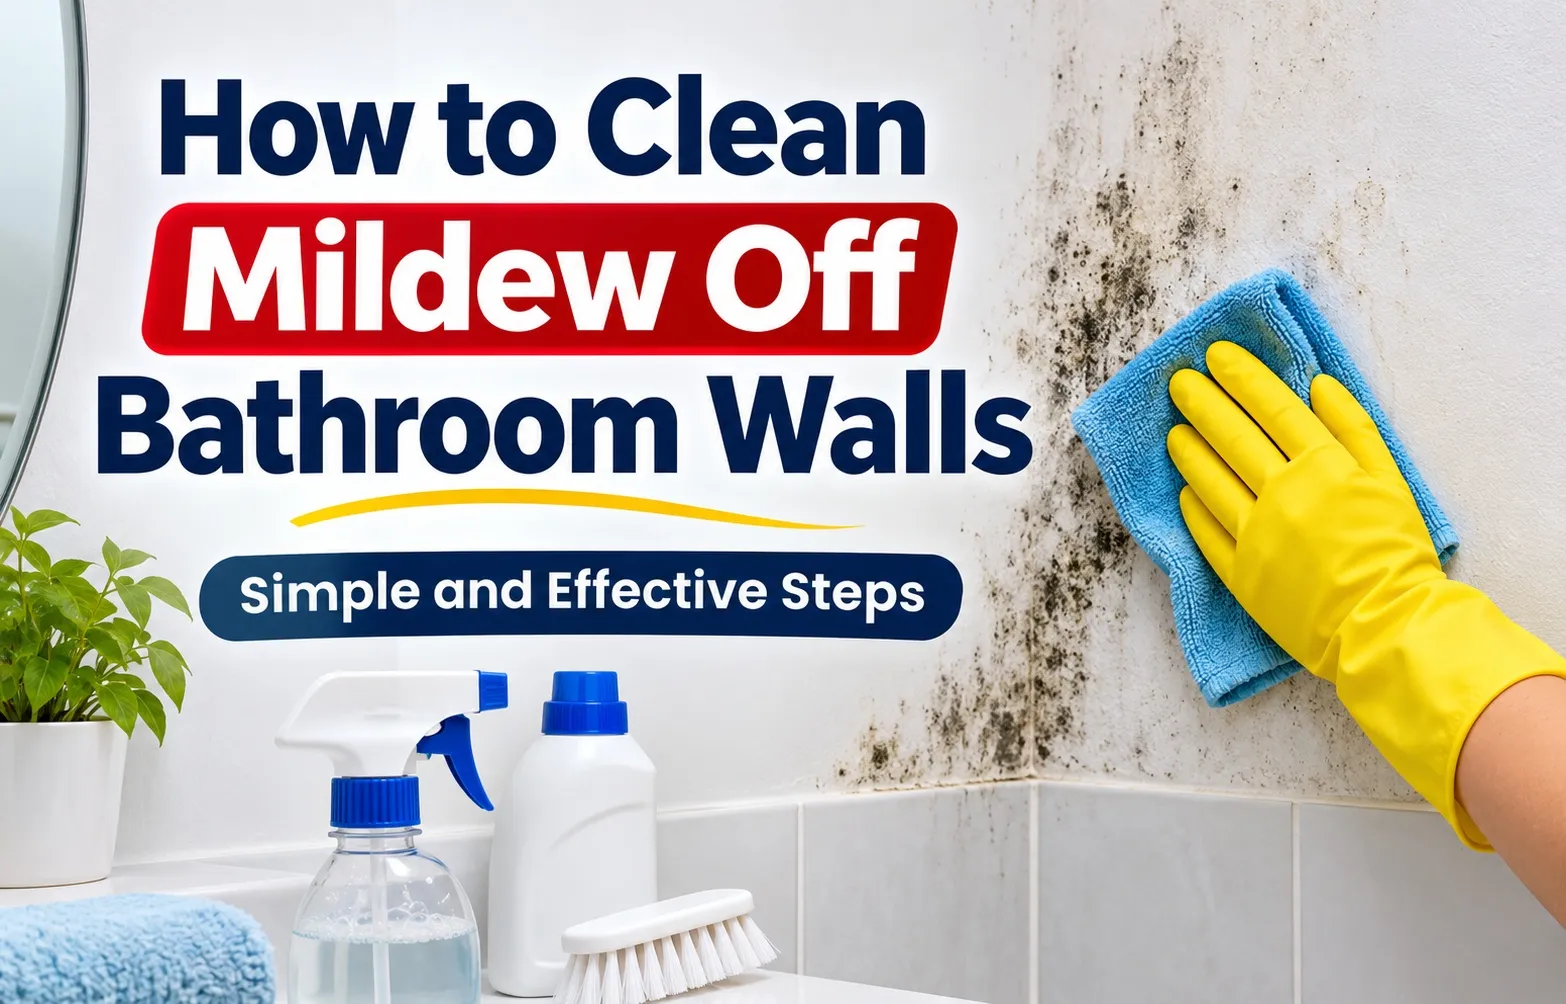 Before applying any cleaning solution, identify whether the spots on your bathroom walls are surface mildew or deeply rooted mold. Mildew is a flat, powdery surface fungus that wipes away easily, whereas mold penetrates beneath paint and drywall with a fuzzy or slimy texture.
Accurate diagnosis determines which cleaner you need and whether your wall requires simple surface sanitizing or deeper structural repair. Treating deep fungal growth as basic mildew often leads to recurring stains within a few weeks.
Visual & Texture Differences (Flat & Powdery vs. Fuzzy & Slimy)
When comparing mold vs. mildew on walls, examine the color, physical texture, and growth pattern under bright bathroom lighting. Mildew stays strictly on top of painted surfaces, while mold sends microscopic roots into damp porous materials.
Is Bathroom Wall Mildew Dangerous to Your Health?
Yes, prolonged exposure to bathroom wall mildew can trigger respiratory irritation and allergic reactions, even though it is less toxic than black mold. Both fungi release microscopic allergenic spores into the air whenever warm shower steam disturbs the wall surface.
Inhaling high concentrations of airborne fungal spores affects indoor air quality and causes immediate physical discomfort in poorly ventilated bathrooms. Prompt removal protects household members with sensitive immune systems or pre-existing breathing conditions.
- Common Allergy Symptoms: Sneezing, nasal congestion, itchy watery eyes, and mild throat irritation after spending time in the bathroom.
- Respiratory Triggers: Individuals with asthma, chronic sinusitis, or COPD may experience wheezing, coughing, or chest tightness.
- Escalation Risk: Leaving surface mildew untreated allows moisture to weaken your paint barrier, creating an ideal environment for hazardous fungal growth to take over the drywall beneath.
Safety First & The Golden Rule of Wall Surfaces
Cleaning mildew off bathroom walls requires proper personal protective equipment (PPE), continuous airflow, and matching your cleaning agent to your specific wall material. Using the wrong chemical not only exposes your lungs to toxic fumes and airborne spores, but also fails to eliminate fungal roots beneath painted surfaces.
Before spraying any solution, prepare your workspace and identify whether your wall surface is porous or non-porous. Following these foundational rules prevents permanent paint discoloration and stops mildew from growing back within weeks.
Mandatory Safety Gear & Ventilation Setup
Scrubbing mildew disturbs dormant fungal spores and disperses them directly into your breathing zone alongside harsh cleaning vapors. Equip yourself with protective barriers and maximize room ventilation before touching the wall.
- N95 Respirator Mask: Wear a snug-fitting N95 respirator rather than a standard cloth mask to block microscopic spores and irritating chemical fumes.
- Chemical-Resistant Gloves: Put on long rubber or nitrile gloves to prevent skin burns and dryness caused by concentrated vinegar or diluted bleach.
- Protective Safety Goggles: Use wrap-around splash goggles when spraying overhead wall sections or bathroom ceilings to shield your eyes from dripping solution.
- Maximum Airflow: Turn on your bathroom exhaust fan, open any nearby windows, and place a portable box fan facing outward to pull contaminated air out of the room, aligning with standard indoor safety protocols outlined in the EPA Mold Cleanup Guide.
- Fatal Chemical Warning: Never mix chlorine bleach with white vinegar, ammonia, or commercial toilet cleaners. Combining these substances instantly generates toxic chlorine or chloramine gas that causes severe respiratory damage.
Porous vs. Non-Porous Walls Why Surface Type Dictates Your Cleaner
The biggest mistake homeowners make when cleaning bathroom walls is applying liquid bleach to painted drywall. Because standard interior paint and gypsum drywall are porous, sodium hypochlorite cannot penetrate the microscopic pores to reach the fungal root structure.
Instead, bleach stays on the surface, strips the dark pigment out of the mildew to make it invisible, and leaves the water component behind to feed the surviving roots. Furthermore, harsh chlorine breaks down binders in flat, matte, and eggshell paint finishes, leaving behind permanent chalky rings.
- Porous Surfaces (Painted Drywall & Plaster): Require distilled white vinegar. The natural acetic acid penetrates porous paint films, alters the surface pH, and destroys the mildew root system without stripping wall color.
- Non-Porous Surfaces (Ceramic Tile, Porcelain & Glass): Have zero microscopic pores for roots to hide inside, allowing diluted bleach or commercial antimicrobial sprays to sanitize the surface completely on contact.
- Semi-Gloss & Satin Finishes: Offer better moisture resistance than flat paint, yet still contain microscopic pores that respond best to acidic vinegar treatments rather than heavy chlorine scrubbing.
How to Clean Mildew Off Painted Drywall (Using White Vinegar)
Cleaning mildew off bathroom painted walls requires an acidic solution that penetrates porous surfaces to eliminate fungal roots without stripping wall paint. Distilled white vinegar provides a natural, highly effective alternative to harsh chemical bleaches for delicate drywall surfaces.
By following a controlled application process, you ensure deep root kill while preserving your interior paint finish and preventing recurring fungal growth.
What You Need (Tools & Undiluted White Vinegar)
Gather your cleaning supplies ahead of time to ensure an efficient, safe workflow. Using the proper tools prevents unnecessary wear on painted drywall finishes.
- Distilled White Vinegar: Standard 5% acidity household white vinegar works best for neutralizing spores.
- Clean Spray Bottle: Allows you to apply an even, controlled mist over the affected wall area.
- Microfiber Cloths: Soft, lint-free cloths that lift grime without scratching paint.
- Warm Water Basin: Used for rinsing the surface after the vinegar treatment.
Step 1: Do a Hidden Paint Patch Test
Always test your vinegar solution on an inconspicuous spot before treating visible wall sections. Flat paint and eggshell finish walls are more vulnerable to moisture and acidity changes than semi-gloss coatings.
- Select a Hidden Spot: Choose a small area behind the bathroom door or near the floor trim.
- Apply Vinegar: Dab a small amount of undiluted white vinegar onto the test patch and wait 10 minutes.
- Inspect the Surface: Blot dry with a microfiber cloth and check for any paint discoloration, dullness, or chalky residue before proceeding.
Step 2: Saturate the Area & Wait 60 Minutes for Deep Root Kill
Pour pure, undiluted white vinegar directly into your spray bottle. Generously mist the mildewed sections of the wall until the surface appears visibly damp.
Allow the vinegar to sit undisturbed for at least 60 minutes. This dwell time is essential for the acetic acid to penetrate porous paint layers and achieve complete root kill.
Step 3: Gentle Agitation, Rinsing & Complete Drying
Wipe away the loosened mildew residue using a damp microfiber cloth or a soft sponge. Never use abrasive scrubbing pads or wire brushes, which permanently damage flat paint and strip wall textures.
Rinse the treated wall section with a clean cloth moistened with warm water. Finish by drying the area completely with a soft towel to eliminate residual moisture that attracts new spores.
How to Remove Stubborn Mildew From Tile, Grout & Shower Caulking
Non-porous surfaces like ceramic tile, grout lines, and silicone caulking tolerate stronger chemical treatments that safely lift stubborn fungal stains without structural damage. Applying a diluted chlorine bleach solution or a commercial mold remover quickly restores bright, sanitized surfaces in high-moisture shower zones.
Because these materials lack the microscopic pores found in drywall, potent sanitizers destroy surface mildew and deep-set grout discoloration on contact when applied with proper dwell times.
Mixing the Exact Diluted Bleach Ratio (3/4 Cup Per Gallon)
Combine three-quarters to one cup of regular liquid household bleach per gallon of warm water to create an effective sanitizing wash for non-porous bathroom tile. Avoid using undiluted industrial bleach, as excessive chemical concentration releases overwhelming fumes and damages surrounding metal fixtures.
If you prefer ready-to-use formulas, trusted commercial mold removers like Clorox Plus Tilex or Zep Mold & Mildew Stain Remover provide pre-mixed chlorine formulations designed specifically for shower walls and tub surrounds.
- Precision Measurement: Use a dedicated measuring cup to maintain the exact three-quarters to one cup bleach ratio per gallon of warm water.
- Application Container: Pour your mixed solution into a clean spray bottle or a large sponge bucket depending on the size of your tiled wall surface.
- Solution Safety: Always mix cleaning solutions in a well-ventilated space while wearing your protective gloves and eye goggles.
Step-by-Step Scrubbing Process for Tile & Grout Lines
Spray your diluted chlorine bleach solution generously across all affected ceramic tile and grout lines until the surfaces are completely wet. Allow the solution to sit undisturbed for a 10-minute dwell time so the active ingredients can break down fungal pigmentation.
Scrub the grout lines gently using a medium-bristle grout brush or nylon cleaning brush, then rinse the entire area thoroughly with clean water and let it air dry.
Special Case Dealing With Black Mildew in Silicone Caulking
Stubborn mildew trapped inside silicone caulking can often be eliminated using bleach-soaked cotton coils, though severely degraded or lifting caulk requires complete replacement. When moisture penetrates beneath the silicone seal, surface cleaning only offers a temporary cosmetic fix.
Pressing rolled cotton balls or paper strips soaked in bleach solution against the caulk line overnight draws out deeply embedded stains. If the silicone bead feels loose, spongy, or pulls away from the wall joint, strip out the old material entirely and re-apply fresh, antimicrobial bathroom silicone.
- The Overnight Cotton Trick: Twist cotton strips into thin ropes, saturate them in bleach, press them firmly against stained shower caulk, and leave for 8 hours before rinsing.
- When to Strip Caulk: If dark fungal growth persists beneath the silicone surface or water leaks behind the joint, physical removal is mandatory.
- Re-Sealing Process: Completely dry the joint after scraping out old caulk, apply a bead of mold-resistant silicone, and cure for 24 hours before exposing it to shower water.
Alternative Non-Bleach Option (3% Hydrogen Peroxide)
Standard 3% hydrogen peroxide provides an odorless, eco-friendly alternative to chlorine bleach for disinfecting ceramic tile and grout lines without harsh chemical odors. The bubbling oxidation process lifts organic mildew stains naturally while breaking down lingering fungal spores.
Pour undiluted 3% hydrogen peroxide into a spray bottle, mist the tiled wall thoroughly, and watch the solution fizz as it attacks the mildew. Let it sit for 10 minutes, scrub with a medium-bristle brush, and rinse with clean warm water.
- Odorless Sanitizing: Ideal for homeowners sensitive to strong chemical smells or individuals looking for a non-toxic household cleaning routine.
- Natural Fizzing Action: The visible bubbling reaction indicates active oxidation lifting organic residue out of textured tile pores.
- Safe for Grout Sealer: Less abrasive on existing grout sealants than harsh chlorine bleach when used for routine monthly maintenance.
When Cleaning Isn’t Enough Structural Damage vs. Repainting
Surface cleaning cannot fix bathroom walls when chronic moisture has penetrated behind the paint film into the underlying gypsum board. If your wall shows signs of softening, bubbling paint, or persistent bathroom ceiling mildew, you must evaluate whether the structure needs drywall replacement or proper sealing before repainting.
Distinguishing superficial discoloration from internal water rot prevents hidden fungal colonies from destroying wall framing and repeatedly bleeding through fresh coats of paint.
The 3-Second Poke Test for Rotting Drywall
Perform a quick physical inspection by pressing firmly against the discolored wall area with your thumb or the dull handle of a screwdriver. Healthy drywall feels completely rigid and solid, whereas water-damaged gypsum board yields easily under light pressure.
If the wall feels soft, spongy, or crumbles inward, surface cleaning will fail because active mold is thriving inside the wall cavity. In these cases, cut out the compromised section and install moisture-resistant green board or cement board.
- Spongy or Soft Texture: Indicates the paper facing and gypsum core have absorbed excess water and lost structural integrity.
- Bubbling or Peeling Paint: Shows trapped moisture pushing outward from behind the paint film, breaking the surface adhesion.
- Crumbling Drywall Edges: Confirms severe moisture rot that requires complete drywall replacement rather than chemical treatment.
- Recurring Ceiling Stains: Dark rings around bathroom ceiling mildew often point to a roof leak, attic condensation, or a disconnected exhaust fan duct above the drywall.
Never Paint Directly Over Active Mildew (Why Stain-Blocking Primer Is Mandatory)
Applying standard interior latex paint directly over cleaned mildew stains traps dormant spores underneath and provides organic binders that feed fresh fungal growth. Within weeks, dark spots bleed straight through the new paint layer and cause premature peeling.
After thoroughly cleaning and drying a structurally sound wall, seal the surface with an oil-based or shellac-based stain-blocking primer before applying your topcoat. Quality antimicrobial primer products like Kilz Restoration or Zinsser B-I-N permanently lock down residual stains and block future spore germination.
- Step 1 — Ensure Bone-Dry Surfaces: Run a fan for 24 hours after cleaning so zero moisture remains trapped inside the wall before priming.
- Step 2 — Apply Antimicrobial Primer: Roll on one to two coats of a high-hide stain-blocking primer to create an impermeable seal over old water marks.
- Step 3 — Topcoat With Moisture-Resistant Paint: Finish the wall with a dedicated bathroom-grade semi-gloss paint or satin enamel containing built-in mildewcides to create a durable moisture barrier.
How to Stop Bathroom Mildew From Coming Back Permanently
Eliminating mildew permanently requires strict moisture control that keeps your bathroom’s relative humidity below 50 percent. Because fungal spores naturally float in indoor air, they only colonize walls when condensation and trapped steam provide continuous hydration.
Combining proper mechanical ventilation with simple post-shower drying habits removes the damp environment mildew needs to survive.
Master the 30-Minute Exhaust Fan Rule & Humidity Thresholds
Always run your bathroom exhaust fan during every shower and leave it operating for at least 30 minutes afterward to clear lingering steam. Turning the fan off the moment you step out leaves warm moisture trapped against cool walls, triggering rapid condensation.
Verify that your fan’s CFM rating (cubic feet per minute) matches your bathroom’s square footage, and consider installing an automatic humidity-sensing wall switch so airflow continues until levels drop safely.
- Monitor With a Digital Hygrometer: Place a small hygrometer on your bathroom vanity to track real-time relative humidity and ensure readings stay between 30 and 50 percent.
- Calculate Required CFM Rating: Choose an exhaust fan providing at least 1 CFM per square foot of bathroom floor space (for example, an 80 CFM fan for an 80-square-foot bathroom).
- Maintain Door Gap Airflow: Keep a half-inch clearance beneath your closed bathroom door so fresh, dry air from the hallway can replace exhausted humid air.
- Clean Fan Vents Quarterly: Vacuum dust buildup off the exhaust fan grille every three months so lint blockages do not restrict suction power.
Post-Shower Habits That Eliminate Standing Moisture
Removing standing water droplets immediately after bathing slashes bathroom evaporation times by more than half. Adopting a quick two-minute drying routine prevents water from soaking into grout lines, caulking seams, and painted drywall.
- Use a Shower Squeegee: Wipe down tiled walls, glass shower doors, and tub surrounds with a rubber shower squeegee right after turning off the water.
- Spread Shower Curtains Fully: Pull fabric or vinyl shower curtains completely across the rod rather than leaving them bunched up, allowing trapped folds to air dry quickly.
- Hang Damp Towels Spread Out: Drape wet bath towels flat over heated towel bars or wide racks instead of piling them on hooks where moisture lingers against the wall.
- Inspect Plumbing and Grout Leaks: Check regularly around faucet handles, toilet bases, and cracked grout joints for slow leaks that feed hidden wall dampness.
Frequently Asked Questions
Quick answers to common questions about treating mildew and mold spores across different bathroom wall and ceiling surfaces.
What kills mold better on bathroom walls, bleach or vinegar?
When comparing bleach vs. vinegar, distilled white vinegar works better on painted drywall because its mild acid penetrates porous surfaces to kill fungal roots. Diluted bleach only removes surface discoloration on porous walls, making it suitable exclusively for non-porous ceramic tile, glass, and sealed grout.
Do Lysol wipes kill mold and mildew spores on walls?
Standard Lysol wipes and household disinfectants remove light surface mildew on non-porous bathroom fixtures, but they cannot penetrate porous painted drywall to destroy deeper roots. Relying solely on disinfecting wipes often leaves active fungal spores behind beneath the paint film, causing stains to reappear quickly.
What should you never use to clean mildew off painted walls?
Never mix chlorine bleach with ammonia or vinegar, as this creates toxic fumes, and avoid using undiluted bleach on flat or eggshell paint. Additionally, skip abrasive scrubbing pads, wire brushes, and excessive plain water, which strip wall finishes and soak drywall to feed new fungal growth.
How do you clean mildew off a high bathroom ceiling safely?
Wear protective goggles and an N95 mask to prevent dripping cleaner or falling spores from irritating your eyes and lungs. Attach a clean microfiber cloth to a flat telescoping floor mop, lightly mist the pad with distilled white vinegar, and wipe the bathroom ceiling without over-saturating the drywall.

Oscar Vance | Master Plumber & Drainage Expert
Meet Oscar Vance, a licensed master plumber sharing practical solutions on residential repairs, preventive maintenance, and thoughtful home upkeep.