Over- or Under-Tightening Fasteners
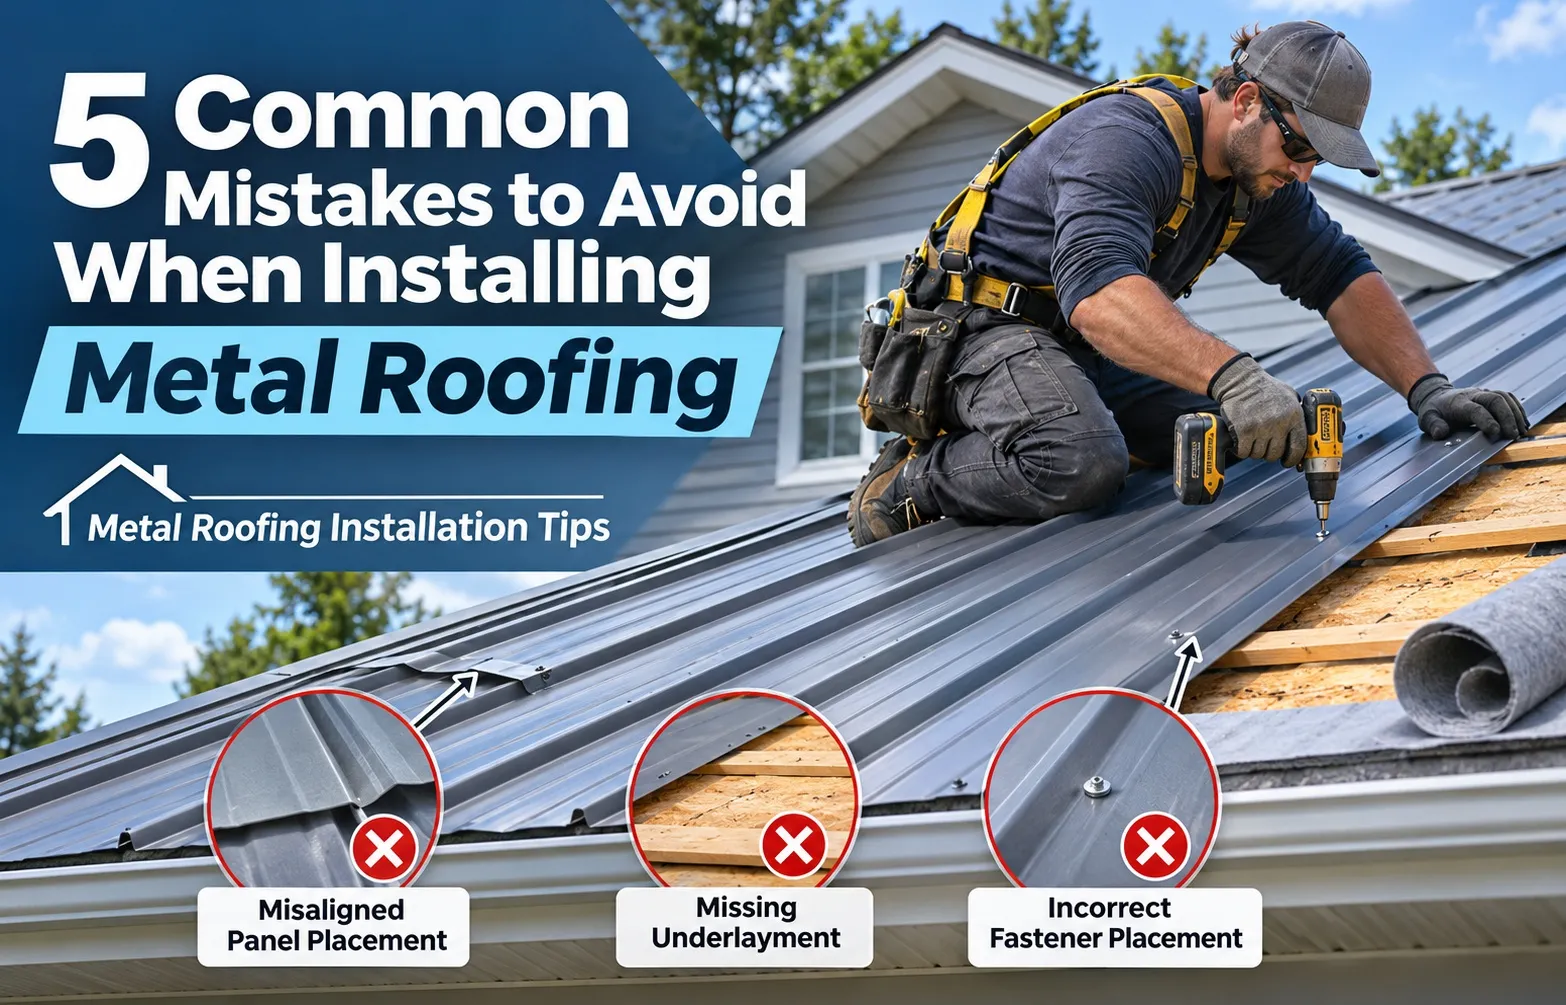 Fastener torque is the single most critical mechanical factor in exposed fastener metal roofing. Driving screws incorrectly damages the sealing mechanism and invites immediate moisture entry.
The Anatomy of a Metal Roofing Screw and Washer
Metal roofing fasteners consist of a specialized shank, drill point, and a bonded washer assembly. This assembly features a metal backing bonded to a flexible sealing element.
Understanding this anatomy explains why exact screw depth matters for weather-tightness. Key components include:
- The hardened steel shank designed to resist shear forces.
- A vulcanized rubber or neoprene washer that creates a waterproof seal against the panel surface.
- A metal cap that distributes clamping force evenly across the resilient seal.
The Dangers of Over-Tightening (Crushed Neoprene)
Applying excessive torque while driving fasteners crushes the underlying sealing element beyond its functional limit. This mistake ruins the weather-proof barrier.
When neoprene washers are compressed too deeply, they split, distort, or squeeze out from beneath the metal head. Consequences include:
- Exposed metal edges cutting into the rubber under cyclic thermal movement.
- Immediate gaps around the screw threads that allow water infiltration.
- Restricted panel expansion which causes distortion and structural stress.
The Dangers of Under-Tightening (Gaps and Leaks)
Stopping short of proper torque leaves the washer loose against the metal panel surface. This leaves an open pathway for driving rain and moisture entry.
Loose fasteners fail to compress the sealing material adequately, preventing a watertight bond. Risks associated with insufficient screw depth include:
- Water seeping directly through the fastener hole during heavy downpours.
- Screws backing out over time due to wind vibration and thermal shifting.
- Premature corrosion around the uncompressed fastener assembly.
How to Achieve the Perfect Torque Balance
Mastering correct torque specs ensures long-term roof integrity without compromising the fastener assembly. Installers must use specialized depth-sensing tools.
Achieving the ideal compression requires careful observation and calibrated equipment adjustments. Best practices include:
- Using an adjustable clutch screw gun set specifically for metal panels.
- Stopping when the rubber washer expands slightly outward to form a uniform, nickel-sized bead around the metal head.
- Inspecting screw depth regularly across all exposed fastener metal roof panels during installation.
Ignoring Thermal Expansion and Contraction
Metal panels continuously expand and contract in response to daily and seasonal temperature shifts. Failing to account for this physical movement creates severe structural stress, waviness, and permanent seam distortion.
How Temperature Shifts Affect Metal Panels
All architectural metals react to thermal variations by expanding when heated by the sun and contracting when temperatures drop at night. This continuous cycle puts immense pressure on fastening points.
Without proper installation clearances, locked-down panels cannot move naturally. Consequences of restricted thermal movement include:
- Enlarged fastener holes that leak water over time.
- Sheared screw heads and popped fasteners caused by lateral friction.
- Buckling or warping along the length of long metal panels.
What is Oil Canning and Why Does It Happen?
Oil canning refers to the perceived waviness or stress wrinkling visible across the flat areas of metal panels. While it is primarily an aesthetic flaw, severe cases indicate trapped stress within the panel assembly.
This distortion occurs when thermal expansion forces have nowhere to dissipate, causing the flat metal surface to buckle outward. Contributing factors include:
- Rigidly fastening panels without allowing for lateral float.
- Substrate unevenness that puts uneven pressure on the metal skin.
- Using heavy-gauge panels without proper stress-relieving striations or ribs.
Using Sliding Clips and Correct Fastener Spacing for Movement
Preventing thermal distortion requires incorporating specialized hardware and precise layout techniques. Sliding clips allow standing seam panels to glide smoothly as temperatures fluctuate.
Proper engineering isolates the metal skin from fixed structural framing while maintaining high wind-uplift resistance. Essential installation practices include:
- Utilizing floating or sliding clip systems on long continuous panel runs.
- Leaving adequate clearance at gable trims and eaves for panel growth.
- Following manufacturer spacing guidelines to distribute thermal stress evenly across all metal panels.
Selecting the Wrong Panel for the Roof Pitch
Roof pitch dictates how quickly rainwater and melting snow drain away from the building envelope. Selecting an incompatible metal panel profile for a shallow slope leads directly to pooled water and severe leaks.
Understanding Minimum Roof Pitch Requirements
Every metal roofing system has a tested and certified minimum slope requirement to ensure gravity-fed drainage. Ignoring these manufacturer thresholds compromises the weather-tightness of the entire assembly.
Steeper roofs shed water rapidly, reducing hydrostatic pressure on laps and fasteners. Key pitch considerations include:
- Evaluating local weather patterns and heavy precipitation volume before choosing a panel style.
- Checking engineering specifications for absolute minimum slope thresholds.
- Designing adequate framing slope during the architectural planning stage.
Low-Slope vs. Steep-Slope Panel Systems
Different metal panel configurations are engineered for specific roof steepness ranges. Matching the correct system to your roof’s profile prevents long-term moisture issues.
Architectural designs require careful matching of panel mechanics to roof angles. Important distinctions include:
- Standing seam systems featuring mechanically locked or snapped seams that perform well on lower slopes when properly sealed.
- Exposed fastener corrugated metal roofing systems designed strictly for steep-slope applications.
- Utilizing specialized hydro-static standing seam profiles for extremely low commercial or residential roof pitches.
Why Low-Slope Exposed Fastener Roofs Fail
Installing exposed fastener corrugated panels on a low-pitch roof is a major installation error. Water naturally moves slower on shallow angles, increasing dwell time over fastener heads.
When standing water covers screw heads and lap joints for extended periods, hydrostatic pressure forces moisture past degraded rubber washers. Consequences include:
- Accelerated corrosion around fastener shanks and panel overlaps.
- Persistent roof leaks that saturate the underlying decking and insulation.
- Premature failure of the roofing system, requiring an expensive complete replacement.
Failing to Account for Dissimilar Metals (Galvanic Corrosion)
Combining incompatible metals without proper isolation triggers an aggressive electro-chemical reaction known as galvanic corrosion. This destructive process rapidly accelerates premature rust and severely compromises structural roof lifespan.
What is Galvanic Corrosion in Roofing?
Galvanic corrosion occurs when two electrochemically dissimilar metals make physical contact in the presence of an electrolyte, such as rainwater or condensation. Electrons flow from the anodic metal to the cathodic metal, causing accelerated degradation.
This electrochemical process eats away at the less noble metal at an unnaturally fast rate. Key elements driving this reaction include:
- Moisture acting as a conductive bridge between incompatible materials.
- Direct physical contact bridging two different metal alloy types.
- Runoff water transferring ionic metallic particles from an upper roof section downward.
Dangerous Metal Combinations to Avoid (e.g., Copper and Steel)
Certain metal pairings create a high electrochemical potential that guarantees rapid deterioration. The most common and destructive pairing in residential construction involves copper and steel.
Allowing aggressive runoff to flow across incompatible surfaces causes immediate and irreversible damage. High-risk combinations include:
- Copper flashing or gutters draining directly onto galvanized steel or aluminum roofing panels.
- Uncoated steel fasteners securing aluminum architectural panels.
- Zinc components touching incompatible metal substrates without a dielectric break.
Best Practices for Preventing Metal Reactivity
Preventing galvanic corrosion requires careful material selection and proper separation techniques during the planning and execution phases. Installers must eliminate direct metal-to-metal contact.
Safeguarding your roofing assembly against electrochemical reactions involves proven field protocols. Essential prevention methods include:
- Ensuring all flashings, fasteners, and panels consist of compatible or identical metal alloys.
- Installing non-conductive neoprene washers, PVC spacers, or bituminous coatings to create a physical barrier.
- Routing drainage systems so that copper runoff never drips onto aluminum or steel roof surfaces.
Leaving Metal Shavings Behind
Cutting, sawing, and drilling metal panels during installation leaves behind tiny microscopic metal shards and filings. Failing to sweep or wash away these debris particles results in aggressive rust staining and permanent finish degradation.
The Hidden Hazard of Metal Filings and Shards
Metal shavings generated by power saws and screw guns scatter across the roof surface and lodge in panel ribs or under laps. These hot filings immediately bond with factory paint coats when exposed to morning dew or rain.
Ignoring this cleanup step ruins the pristine appearance of a brand-new roof within weeks. Key hazards associated with metal debris include:
- Hot metal fragments embedding directly into the protective clear coat and paint layers.
- Accelerated oxidation caused by trapped moisture around jagged steel shavings.
- Unightly brown rust bleeding down vertical panel faces, destroying curb appeal.
How Flash Rust Destroys Factory Paint Finishes
Flash rust occurs when carbon steel shavings oxidize rapidly upon contact with moisture. This localized rust eats through the factory-baked finish and attacks the underlying metal substrate.
Once rust pitting breaches the protective coating, corrosion spreads beneath the paint surface, causing premature failure. Consequences of uncleaned filings include:
- Blistering and peeling paint around rusted debris spots.
- Permanent staining that resists standard residential cleaning solutions.
- Compromised warranty coverage, as manufacturers exclude damage caused by installation debris.
Daily Cleaning Protocols (Sweepers, Brooms, and Magnets)
Preventing flash rust staining requires a strict housekeeping routine at the end of every workday. Installers must actively clear all cutting residue before it interacts with moisture.
Implementing proper clean-up procedures ensures the factory finish remains pristine and protected. Essential daily protocols include:
- Using specialized magnetic sweepers across the entire roof surface to pick up loose steel filings and screw bits.
- Brushing panels thoroughly with soft-bristled brooms to dislodge shards trapped in seams and fasteners.
- Hosing down the finished roof sections at the end of each shift to wash away fine metallic dust.
Underlayment, Moisture Barriers, and Air Gaps
Sub-roof infrastructure plays a decisive role in the long-term durability and thermal efficiency of any metal roofing system. Ignoring moisture barriers or selecting incorrect decking materials compromises the entire assembly from the bottom up.
For detailed industry standards on avoiding sub-surface errors, consult the Western States Metal Roofing Guide.
Do You Need an Air Gap Under a Metal Roof?
Managing condensation is one of the most critical aspects of metal roof construction. Without proper ventilation, temperature differentials cause moisture to collect directly beneath the metal panels.
Creating an air gap allows trapped moisture vapor to escape before it condenses against the roof deck. Key benefits of proper ventilation include:
- Preventing trapped humidity from rotting wooden sub-structures.
- Enhancing energy efficiency by reducing radiant heat transfer into the attic.
- Extending the lifespan of both the metal panels and the underlayment.
Synthetic Underlayment vs. Traditional 30 lb Felt
Choosing the correct underlayment material directly impacts the weather-tightness and longevity of your roof deck. Modern synthetic underlayments have largely replaced traditional organic felts due to superior performance.
Synthetic options offer exceptional tear resistance and UV stability during the construction phase. Important comparisons include:
- Traditional 30 lb felt absorbs moisture easily, wrinkles, and degrades rapidly under high heat.
- Synthetic underlayments provide a high-tensile, waterproof slip sheet that withstands heavy foot traffic and extended sun exposure.
- Synthetics maintain dimensional stability without buckling when exposed to seasonal humidity shifts.
High-Temp Peel-and-Stick Ice and Water Shield Requirements
Standard underlayment is insufficient in vulnerable roof areas prone to ice damming or wind-driven rain. High-temperature peel-and-stick membranes are mandatory for critical zones.
Metal roofs transfer intense solar heat directly to the underlying membrane, requiring specialized high-temp adhesives that won’t melt or slip. Application priorities include:
- Installing peel-and-stick shields along eaves, valleys, rakes, and roof penetrations.
- Using rated high-temperature formulas that withstand metal deck temperatures exceeding 200 degrees Fahrenheit.
- Creating a continuous waterproof barrier against ice dam backups and wind-driven moisture.
Plywood vs. OSB: Best Decking Choices
The structural decking beneath your metal roof must provide secure holding power for fasteners and structural loads. Both plywood and Oriented Strand Board (OSB) are common, but they behave differently when exposed to moisture.
Selecting the right panel thickness and material grade ensures your screws maintain maximum withdrawal resistance. Key decking factors include:
- CDX plywood offers superior moisture resistance and nail-holding strength in high-humidity climates.
- OSB provides a cost-effective, uniform surface but swells permanently if subjected to prolonged water leaks.
- Ensuring a minimum thickness of 7/16-inch or 1/2-inch to meet structural wind uplift and fastener embedment standards.
Installing a Metal Roof Over Existing Shingles
Property owners frequently consider re-roofing directly over old asphalt shingles to save on labor time and disposal fees. While this method is feasible under specific conditions, doing so without proper structural evaluation introduces severe weight and thermal hazards.
Can You Install Metal Roofing Over Existing Shingles?
Yes, you can install a metal roof over existing shingles in many jurisdictions, provided the current roof has only a single layer and shows no signs of structural sagging or rot. Building codes and engineering limits dictate whether a complete tear-off is legally required.
Evaluating compatibility before starting a re-roofing project prevents catastrophic framing failures. Key preliminary checks include:
- Verifying that the roof structure can safely support the combined dead load of both asphalt shingles and metal panels.
- Inspecting the roof deck for hidden moisture damage, soft spots, or warped sheathing.
- Checking local municipal building codes regarding maximum allowable shingle layers.
Pros and Cons of Re-Roofing Without Tear-Off
Skipping a traditional shingle tear-off offers distinct financial and operational advantages, but it comes with notable long-term trade-offs. Weighing these factors helps determine the best approach for your property.
Understanding the balance between labor savings and future performance ensures informed decision-making. Important pros and cons include:
- Pros: Significantly reduced labor costs, faster project completion times, and elimination of landfill disposal fees.
- Cons: Trapped heat that can accelerate the degradation of the metal finish, inability to inspect or replace damaged wood decking underneath, and increased structural weight.
Critical Steps for Leveling and Counter-Battens over Shingles
Asphalt shingles are uneven and textured, meaning metal panels cannot be fastened directly to them without causing oil canning and surface distortion. Creating a flat plane using vertical purlins or counter-battens is mandatory.
Installing a raised wood frame over the existing shingle layer provides a solid nailing base and vital ventilation space. Essential execution steps include:
- Securing vertical wood counter-battens directly through the old shingles into the underlying structural rafters.
- Installing horizontal purlins across the counter-battens to create a stable, level grid for panel attachment.
- Ensuring fastener lengths are sufficient to penetrate through the batten system and firmly anchor into the wood frame.
Frequently Asked Questions About Metal Roofing Installation
Quick, authoritative answers to common installation questions help secure valuable placement in Google AI Overviews and People Also Ask (PAA) boxes. Review these critical guidelines before starting your project.
How often should a metal roof be screwed down?
Exposed fastener metal panels typically require screws placed every 12 to 24 inches along the length of the panel, following the purlin layout. Fasteners must be driven through every major rib at the eaves and ridges, and patterned evenly across intermediate supports.
Following strict fastening schedules ensures the roof withstands high wind uplift forces without tearing loose. Key fastening principles include:
- Placing screws consistently on the flat of the panel adjacent to the rib for exposed fastener systems.
- Avoiding random spacing that leaves vulnerable spans unsupported against heavy snow or wind loads.
- Inspecting manufacturer specifications for exact fastener counts per square foot.
What is the best thing to put under a metal roofing panel?
The best underlayment for a metal roof is a high-temperature synthetic waterproof membrane or a peel-and-stick ice and water shield. Traditional organic felt is no longer recommended due to its tendency to degrade under intense metal deck heat.
Choosing the correct underlayment protects the wooden roof deck from condensation and wind-driven rain. Optimal choices include:
- High-temp peel-and-stick membranes installed across eaves, valleys, and vulnerable roof penetrations.
- Heavy-duty woven synthetic underlayments that offer superior slip resistance and UV durability during installation.
- Breathable moisture barriers that prevent trapped water vapor from rotting underlying plywood or OSB sheathing.
Why shouldn’t you choose a metal roof for your home?
While metal roofing offers exceptional durability and a 50-year lifespan, certain drawbacks may make property owners reconsider. Understanding potential disadvantages ensures you select the right material for your specific needs.
Common limitations associated with metal roofing systems include:
- Higher initial material and professional installation costs compared to traditional asphalt shingles.
- Potential noise amplification during heavy rain or hail storms if adequate attic insulation or soundproofing is missing.
- Strict installation requirements that make DIY projects difficult without specialized roofing experience and tools.
How do you attach a metal roof securely to plywood?
Attaching a metal roof securely to plywood requires using specialized wood-grip screws equipped with weather-sealing neoprene washers. Fasteners must penetrate deeply enough into the wood decking to achieve maximum withdrawal resistance.
Proper anchoring prevents panels from lifting during severe wind storms. Essential attachment steps include:
- Using wood-threaded screws designed specifically to bite firmly into minimum 7/16-inch plywood or OSB decking.
- Driving screws straight and perpendicular to the panel surface to avoid bending the shank or crushing the sealing washer.
- Checking that screw threads engage fully through the bottom of the wood sheathing without stripping the hole.

Oscar Vance | Master Plumber & Drainage Expert
Meet Oscar Vance, a licensed master plumber sharing practical solutions on residential repairs, preventive maintenance, and thoughtful home upkeep.

