The Metal-Cutting Tool Selection Matrix
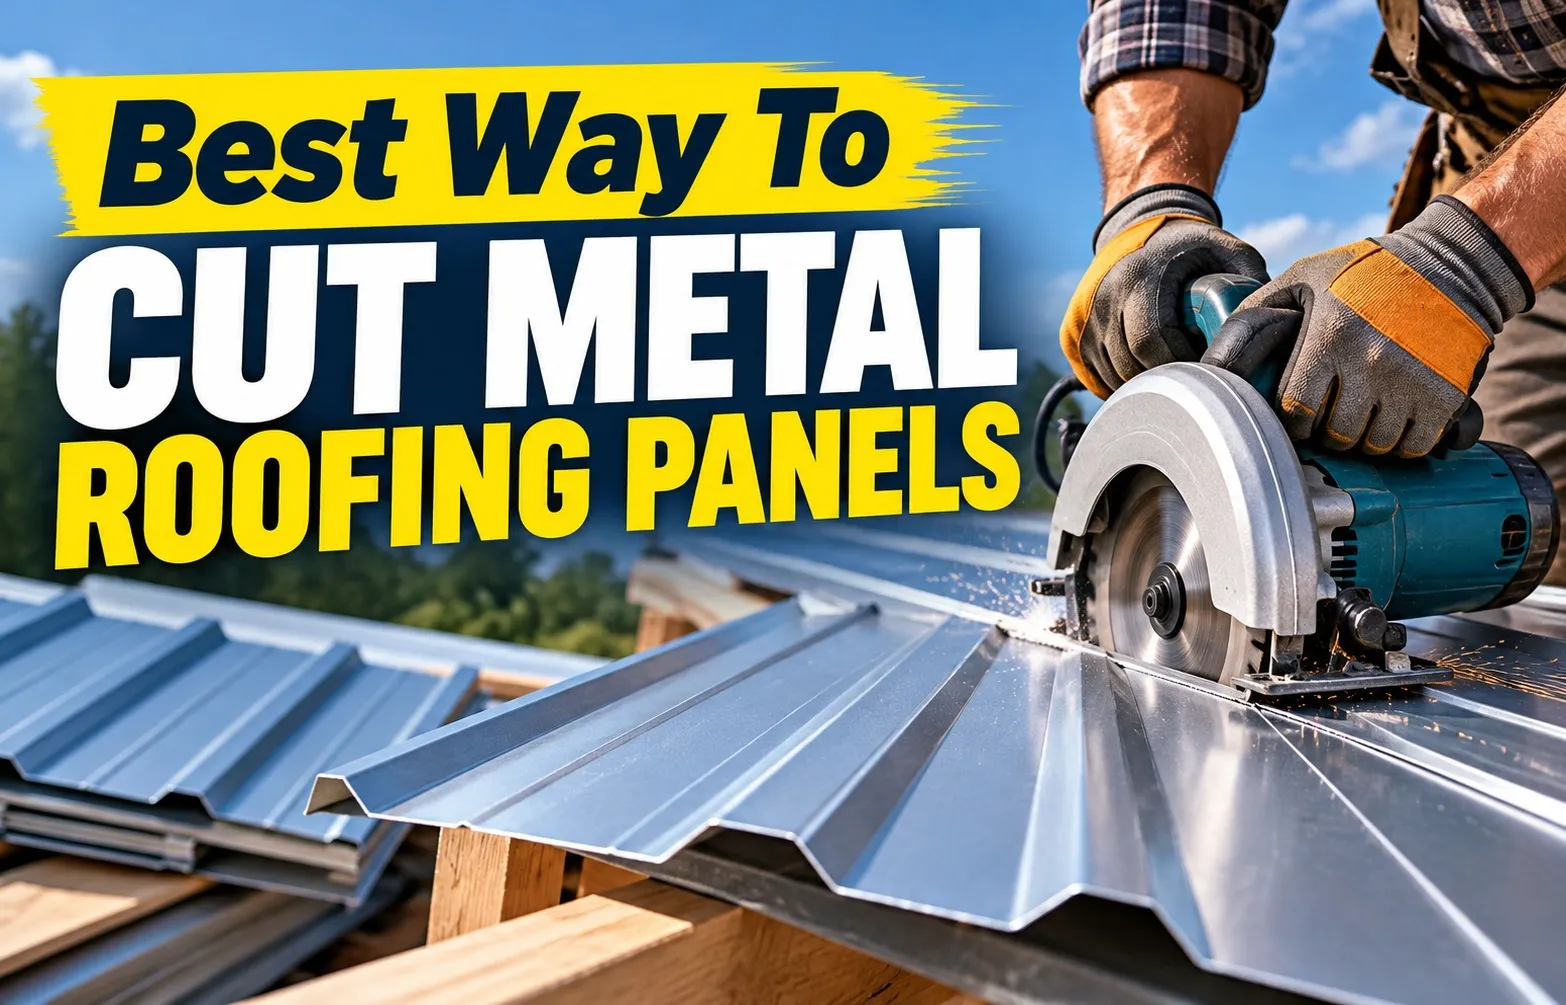 Selecting the correct tool for cutting metal roofing panels prevents material warping, preserves protective paint coatings, and ensures weather-tight seams. Your tool choice depends entirely on your panel profile, sheet gauge, and whether you need straight lengthwise rips, fast cross-cuts, or custom notches.
Double-Cut Shears: Best for Long Rips and Lengthwise Cuts
Double-cut electric shears are the industry standard for making fast, clean lengthwise rips along corrugated and ribbed metal panels. By punching out a narrow curl of scrap metal, these shears eliminate panel distortion and keep edges flat without bending the ribs.
- Efficiency: Cuts rapidly through light and heavy gauges without bogging down or straining your hands.
- Edge Integrity: Leaves a smooth, paint-friendly edge without generating destructive high frictional heat.
- Application: Ideal for sizing panels down to precise widths across long runs.
Circular Saws with Carbide Metal Blades: Best for Fast Cross-Cuts
A circular saw equipped with a specialized carbide-tipped metal-cutting blade delivers rapid, straight cross-cuts across multiple panels stacked together. This method dramatically speeds up installation when trimming multiple sheets to roof length.
- Blade Selection: Use a low-tooth-count, carbide-tipped metal blade designed to shear cold steel rather than grind it.
- Precision: Always clamp a straightedge guide to prevent wandering and protect the factory finish.
- Application: Perfect for high-volume cross-cutting on standard ribbed panels and PBR panels.
Electric Nibblers: Best for Corrugated Profiles, Curves, and Valleys
Electric nibblers punch small, crescent-shaped metal chips out of the sheet, making them unmatched for navigating high ribs, deep valleys, and complex curved cuts. They allow contractors to cut in any direction without binding or distorting contoured profiles.
- Maneuverability: Easily handles complex angles around skylights, chimneys, and roof pitches.
- Clean Navigation: Punches smoothly over high corrugations without crushing the profile shape.
- Application: Essential for custom flashing, valley cuts, and intricate roof penetrations.
Aviation Snips: Best for Fine Trimming, Notches, and Pipe Penetrations
Manual aviation snips are precision hand tools necessary for detailed trimming, corner notches, and tight circular cutouts around pipe penetrations. For expert guidance on handling manual hand tools, consult the AMS Supply Metal Cutting Guide.
- Left-Cut Snips (Red Handles): Designed for cutting tight arcs to the left and smooth straight lines.
- Right-Cut Snips (Green Handles): Engineered for cutting tight arcs to the right and complex offset angles.
- Straight-Cut Snips (Yellow Handles): Built specifically for long, straight manual snip trims and general utility cuts.
- Offset Snips (Wiss M400): Professional offset designs keep your hands elevated safely above sharp cut metal edges.
Why You Must Avoid Angle Grinders and High-Heat Tools
Using an angle grinder for metal roofing is one of the most common mistakes made during installation. High-heat cutting tools strip away factory coatings, ignite protective paint, and scatter destructive iron particles across your panels, setting up your roof for rapid structural failure.
The Heat Factor: How Abrasive Wheels Burn Protective Paint Coatings
High-speed abrasive cut-off wheels generate extreme heat friction at the cut site. This intense heat causes paint burn back along the cut line, melting the topcoat and vaporizing the underlying primer.
- Coating Destruction: Heat destroys the zinc-galvanized coating meant to defend steel sheets against moisture.
- Raw Edge Exposure: Leaves bare, unprotected steel exposed directly to rainfall, humidity, and atmospheric salt.
- Blistering Finish: Warps the surrounding paint layer, causing early flaking, peeling, and edge discoloration.
Swarf Damage and Accelerated Edge Rust
Cutting with an angle grinder produces thousands of red-hot metal sparks known as swarf. These microscopic iron dust particles shoot across the roof surface and melt directly into the panel finish.
- Stained Panel Finishes: Embedded swarf rusts almost immediately when exposed to dew or rain, leaving unsightly orange rust spots across the entire panel.
- Creeping Corrosion: Burnt edges deteriorate rapidly from the cut outward, causing severe corrosion beneath adjacent lap joints.
- Surface Pitting: As hot filings oxidize, they create pit marks that breach the protective finish down to the raw metal core.
Voiding Manufacturer Warranties: The Legal & Financial Risk
Major steel roofing panel manufacturers explicitly prohibit abrasive wheels and high-heat cutting methods in their installation instructions. Using an angle grinder immediately invalidates your material coverage.
- Nullified Claims: Any paint failure, edge corrosion, or rusting caused by abrasive cutting will result in denied warranty claims.
- Financial Liability: Installers and property owners become fully responsible for premature panel replacement costs.
- Inspection Failures: Commercial roofing inspectors reject installations exhibiting telltale grinder burn marks or swarf pitting.
How to Cut Metal Roofing Panels Safely
Executing clean, professional cuts on metal roofing requires strict adherence to safety protocols, precise measurement, and proper tool handling. Following a methodical step-by-step procedure ensures your panels fit perfectly while maintaining structural integrity and surface protection.
Step 1: Prep the Work Environment & Secure PPE
Proper personal protective equipment and a stable, organized workspace are critical for preventing severe lacerations and eye injuries when handling sheet metal. Always equip heavy-duty gear before handling sharp panels or operating power equipment.
- Cut-Resistant Gloves: Wear thick, high-dexterity protective gloves to shield your hands from razor-sharp factory edges and burrs.
- Safety Glasses: Put on wrap-around safety glasses or goggles to protect your eyes from flying metal fragments and airborne shavings.
- Workspace Clearing: Clear your work area of unnecessary clutter to ensure secure footing and prevent scratching the painted finish.
Step 2: Measure, Mark, and Support the Panel Profile
Accurately measuring and supporting your panel prevents structural bowing and ensures precise fitment during installation. Always cut metal roofing face-down on a padded, flat surface to protect the factory-finished topcoat from surface scratches.
- Surface Protection: Lay the metal panel face-down on clean sawhorses or a padded floor to prevent scratching the visible paint layer.
- Precision Marking: Double-check your dimensions and draw a clear cutting line using a grease pencil or chalk line.
- Guide Clamping: Secure a straightedge clamping guide or ledger board guide firmly across the panel to lock your cutting tool along a straight path.
Step 3: Execute the Cut (Power vs. Hand Method)
Steady, controlled motion is vital whether you are operating a power tool or manual shears. Maintain a consistent feed rate without forcing the tool to prevent binding or distorting the corrugated metal profile.
- Tool Alignment: Align your power saw blade or electric shear mechanism directly along your marked cut line with proper offset clearance.
- Controlled Feed Rate: Push or guide the tool forward at a smooth, steady pace, allowing scrap metal pieces to curl or drop naturally away.
- Firm Pressure: Maintain steady downward pressure on your guide board to keep the panel completely flat and vibration-free during the cut.
Step 4: Immediate Debris Management & Edge Finishing
Post-cut cleanup is essential to prevent leftover iron filings from oxidizing and staining the roof panels. Immediately remove all metal shavings and deburr any sharp edges to ensure long-term durability and weather-tight performance.
- Debris Removal: Sweep away all fine filings and hot metal swarf immediately using a magnetic broom or specialized brush.
- Edge Smoothing: Smooth out any rough or burred edges using a fine metal file or specialized deburring tool.
- Final Inspection: Inspect the cut edge thoroughly to confirm a clean, factory-quality finish free of surface blemishes or jagged burrs.
Advanced Contractor Hacks: Rust Prevention & Anti-Vibration Solutions
Professional metal roofing installers rely on specialized field techniques to prevent premature corrosion and eliminate annoying panel distortion during cuts. Mastering advanced swarf cleanup, edge sealing, and vibration dampening guarantees a pristine, long-lasting roof installation.
Magnetic Swarf Management: Neutralizing Embedded Iron Filings
Clearing microscopic metal debris immediately prevents devastating swarf damage and unsightly rust spots from forming on your roof panels. Fine iron dust left behind after cutting oxidizes rapidly upon contact with moisture, making magnetic cleanup an absolute mandatory contractor practice.
- Magnetic Sweepers: Roll a heavy-duty magnetic broom across the entire work surface immediately after completing cuts to lift loose iron shavings.
- Adhesive Rollers: Use sticky tack rollers or microfiber sweepers on painted panel surfaces to capture embedded iron dust that standard brooms might miss.
- Preventing Pitting: Complete removal of metal filings stops surface pitting before electrochemical corrosion compromises the factory finish.
Post-Cut Edge Sealing: Applying Zinc-Rich Touch-Up Paint
Applying a protective zinc-rich coating to raw, freshly cut edges enables proper edge sealing that safeguards the exposed steel core against moisture infiltration. This professional preventive step neutralizes vulnerabilities created during trimming, significantly extending the service life of architectural metal panels.
- Zinc-Rich Spray Paint: Coat all exposed panel edges using a manufacturer-approved zinc-rich spray paint or precision touch-up pen.
- Moisture Barrier: Creates a sacrificial galvanic barrier that prevents atmospheric moisture from attacking the raw steel substrate.
- Corrosion Defense: Essential in high-humidity or coastal environments where oxidation rapidly accelerates edge degradation.
Controlling Panel Chatter: Sacrificial Plywood Backing for Rips
Clamping a piece of sacrificial plywood beneath your metal panels effectively dampens vibration and eliminates violent panel chatter during long lengthwise rips. This installer trick keeps thin metal gauges completely flat, preventing jagged edges and warped ribs while operating power tools.
- Sandwich Clamping: Secure your metal panel tightly between a top straightedge guide and a bottom sheet of sacrificial plywood.
- Dampening Vibration: Absorbs high-frequency tool vibrations, successfully dampening vibration to prevent ripples, buckling, and noisy metal chatter.
- Straight Edge Control: Ensures factory-straight cuts on challenging gauges without distorting the profile geometry.
Frequently Asked Questions
Finding accurate answers to specific metal cutting questions helps avoid costly material damage and installation errors. Below are direct, expert answers to the most common questions about cutting metal roofing panels.
Can you cut metal roofing panels with a regular circular saw blade?
No, you should not use a regular wood-cutting blade forward, though some contractors historically mounted a fine-tooth wood-cutting blade in reverse for quick cuts. However, modern best practices dictate using a dedicated carbide-tipped metal cutting blade specifically designed for cold-cutting steel.
- Reverse Blade Risks: Reversing a wood-cutting blade generates excessive heat, sparks, and loud noise while leaving jagged, burred edges.
- Carbide Advantage: A specialized metal cutting blade shears thin steel cleanly, generating minimal heat and keeping protective paint layers intact.
- Safety First: Purpose-built metal blades reduce kickback risks and minimize flying hot debris.
What is the easiest way to cut corrugated metal roofing?
The easiest and cleanest tool for cutting corrugated iron sheets is an electric nibbler or double-cut shear. Nibblers easily punch across high ridges and deep valleys without crushing or distorting the wavy profile of corrugated metal sheets.
- Profile Protection: Nibblers follow uneven contours smoothly without flattening the panel corrugations.
- Cold-Cutting: They generate cool chips instead of hot sparks, protecting factory paint finishes.
- Speed: Power nibblers make fast work of angled ridge cuts and valley trims on corrugated roofs.
How do you cut 29-gauge metal roofing without damaging the paint?
To cut lightweight 29-gauge metal roofing without damaging the paint finish, use double-cut electric shears or aviation snips, and always lay the panel face-down on a clean, padded surface. Avoid any high-friction abrasive cutting wheels.
- Face-Down Placement: Cutting panels face-down keeps tool bases from scratching the decorative topcoat.
- Cold Shearing: Mechanical shearing methods do not burn back paint or melt underlying zinc coatings.
- Swarf Removal: Sweep away all metal filings immediately after cutting to prevent rust spots.
Can you use a table saw or reciprocating saw to cut metal roofing?
You should generally avoid using a table saw or reciprocating saw for metal roofing panels. A table saw can violently catch thin metal sheets, creating severe safety hazards and bending panels, while a reciprocating saw causes violent panel vibration and rough, uneven cuts.
- Table Saw Hazards: Unsecured sheet metal can catch on saw teeth, causing dangerous kickback and panel buckling.
- Reciprocating Saw Vibration: The pushing and pulling action creates excessive panel chatter, leaving jagged edges and cracked paint.
- Recommended Alternatives: Stick to circular saws with guide rails, electric shears, or handheld nibblers for clean results.
What color tin snips should be used for straight vs. curved cuts?
Color-coded handles on aviation snips designate their specific cut direction and offset orientation to make tool selection foolproof on the job site.
- Yellow Snips: Built specifically for straight cuts and wide, sweeping curves.
- Red Snips: Engineered to trim tight curves to the left (left-cut snips).
- Green Snips: Designed for smooth arc cuts to the right (right-cut snips).

Oscar Vance | Master Plumber & Drainage Expert
Meet Oscar Vance, a licensed master plumber sharing practical solutions on residential repairs, preventive maintenance, and thoughtful home upkeep.

