Action Guide & Essential Safety Prep
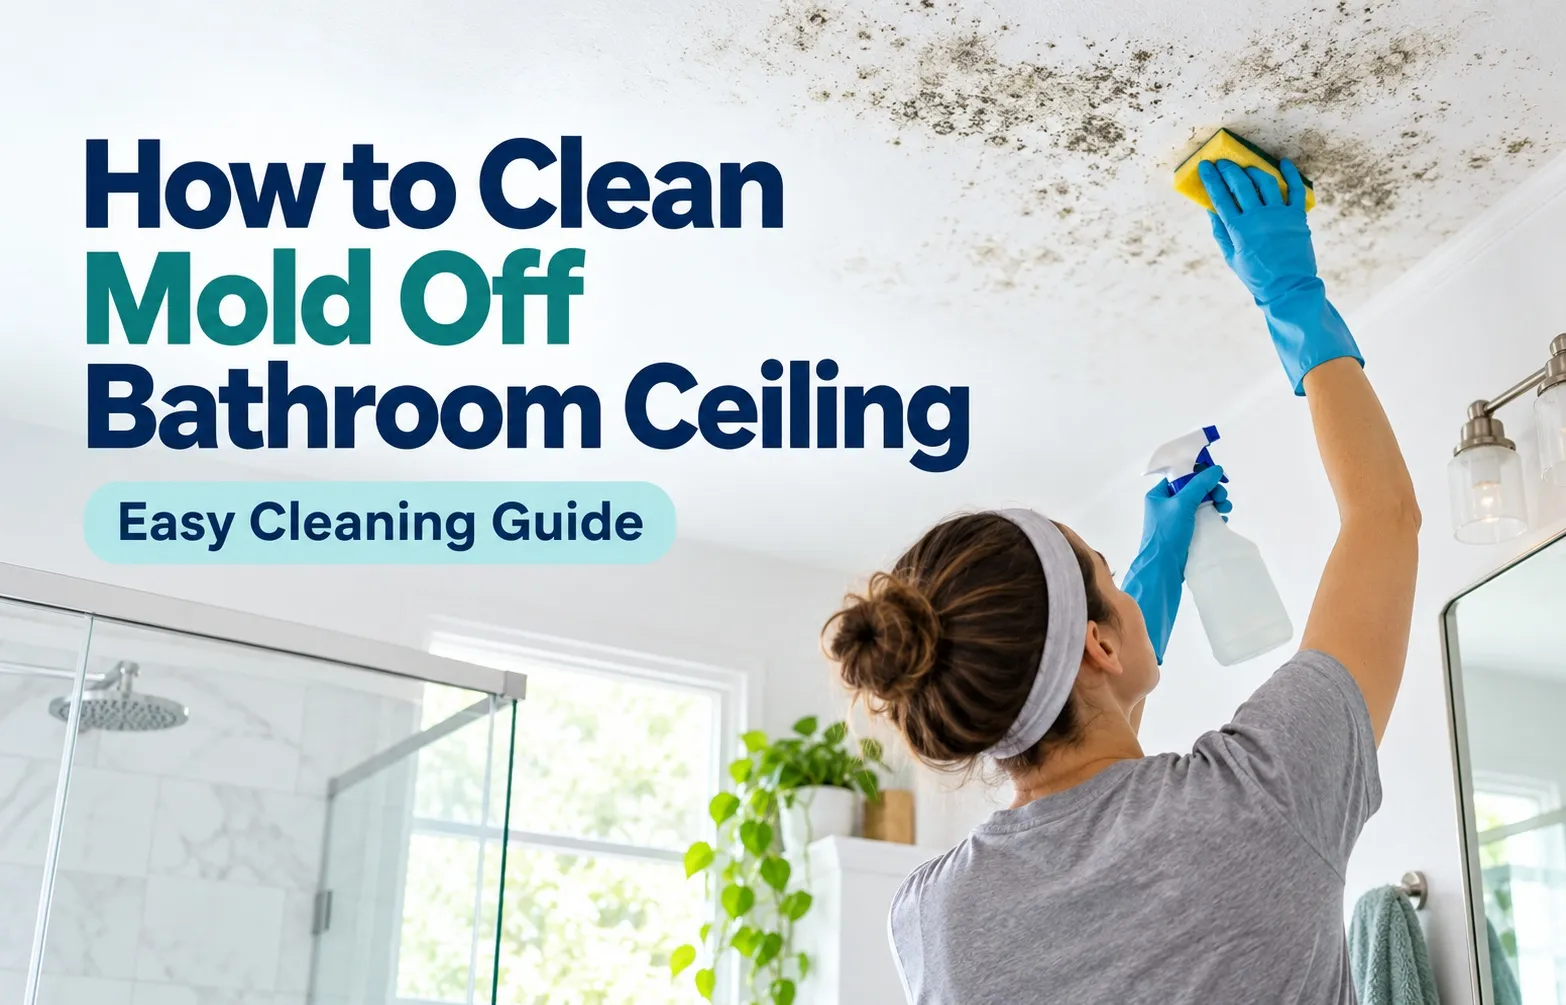 Cleaning mold off a bathroom ceiling requires immediate action to prevent microscopic spores from spreading through your home’s HVAC system or embedding deeper into porous drywall. Before applying any liquid treatment, securing the work zone and wearing targeted personal protective equipment (PPE) is essential to protect your eyes and lungs from severe chemical and biological runoff.
How to Kill and Clean Ceiling Mold
To eliminate surface mold on a bathroom ceiling, apply undiluted 5% white vinegar directly to affected areas using a spray bottle or saturating a microfiber flat mop. Allow the solution to dwell undisturbed for 60 minutes to penetrate the fungal hyphae and destroy the root system beneath the paint layer.
- Saturate: Spray undiluted white vinegar onto the moldy surface until fully wet, or press a vinegar-soaked microfiber mop head firmly against high spots.
- Dwell: Leave the room ventilated and let the solution sit for 60 minutes. Do not wipe it off early; vinegar needs contact time to break down fungal cellular walls.
- Scrub: Gently scrub the ceiling in circular motions with a soft-bristle brush or microfiber pad to lift residual mold colonies without removing intact ceiling paint.
- Wipe & Dry: Wipe the surface clean using a damp microfiber cloth, then run the bathroom ventilation fan for 2 to 3 hours until the drywall reads completely dry to the touch.
Essential Safety Equipment (PPE) & Room Setup
Working directly overhead increases the risk of acidic cleaning liquids, toxic mold spores, and dislodged debris dripping into your eyes or settling into your airways. Establishing proper bathroom ventilation and deploying full-coverage protective gear isolates spores before you begin spraying liquid solutions onto the ceiling.
- Put On Eye and Respiratory Protection:
- Sealed Safety Goggles: Standard safety glasses leave gaps around your temples where overhead liquid droplets can slip through. Wear indirect-vent, rubber-gasketed safety goggles that form a airtight seal against your skin.
- N95 Respirator Mask: Avoid thin paper dust masks. Use an N95 or P100 respirator mask that filters out at least 95% of airborne mold spores, preventing spore inhalation during ceiling scrubbing.
- Non-Porous Gloves: Wear heavy-duty nitrile or rubber gloves extending past your wrists to shield skin from vinegar acidity and fungal toxins.
- Isolate the Cleaning Area:
- Plastic Drop Cloths: Lay 2 mil to 4 mil thick plastic sheeting or heavy drop cloths across the bathroom floor, bathtub, vanity, and toilet to collect all overhead drips and falling mold fragments.
- Bathroom Ventilation Setup: Open any available windows and run the exhaust fan to maintain continuous outward airflow. If using a portable fan, point it toward an exterior window to drive airborne spores out of the house.
- Cover Fixtures: Wrap electrical light fixtures or bath fan grilles directly below the mold zone with plastic wrap and painter’s tape to prevent liquid intrusion into live electrical wiring.
The Science of Mold vs. Mildew & Why Bleach Fails
Understanding the exact type of fungal growth on your bathroom ceiling determines whether a simple surface wipe down will suffice or if deep antimicrobial penetration is required. Many homeowners incorrectly reach for chlorine bleach, unaware that its chemical composition actually encourages long-term fungal regrowth on porous building materials like drywall.
Identifying What Is Growing on Your Ceiling
Mildew is a surface-level, early-stage fungus that appears as flat, powdery grey or light yellow spots that sit on top of sealed surfaces. Mold is a far more destructive fungal colony that burrows deep into drywall paper and plaster, appearing as raised, fuzzy, dark green, brown, or black patches.
- Surface Texture: Mildew remains flat and powdery on top of paint films; mold grows in textured, fuzzy, or slimy colonies that penetrate beneath the surface layer.
- Coloration: Mildew starts as grey, yellow, or light brown dots; mold displays dark black, deep green, or charcoal discoloration with uneven borders.
- Structural Impact: Mildew rarely causes structural damage and wipes away easily; mold roots eat into porous drywall substrates, causing paint peeling, plaster softening, and permanent structural decay.
Why You Should NEVER Use Bleach on Drywall or Painted Ceilings
Chlorine bleach consists of approximately 90% water and 10% sodium hypochlorite. When applied to porous drywall, the large chemical molecules of chlorine cannot penetrate the microscopic pores of the drywall paper, remaining on the surface to merely bleach the dark color pigment away without killing the living fungal roots beneath.
As the chlorine evaporates off the ceiling surface, it leaves behind pure water runoff. This moisture sinks straight into the unkilled fungal roots (hyphae) buried inside the drywall, providing a fresh water source that causes spore dispersal and rapid mold regrowth within days.
Furthermore, using bleach in an enclosed bathroom creates hazardous atmospheric conditions. Mixing bleach residue with residual household ammonia, vinegar, or acidic bathroom cleaners generates toxic chlorine gas, which causes acute lung inflammation, severe eye burns, and airway spasms.
The Ultimate Winner: White Vinegar vs. 3% Hydrogen Peroxide
Both undiluted white vinegar and 3% hydrogen peroxide serve as highly effective non-bleach cleaners that safely destroy ceiling mold without producing dangerous chemical fumes. Selecting the right solution depends on your ceiling finish, paint type, and the severity of the infestation.
- Undiluted White Vinegar (Best for Porous Drywall & Routine Mold):
- Contains approximately 5% acetic acid, which penetrates deep beneath paint films to break down fungal membrane structures at the root level.
- Inhibits future spore development without damaging standard ceiling paint or leaving sticky chemical residues.
- 3% Hydrogen Peroxide (Best for Stubborn Stains & Non-Porous Surfaces):
- Acts as an antifungal, antiviral, and antibacterial oxidizing agent that breaks down fungal proteins on contact.
- Lifts dark fungal stains off light-colored paint better than vinegar, though it should be patch-tested first on dark ceiling paints to prevent slight bleaching.
Cleaning Process Using the No-Ladder Flat Mop
Cleaning mold off high bathroom ceilings does not require balancing precariously on wobbly ladders or straining your neck and shoulders. Utilizing a microfiber flat mop combined with undiluted white vinegar allows you to safely and thoroughly reach high ceiling corners while standing firmly on the bathroom floor.
Step 1: Prepping the Solution and Space
Pour standard, undiluted white vinegar directly into a clean spray bottle. Prepare your cleaning zone by laying down plastic drop cloths across the floor and removing nearby bath towels, shower mats, or toilet paper rolls that could catch chemical overspray.
- Vinegar Selection: Use standard household white vinegar containing 5% acetic acid without diluting it with water, as dilution weakens its antifungal potency.
- Tool Readiness: Ensure your microfiber flat mop pad is clean, dry, and securely fastened to the mop base before application.
Step 2: Applying the Cleaner with a Microfiber Flat Mop
Saturate both sides of the microfiber flat mop pad with the vinegar solution until fully damp, or lightly mist the ceiling mold patches with a spray bottle before sweeping the mop head across the surface. This technique prevents chemical drips from splashing down onto your face.
- Positioning the Mop:
- Place your dominant hand near the bottom of the mop pole to maintain precise control and prevent the handle from striking tile walls or glass shower screens.
- Use long, sweeping horizontal movements to press the flat mop head flat against the ceiling mold patches.
- Ensuring Full Saturation:
- Press firmly on stubborn black mold clusters to ensure the vinegar penetrates deep into the porous ceiling paint layers.
- Re-spray or re-saturate the microfiber flat mop pad as needed when it begins to dry out during large ceiling sections.
Step 3: The Critical Dwell Time (Why You Must Wait 60 Minutes)
Allow the vinegar solution to sit undisturbed on the bathroom ceiling for a minimum 60-minute dwell time. Rushing this step and wiping the surface prematurely will leave microscopic fungal roots alive, causing the mold to return within weeks.
- Cellular Destruction: During the 60-minute window, the acetic acid systematically breaks down the cell walls of the mold colonies.
- Root Penetration: Time is required for the liquid to seep completely through porous paint films down to the underlying drywall substrate where spores anchor.
Step 4: Gentle Scrubbing, Wiping, and Thorough Drying
After the dwell time elapses, address any remaining spots using a soft-bristle brush mounted on an extension pole, then complete the process with proper ceiling dampness control and air drying.
- Gentle Scrubbing:
- Work outward from the center of the patch using a soft-bristle brush to avoid tearing or abrading soft drywall paper.
- Wiping and Drying:
- Wipe away loosened debris using a clean, damp microfiber cloth attached to your flat mop frame.
- Execute ceiling dampness control by running the bathroom exhaust fan and leaving the door open to ensure complete air drying.
Repairing Damage: Peeling Paint Stains and Flaking Plaster
Cleaning mold off a bathroom ceiling often reveals bubbling paint, soft plaster, and stubborn dark fungal stains that require proper repair. Restoring the structural integrity and aesthetic finish involves scraping flaked material, sealing deep discoloration, and applying specialized moisture-resistant paint.
How to Safely Scrape Away Peeling Paint and Damaged Drywall
Safely removing loose, bubbling paint and soft drywall requires using a flexible putty knife or scraper held at a shallow angle. Gently peeling away compromised layers exposes stable underlying plaster, ensuring fresh primers and topcoats bond securely without cracking or lifting later.
- Tool Selection: Use a narrow, flexible metal putty knife or scraper to gently lift flaking paint edges without gouging the soft paper face of the ceiling drywall.
- Addressing Deep Gouges: If moisture has softened the plaster past the surface layer, apply a thin plaster skim coat to level uneven spots before painting.
- Sanding Smooth: Lightly sand the perimeter of scraped areas with fine-grit sandpaper once dry to create a seamless transition between bare plaster and existing painted sections.
Sealing Water and Mold Stains so They Never Bleed Through
Even after killing mold spores, dark water and fungal discoloration can bleed right through fresh topcoats if not properly locked down. Applying a PVA sealant wash or a professional stain-blocking primer creates an impermeable barrier that completely stops historical stains from reappearing.
- Applying a PVA Sealant Wash:
- Mix standard PVA adhesive or drywall sealer with water to create a runny, penetrative solution that seals powdery, porous plaster surfaces.
- Brush the solution smoothly across exposed areas to lock down loose particles and prevent topcoat absorption.
- Using High-Performance Stain Blockers:
- Apply a thin coat of a dedicated stain-blocking primer like Zinsser Bulls Eye 1-2-3 over the sealed patches.
- Allow the primer to cure completely according to manufacturer instructions so it neutralizes lingering tannins and dark marks.
Choosing and Applying the Right Anti-Mold Bathroom Paint
Selecting the right moisture-resistant paint prevents future moisture accumulation and stops spores from anchoring to the surface. Applying high-performance finishes infused with built-in anti-mold additives ensures your bathroom ceiling remains protected against heavy steam exposure for years to come.
- Finish Selection: Choose moisture-resistant semi-gloss paint over flat or matte finishes; semi-gloss creates a non-porous barrier that repels water droplets and cleans easily.
- Anti-Mold Additives: Look for paints containing specialized anti-microbial inhibitors, or mix commercial anti-mold paint additives directly into your standard bathroom paint can.
- Multiple Coats: Apply at least two uniform coats of paint over your primed ceiling sections to guarantee maximum coverage and long-term moisture resistance.
How to Clean Textured Artex Ceilings
Cleaning mold off a textured ceiling or Artex finish requires a far gentler approach than flat drywall. Because textured surfaces feature peaks, grooves, and delicate plaster patterns, aggressive scrubbing or heavy pressure will rub off the finish and create patchy, uneven damage across your bathroom ceiling.
Cleaning Textured Artex Ceilings Without Rubbing Off the Finish
To safely clean a textured ceiling without flattening the decorative finish, avoid wiping with flat mops or coarse sponges. Instead, rely on non-abrasive misting and gentle saturation using a fine-spray mist bottle filled with undiluted white vinegar to break down mold inside deep crevices.
- Non-Abrasive Misting: Adjust your spray nozzle to a fine mist and saturate the textured peaks, letting the liquid soak down into the low grooves of the Artex finish without physical friction.
- Soft-Bristle Brush Spraying: If stubborn mold colonies remain in deep textured crevices after 60 minutes, use a soft-bristle brush spraying technique—dab the tips of soft bristles lightly into the groves rather than scrubbing back and forth.
- Blotting Motion: Dab damp areas gently with a thick, dry microfiber towel to lift dislodged mold spores and excess moisture without scraping off delicate plaster points.
Asbestos Warning for Older Homes (Pre-1990 Artex Ceilings)
If your home was constructed or renovated prior to 1990, textured and Artex ceilings may contain chrysotile asbestos fibers mixed into the plaster coating. Scraping, aggressive sanding, or heavy brush scrubbing on an older textured ceiling can release dangerous, airborne asbestos dust into your bathroom air.
- Observe Asbestos Precautions:
- Never scrape, sand, or dry-brush a pre-1990 textured ceiling when removing mold.
- Keep the surface continuously damp during cleaning; wet methods prevent hazardous microscopic fibers from becoming airborne if the finish is accidentally disturbed.
- Follow Official Safety Guidelines:
- If a textured ceiling shows severe structural decay, flaking, or widespread mold growth, consult official EPA Mold & Moisture Guidelines to determine whether testing or professional remediation is required before attempting DIY repairs.
Prevention & Root Cause Fixes (Stopping Mold Permanently)
Eradicating ceiling mold is only a temporary fix if the underlying atmospheric moisture remains uncontrolled. Preventing mold from returning requires maintaining strict ventilation protocols, identifying hidden structural water intrusion, and applying natural antifungal barrier treatments.
Bathroom Exhaust Fan Protocols (The 20-Minute Post-Shower Rule)
High humidity created during hot showers causes warm steam to rise, condense on cool ceiling plaster, and fuel mold growth. Installing an exhaust fan with an adequate CFM rating (Cubic Feet per Minute) and running it consistently keeps indoor relative humidity levels under the target threshold of 50%.
- Sizing Ventilation Correctly: Ensure your exhaust fan CFM rating provides at least 1 CFM per square foot of bathroom area to effectively vent warm, moist air to the outdoors.
- The 20-Minute Post-Shower Rule: Leave the exhaust fan running during your shower and keep it operating for 15 to 20 minutes after turning off the water to clear residual condensation.
- Door and Window Positioning: Keep the bathroom door cracked or a window slightly open when possible to promote fresh airflow and replace humid air.
Identifying Hidden Leaks vs. Surface Condensation
Distinguishing between localized surface condensation and active structural water leaks is essential before repainting. Condensation forms widespread, superficial spotting across high-humidity zones, whereas plumbing leaks produce concentrated, expanding discoloration patterns.
- Condensation Control vs. Leak Inspection:
- Surface Condensation: Dispersed dark spots near shower enclosures or ceiling corners indicate steam accumulation due to insufficient ventilation.
- Pipe Leak Detection: Water stains expanding outward in concentric rings directly beneath an upper-floor shower, bathtub, or sink drain suggest an active plumbing line failure.
- Roof Leak Inspection:
- Brown, ringed water marks appearing near exterior walls or roof valleys indicate compromised roof shingles or flashing allowing rainwater into attic insulation above the bathroom.
Natural Inhibitors: Tea Tree and Clove Oil Maintenance Sprays
Applying natural botanical essential oils offers long-lasting antimicrobial protection on painted bathroom ceilings without harsh chemical odors. Tea tree oil and clove oil contain natural fungicidal compounds that destroy residual airborne spores landing on ceiling surfaces.
- Tea Tree Oil Maintenance Spray: Combine 1 teaspoon of pure tea tree oil with 1 cup of water in a spray bottle. Lightly mist cleaned ceiling areas once a month; do not rinse it off, as the oil acts as a natural preventative shield.
- Clove Oil Solution: Mix 1/4 teaspoon of pure clove bud oil with 1 liter of warm water. Clove oil penetrates deeply into painted surfaces to inhibit spore germination in high-moisture environments.
Frequently Asked Questions & DIY vs. Professional Help
Addressing common questions about bathroom ceiling mold helps clarify health risks, evaluate treatment methods, and determine when an infestation exceeds safe self-remediation limits. Below are direct answers to key questions regarding health safety, painting risks, species identification, and professional thresholds.
Is mold on a bathroom ceiling harmful to health?
Yes, bathroom ceiling mold releases microscopic spores and volatile organic compounds (VOCs) directly into the air you breathe. Continuous spore inhalation triggers allergic reactions, persistent coughing, nasal congestion, and severe respiratory irritations, particularly in children, elderly individuals, or anyone with asthma or compromised immune systems.
- Short-Term Exposure: Eye irritation, sneezing, skin rashes, throat itchiness, and sudden asthma flare-ups.
- Long-Term Exposure: Chronic respiratory inflammation, sinus infections, persistent fatigue, and heightened sensitivity to airborne allergens.
Does painting over mold kill it permanently?
No, painting directly over mold does not kill it. Fungal spores and hyphae buried beneath the paint film will continue to digest the organic paper face of the ceiling drywall, feeding on trapped moisture until the new coat of paint bubbles, peels, and discolors within weeks.
- The Risk of Painting Uncleaned Surfaces:
- Trapped Moisture: Fresh paint traps existing moisture inside the drywall, accelerating fungal root decay beneath the surface.
- Adhesion Failure: Active mold colonies break down paint binders, causing fresh topcoats to flake off in large patches.
- The Proper Order:
- Always kill the mold completely using an effective antifungal treatment, let the ceiling dry thoroughly, seal the area with a stain-blocking primer, and then apply moisture-resistant topcoats.
What is the difference between toxic black mold and regular mildew?
Regular mildew is a superficial, surface-dwelling fungus that appears as flat grey or light yellow spots and wipes away easily without causing structural damage. Toxic black mold (such as Stachybotrys chartarum) is a dark green or black fungus that burrows deep into porous building materials, producing mycotoxins that present higher health risks upon inhalation.
When should you stop DIY and hire a professional mold remediator?
According to official EPA guidelines, you should stop DIY cleaning and hire a certified professional mold remediator whenever the total contiguous area of ceiling mold exceeds the 10 square feet rule (roughly a 3-foot by 3-foot patch). Large-scale infestations indicate deep structural water damage or contamination within hidden ceiling joists and HVAC ductwork.
- Extensive Surface Area: Any single mold patch or cluster covering more than 10 square feet on the ceiling requires containment barriers and professional negative-air scrubbing equipment.
- Persistent Water Leaks: If mold returns rapidly after proper treatment due to active, inaccessible plumbing leaks inside upper floors or roofs, hire a licensed contractor.
- Compromised Drywall: If the bathroom ceiling drywall feels soft, sagging, or spongy to the touch, structural replacement by trained remediation specialists is necessary for safety.

Oscar Vance | Master Plumber & Drainage Expert
Meet Oscar Vance, a licensed master plumber sharing practical solutions on residential repairs, preventive maintenance, and thoughtful home upkeep.