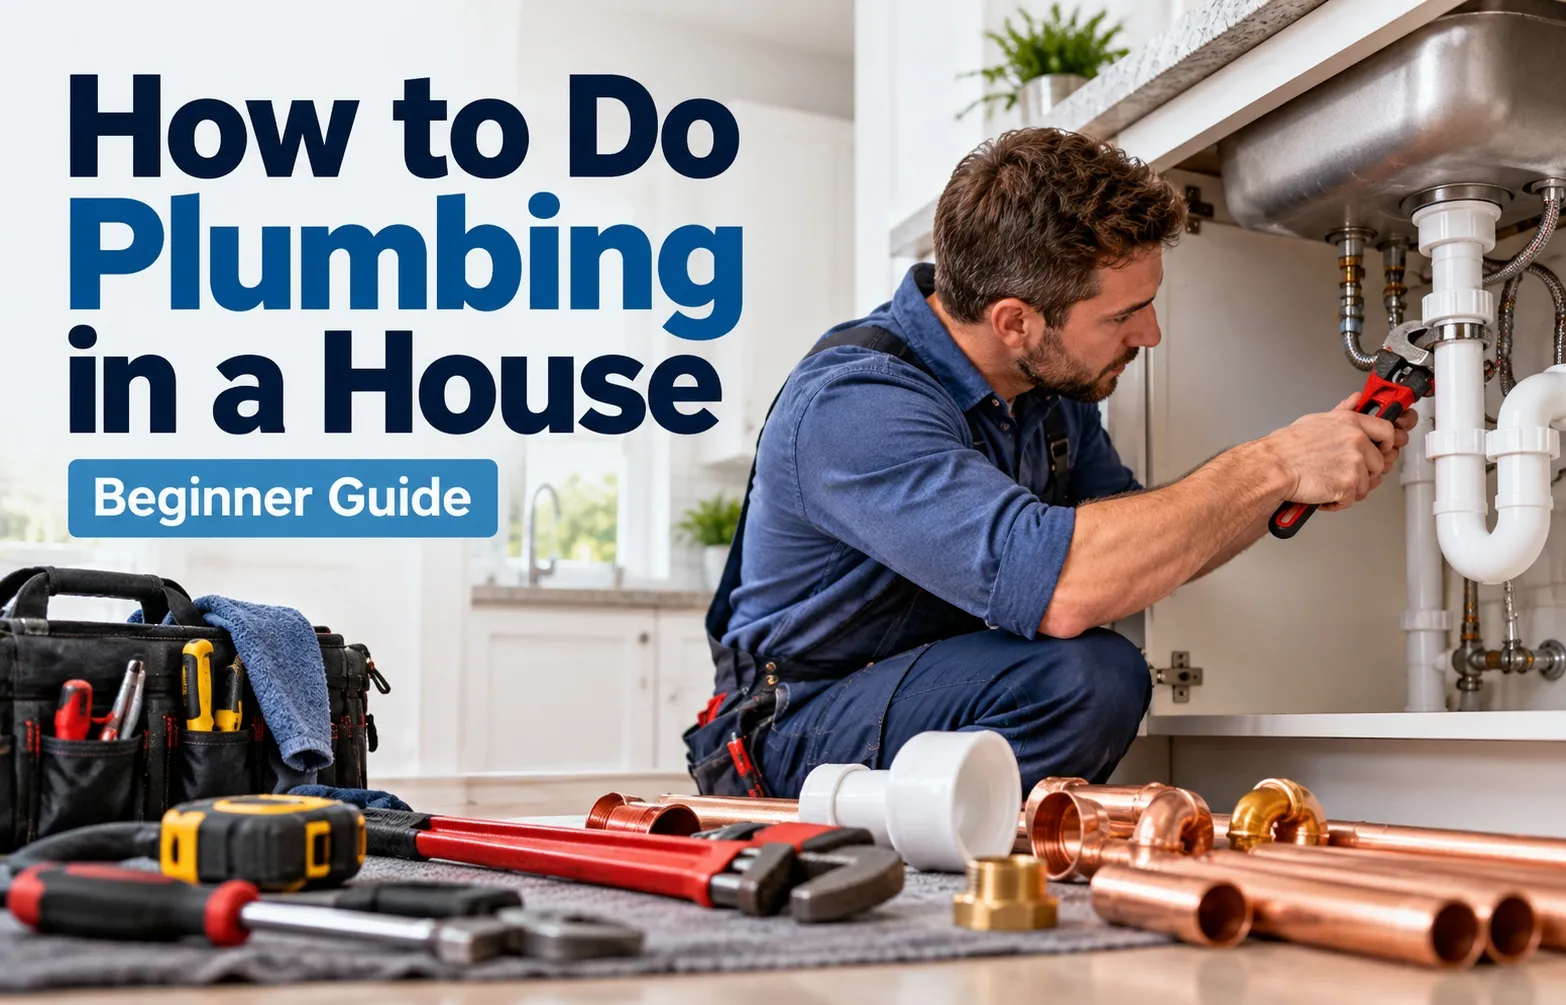
 Can You Plumb Your Own House?
Tackling DIY house plumbing for a new construction or major remodel is entirely possible for dedicated builders who master local codes, map precise layouts, and follow structured installation sequences. While intimidating, executing your own residential plumbing saves thousands in labor costs when approached with rigorous planning and patience.
Successful execution requires breaking down the project into manageable phases, starting with a comprehensive grasp of how your home’s water and waste networks interact from the ground up.
The Three Core Systems of Home Plumbing
Every home plumbing network relies on three distinct yet interconnected systems operating in tandem. Understanding how these pathways interact is the mandatory first step before cutting or assembling any pipe.
- Drain-Waste-Vent (DWV) System: The gravity-fed network that safely carries greywater and sewage out of the home while venting dangerous sewer gases above the roofline.
- Freshwater Supply Lines: The pressurized network of flexible or rigid tubing that delivers clean, potable hot and cold water directly to every active fixture and appliance.
- Ventilation Pipes: Vertical vent stacks that equalize air pressure within the drainage lines, ensuring smooth wastewater flow and preventing traps from siphoning dry.
Is It Hard to Plumb Your Own House? (Reality Check for Beginners)
Plumbing a house from scratch is a demanding project that requires meticulous accuracy, physical endurance, and absolute compliance with safety standards. While the underlying concepts are straightforward, the margin for error is razor-thin.
Mistakes in pipe sizing, slope calculations, or joint bonding can lead to severe water damage or failed municipal inspections that force costly teardowns.
- Rigid Code Requirements: You must strictly adhere to local building department codes for pipe sizing, structural support, and material approvals.
- High Stakes Testing: Every single joint and connection must undergo rigorous water or air pressure testing before drywall seals the walls.
- Patience and Stamina: Working in confined joist spaces and managing precise glue or crimp operations requires exceptional physical and mental focus.
Phase 1: Planning, Layout, and Blueprint Design
Precise planning and comprehensive layout mapping form the absolute foundation of successful residential plumbing. Before cutting a single pipe or securing a fitting, you must map out every pathway to prevent costly structural errors, severe drainage issues, and failed municipal inspections.
Reviewing Architectural Blueprints & Wet Rooms
Begin by analyzing your home’s structural blueprints to identify every wet room where water supply and drainage converge. The kitchen, bathrooms, and laundry room require precise spatial planning to ensure supply lines and waste stacks run efficiently through framing cavities.
- Kitchen Layout: Map out exact locations for the sink, dishwasher, and refrigerator ice maker line, ensuring close proximity to main drain pathways.
- Bathroom Grouping: Cluster bathrooms and wet areas back-to-back or stacked vertically where possible to share common wet walls and simplify vent stack routing.
- Laundry Utility Area: Position washing machine drains and supply valves with easy access for maintenance while complying with dedicated utility clearance requirements.
Locating Main Utilities (Municipal Water vs. Well & Septic)
Identifying the exact entry point of your primary water source and waste disposal system dictates how main trunk lines enter the structure. Whether connecting to a municipal utility grid or an independent well and septic setup, early location prevents accidental property damage during excavation.
- Municipal Water and Sewer: Locate the street connection points and determine the municipal water meter depth to protect the main entry line from local frost lines.
- Well and Septic Systems: Map out the exact distance and elevation grade between the home foundation, the wellhead, and the septic tank to ensure gravity drainage compliance.
Checking Local Building Codes and Regulations Early
Reviewing local municipal building codes before starting installation protects your project from expensive structural tear-outs. Every jurisdiction enforces strict standards regarding pipe sizing, approved materials, and precise physical constraints.
- Slope Requirements: Confirm mandated gravity slope requirements for drain lines, which typically require a consistent downward pitch of one-quarter inch per foot.
- Material Approvals: Verify which specific pipe materials—such as PEX, copper, or PVC—are legally permitted for supply and drainage within your local region.
- Permit Submission: File your complete plumbing layout blueprints with the local building department to secure necessary homeowner or contractor permits before breaking ground.
Essential Tools and Material Selection Matrix
Choosing the right pipe materials and mechanical equipment prevents catastrophic leaks and ensures strict code compliance. Matching specific plumbing tasks to appropriate substances guarantees a reliable residential network from the ground up.
Comparing Pipe Materials: PEX-A/B vs. Copper vs. PVC
Different parts of your home’s infrastructure require distinct materials for durability, flexibility, and legal code compliance. Reviewing this comparison matrix helps you select the right substance for supply, drainage, and waste networks.
Essential Plumbing Tools Checklist for Beginners
Assembling a specialized toolkit before starting installation protects against costly delays and improper connections. Having the correct mechanical instruments ensures precision when cutting and joining materials.
- Pipe Cutters: Specialized ratcheting cutters designed for clean, square cuts on plastic PEX and PVC pipes without leaving jagged burrs.
- Crimper Tool & Rings: Calibrated mechanical or battery crimpers required to secure PEX fittings tightly against copper crimp rings.
- Sanitary Fittings & P-Traps: Essential structural components including sanitary tees and U-shaped P-traps for smooth wastewater diversion.
- Safety Gear: Heavy-duty work gloves, protective eyewear, and appropriate respirator masks when handling solvent cement or cutting rigid pipes.
Phase 2: Installing the Drain-Waste-Vent (DWV) System
Installing the complete Drain-Waste-Vent (DWV) system requires strict adherence to gravity flow principles and structural venting requirements. This network safely carries greywater and sewage out of your home while equalizing air pressure to maintain secure trap seals.
Running the Main Trunk Line and Pitch Requirements
Running the main trunk line requires installing a heavy-duty 3-inch or 4-inch PVC pipe with a precise downward gravity slope. This vital downward pitch ensures that solid waste flows efficiently toward the municipal sewer or septic system without clogging or pooling.
- Gravity Slope Precision: Maintain a consistent downward pitch of exactly one-quarter inch per foot across all horizontal drainage runs.
- Structural Support: Secure all trunk lines firmly to floor joists using heavy-duty hangers to eliminate sagging points over time.
Branch Lines for Sinks, Tubs, and Washing Machines
Connecting smaller fixture branch lines into the main trunk requires proper fittings like sanitary tees and long-sweep 90-degree elbows. These specialized fittings maintain smooth transitions that prevent clogs and turbulence in high-flow drainage areas.
- Pipe Sizing: Use 1.5-inch to 2-inch PVC piping for individual bathroom sinks, bathtubs, showers, and laundry units.
- Smooth Transitions: Employ long-sweep elbows on horizontal-to-vertical turns to keep wastewater moving freely without resistance.
Installing P-Traps to Block Sewer Gases
Placing a U-shaped P-trap underneath every active plumbing fixture creates a standing water barrier that blocks toxic sewer gases. Without these water seals, dangerous methane and foul odors would freely enter living spaces.
- Fixture Protection: Install a dedicated P-trap beneath every sink, bathtub, shower, and floor drain during the rough-in stage.
- Trap Seal Integrity: Verify that trap arms connect properly to sanitary tees without exceeding maximum horizontal distance allowances.
Extending Vertical Vent Pipes Through the Roof
Extending vertical vent pipes upward through the roof equalizes air pressure within the drainage network, preventing water from siphoning out of trap seals. Open-air venting allows smooth, unobstructed wastewater flow through the system.
- Centralized Vent Stack: Tie individual fixture vents into a centralized vertical vent stack that rises above the roofline.
- Weatherproofing: Ensure roof penetrations are properly sealed with weather-resistant flashings to prevent attic moisture leaks.
Adding Cleanout Plugs for Easy Maintenance
Installing accessible cleanout plugs at the base of the main stack and branch ends allows fast access for clearing future clogs. These threaded access ports save hours of labor when routine mechanical snaking is needed.
- Strategic Placement: Place cleanouts at every major directional change or base of the vertical waste stack.
- Panel Access: Ensure cleanout plugs remain accessible behind removable access panels rather than permanently sealed inside drywall.
Phase 3: Installing the Freshwater Supply Lines
Installing your home’s freshwater supply network delivers pressurized potable water safely to every active bathroom, kitchen, and utility station. This critical phase requires precise routing, clean connections, and strict adherence to pressure standards using flexible tubing or rigid pipes.
Mapping out clean hot and cold lines from a central source ensures balanced water pressure and prevents dangerous cross-contamination throughout your residential build.
Main Water Entry Point and Shut-Off Valve Setup
Bringing your main supply line into the house requires trenching below the local frost line to protect against freezing temperatures. You must install the primary shut-off valve and water meter immediately after entry to maintain complete emergency control over the home’s entire water supply.
- Frost Line Protection: Bury the incoming service line deep enough beneath the local frost line to prevent devastating winter pipe bursts and structural compromises.
- Master Shut-Off Valve: Mount a reliable full-port ball valve and municipal water meter right where the main line enters the building for instant emergency isolation.
Running Hot and Cold Lines (Manifold vs. Trunk-and-Branch)
Choosing between a central manifold system and a traditional trunk-and-branch layout dictates how hot and cold water travels through your walls. Utilizing color-coded PEX tubing simplifies this process by allowing fast, continuous runs with minimal joint connections.
- Central Manifold System: Directs individual lines from a central distribution hub to each fixture, providing independent shut-off control and perfectly balanced pressure.
- Trunk-and-Branch Layout: Uses a larger main feeder line that steps down to smaller branch lines supplying grouped fixtures, minimizing overall pipe length.
- Color-Coded PEX Lines: Deploy red PEX tubing exclusively for hot water pathways and blue PEX tubing for cold supply lines to prevent installation errors.
Water Heater Integration (Tank vs. Tankless)
Positioning your water heater as the central hub for domestic hot water distribution requires careful plumbing integration. Whether you select a traditional storage tank or a high-efficiency tankless unit, tying the appliance into the supply system demands precise thermal expansion control.
- Storage Tank Setup: Connects cold water inlet and hot water outlet lines while incorporating a mandatory temperature and pressure relief valve for safety compliance.
- Tankless Integration: Requires dedicated service valves, proper gas or electrical sizing, and precise freshwater routing to ensure instant, continuous hot water delivery to all fixtures.
Phase 4: Pressure Testing, Inspection, and Trim-Out
Conducting rigorous pressure testing and scheduling formal municipal inspections before closing up walls or pouring concrete slabs protects your home from catastrophic water damage. Securing structural sign-offs ensures your entire plumbing network is safe, secure, and fully compliant with local building codes.
Completing these vital verification steps prevents expensive post-construction tear-outs and lays the groundwork for safe, leak-free fixture installation.
Cap and Test: Performing Water or Air Pressure Tests
Performing a comprehensive water or air pressure test involves temporarily sealing all open pipe ends to verify system integrity and catch micro-leaks under stress. This critical diagnostic step ensures that your supply and drainage networks can handle continuous operating pressure without failing.
- Temporary Sealing: Use heavy-duty test plugs or threaded caps to seal every open supply line and drainage stub-out completely.
- Pressure Application: Pump air or water into the supply lines using a test gauge until you reach the standard pressure specified by local plumbing codes.
- Monitoring Hold Times: Watch the gauge closely for a sustained period to confirm there is no pressure drop indicating a hidden joint leak.
Scheduling Your Rough-In Municipal Inspection
Scheduling your mandatory rough-in inspection allows local code enforcement officials to review your exposed piping before you install drywall or pour concrete foundations. Passing this formal evaluation verifies that your slopes, pipe sizing, and structural supports meet legal requirements.
- Permit Compliance: Ensure all installed plumbing matches the approved blueprints and local code specifications submitted during the initial permit application.
- Exposed Verification: Leave all walls and ceilings open so inspectors can thoroughly examine every joint, tee, and vent stack connection.
- Corrective Adjustments: Promptly address any code citations or required modifications before requesting a re-inspection sign-off.
Final Fixture Trim-Out (Sinks, Faucets, and Toilets)
Executing the final fixture trim-out happens only after walls are completely finished, painted, and sealed to protect interior surfaces. Mounting sinks, faucets, and toilets brings your entire rough plumbing network to functional life.
- Basin and Faucet Mounting: Secure bathroom and kitchen sinks to countertops, then attach supply lines and decorative faucets with watertight gaskets.
- Toilet Installation: Set new toilets onto wax rings over floor flanges, tightening mounting bolts carefully to prevent cracking the porcelain base.
- Final Leak Verification: Turn the main water supply back on slowly and test every fixture for proper flow, drainage, and seal integrity.
Is DIY House Plumbing Legal? Permits and Codes
Homeowners can legally perform legal plumbing work on their own primary residences in many jurisdictions under specific owner-builder exemptions, provided they secure official permits and pass rigorous code inspections. Navigating local regulations prevents costly legal penalties, insurance complications, and forced structural tear-outs.
Do You Need a License to Plumb Your Own Home?
Most local municipalities do not require a professional plumbing license if you are performing installation or repair work exclusively on your own primary, owner-occupied home. However, commercial buildings, rental properties, and multi-family dwellings almost always demand fully licensed professional contractors to protect public safety.
- Owner-Occupant Exemptions: Many state laws grant homestead exemptions allowing individuals to execute their own residential utility projects.
- Rental Property Restrictions: Properties intended for tenant occupancy strictly prohibit DIY plumbing due to strict liability laws.
- Universal Code Adherence: Operating without a license never excuses an installer from meeting exact structural and safety codes.
Understanding Homeowner Permits and Inspections
Securing an official homeowner permit from your local building department is a mandatory legal requirement before initiating any major pipe layout. Code enforcement officers rely on these permits to schedule required inspections that verify system safety and compliance.
- Pre-Construction Filings: Submit detailed layout blueprints to your local building department or code authority before purchasing materials.
- Mandatory Inspections: Arrange for municipal officials to review all exposed rough-in piping before closing walls with drywall.
- Insurance and Resale Value: Completing unpermitted work can void standard property insurance claims and create massive hurdles during future home sales.
Top 5 Costly DIY Plumbing Mistakes to Avoid
Avoidable errors during residential installation can lead to catastrophic water damage, expensive structural teardowns, and failed building inspections. Recognizing common rookie pitfalls ensures your plumbing system remains durable, watertight, and fully compliant.
Mistake 1: Incorrect Pipe Slope on DWV Systems
Failing to maintain an exact downward pitch on drain pipes causes solid waste to accumulate rather than flow smoothly toward municipal sewers. An incorrect slope creates persistent clogs, foul odors, and severe backups that require complete line excavation.
- Flat or Reverse Pitch: Installing drainage pipes completely level or tilted upward stops wastewater flow instantly and causes pooling.
- Required Drop: Always maintain a consistent downward slope of one-quarter inch per foot on all horizontal drainage lines.
Mistake 2: Forgetting Cleanout Access Points
Omitting cleanout plugs during rough-in installation makes clearing routine clogs nearly impossible without tearing down finished drywall. Strategic access points at every major directional change save hours of destructive mechanical labor later.
- Stack Bases: Always place an accessible, threaded cleanout plug at the base of every vertical waste stack.
- Drywall Placement: Ensure cleanout caps remain exposed behind removable access panels instead of being buried permanently inside walls.
Mistake 3: Overlooking Freezing Risks in Cold Zones
Routing water supply lines through uninsulated exterior walls or unheated crawl spaces exposes them to sub-zero temperatures and devastating winter bursts. Proper insulation and strategic placement protect your pipes from expanding and cracking under ice pressure.
- Frost Line Depth: Bury all incoming main supply lines well below your regional frost line during exterior trenching.
- Wall Cavity Placement: Keep supply runs on interior partition walls rather than exterior framing surfaces prone to freezing drafts.
Mistake 4: Using Incorrect Glue or Fittings on PVC/PEX
Mixing incompatible chemical primers or using the wrong solvent cement on plastic lines creates weak joint bonds that fail under sustained water pressure. Always match specific pipe substances with their manufacturer-approved bonding agents and fittings.
- Primer Application: Never skip purple primer when joining rigid PVC pipes to ensure a proper chemical weld and secure seal.
- Crimp Compatibility: Use calibrated tools to secure PEX copper crimp rings without over-crimping or damaging the flexible tubing.
Mistake 5: Skipping the Pressure Test Before Closing Walls
Sealing walls with drywall before performing a rigorous air or water pressure test leaves hidden joint leaks undetected until severe water damage occurs. Testing under pressure confirms complete system integrity before permanent finishes are applied.
- Test Gauges: Attach calibrated pressure gauges to temporary test plugs on all closed supply and drainage lines.
- Mandatory Hold Time: Maintain test pressure for the full duration required by local code to verify zero pressure loss before drywalling.
How Much Does It Cost to Plumb a House? (Budget Breakdown)
Estimating the total cost of house plumbing requires evaluating your project scope, labor requirements, and material selections. While tackling a residential build yourself significantly cuts expenses, understanding typical square foot estimation and professional labor rates ensures realistic financial planning.
Average Cost Breakdown: DIY vs. Professional Installation
The total investment for residential plumbing varies dramatically depending on whether you purchase materials and execute the labor yourself or hire a licensed contractor for complete installation. Reviewing this cost comparison helps you project your overall construction budget.
Material Costs Per Square Foot (PEX vs. Copper)
Raw material costs heavily influence your total plumbing budget based on the specific pipe substances you select for supply and drainage lines. Leveraging flexible PEX pricing advantages versus traditional rigid copper impacts both upfront material outlays and long-term installation speed.
- PEX Tubing Expenses: Averaging between $0.50 to $2.00 per square foot installed, PEX provides an affordable, highly efficient solution for modern residential layouts.
- Copper Pipe Investment: Ranging from $3.00 to $6.00+ per square foot due to raw metal values and torches required for soldering, copper remains a premium choice for exposed stub-outs.
- DWV PVC Material Outlay: Budget approximately $1.50 to $3.00 per square foot for drain, waste, and vent PVC piping, fittings, and solvent cements.
Frequently Asked Questions
Navigating residential utility installation raises critical technical and legal questions for builders and homeowners. Reviewing these direct answers helps clarify core installation principles, legal exemptions, and expert insights for your project.
How to do plumbing for beginners?
Beginners can successfully complete house plumbing by mastering basic layout planning, using flexible PEX tubing instead of rigid soldered copper, adhering strictly to a one-quarter inch per foot drainage slope, and securing all necessary homeowner permits before beginning work. Following a comprehensive beginner plumbing guide ensures safety and structural compliance.
- Layout Mastery: Map out all wet rooms and utility entry points before cutting any pipe or framing materials.
- Material Selection: Utilize flexible PEX tubing to minimize joints and speed up freshwater supply runs.
- Permit Compliance: Always secure local building department permits before initiating any physical rough-in work.
Can I legally do my own plumbing?
Yes, homeowners can legally perform plumbing work on their own primary, owner-occupied residences in many states under homestead exemptions, provided they pull official permits and pass municipal rough-in inspections. Rental properties and multi-family structures, however, strictly require a certified licensed plumber.
- Homestead Exemption: State laws frequently permit owner-builders to install systems on their personal residential property.
- Inspection Mandates: DIY installations must still pass every mandatory municipal rough-in and final code inspection.
- Commercial Restrictions: Rental units and commercial real estate prohibit uncertified or unlicensed installations.
What are the three rules of plumbing?
The foundational plumbing rules are simple: water flows downhill via gravity drainage, all waste lines must be vented to prevent trap siphoning, and every fixture trap requires a standing water seal to block toxic sewer gases. Remembering these core principles prevents severe backflow and health hazards.
- Gravity Flow: Wastewater must always travel downward with a consistent slope of one-quarter inch per foot.
- Proper Venting: Vertical vent stacks must extend through the roof to equalize air pressure across drainage lines.
- Trap Seals: Every fixture requires a functional P-trap to maintain a standing water barrier against sewer gases.
What states don’t require a license to be a plumber?
Several states—including regions of Kansas, Wyoming, and Missouri—do not mandate a statewide contractor license for plumbing, leaving specific trade regulations up to individual local counties and municipalities. Homeowners should always verify local municipal codes before starting major utility work.
- Local Jurisdiction: Unlicensed state frameworks delegate plumbing oversight entirely to local county and city building departments.
- Permit Requirements: Even in areas without state licenses, individual project permits and inspections remain strictly mandatory.
- Verification Steps: Always consult your specific municipal zoning office to confirm local trade credential requirements.
What plumbers wish you knew before starting?
Professional plumbing tips from master tradespeople emphasize that ignoring local building codes, skipping pressure tests before closing walls, and failing to install cleanout access points are the most expensive preventable errors. Precision and patience matter far more than rushing the installation process.
- Test Before You Drywall: Never close up wall cavities without running a thorough air or water pressure test.
- Install Cleanouts: Placing accessible cleanout plugs at stack bases saves hours of destructive mechanical labor later.
- Respect the Code: Cutting corners on pipe sizing or slope requirements leads directly to failed inspections and costly tear-outs.
Home Improvement Researchers & Guides Editors
Meet the Nest Team, a collective of dedicated researchers, home improvement enthusiasts, and industry writers sharing practical guides, thorough category research, and trusted solutions for residential repairs and thoughtful home upkeep.

