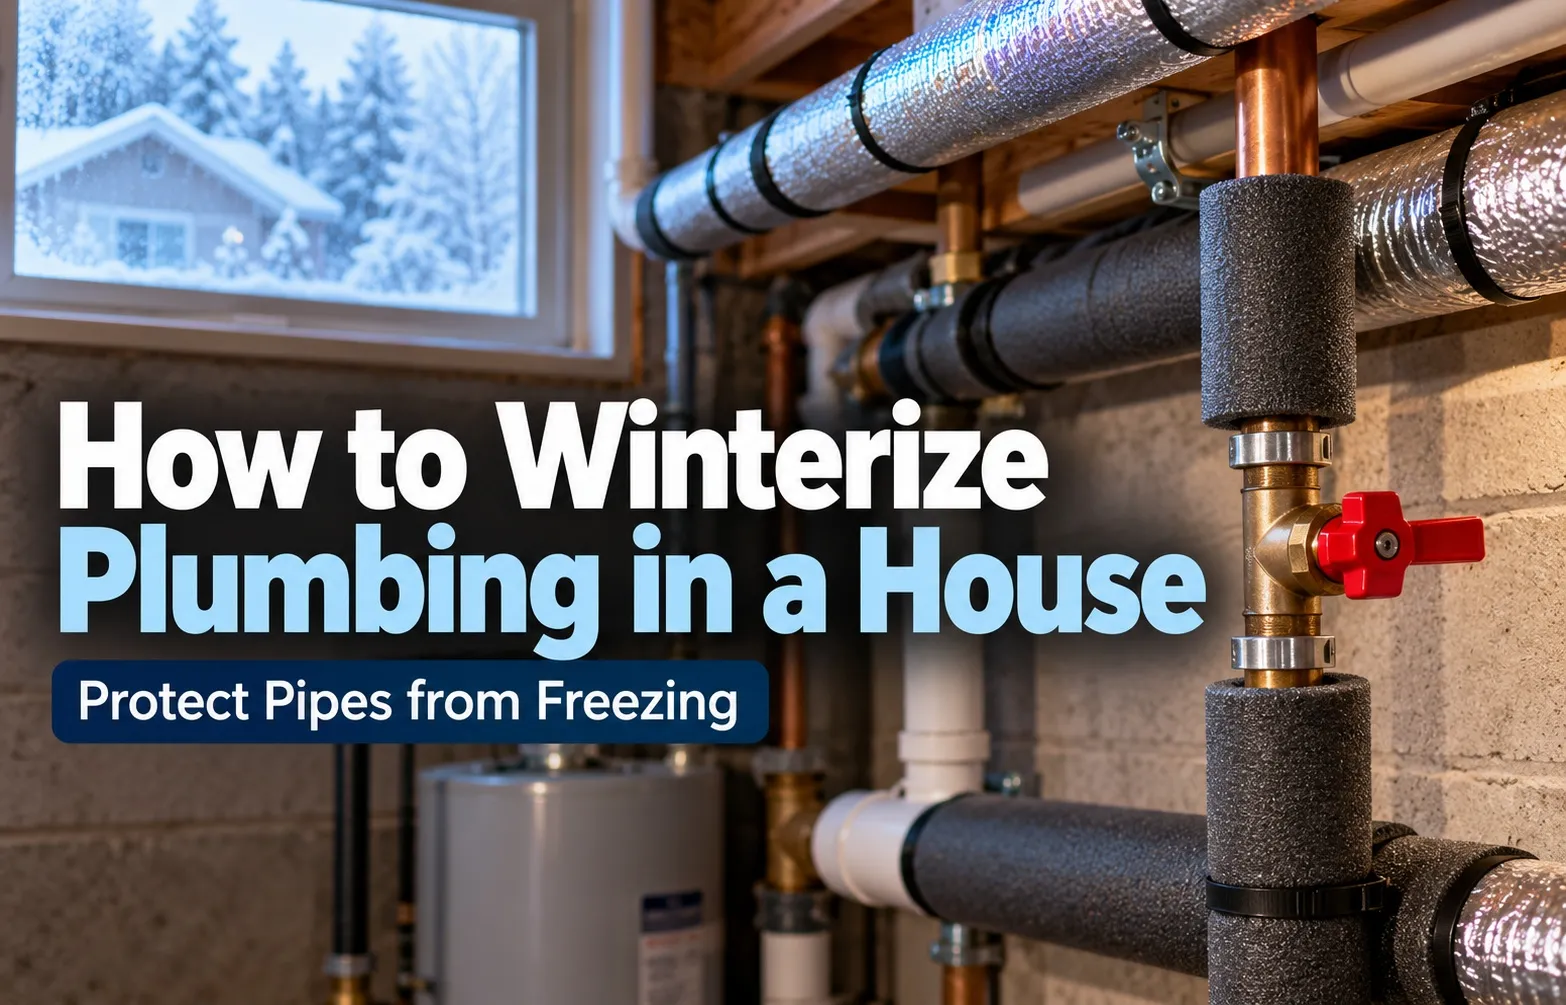
 How to Winterize Plumbing in a House: Preventing Disasters Before Freezing Temperatures Arrive
Learning how to winterize plumbing in a house is one of the most critical maintenance steps a property owner can take before sub-freezing weather strikes. A single unprotected pipe can freeze, crack, and release hundreds of gallons of water, resulting in thousands of dollars in structural damage and extensive mold remediation.
Proactive water damage prevention requires understanding your home’s unique layout, local climate thresholds, and whether your property will remain occupied or sit vacant through the winter months.
Why Pipe Winterization is Non-Negotiable
When water freezes inside a plumbing line, it expands by approximately nine percent, creating immense hydraulic pressure that can rupture rigid copper, brittle PVC, and flexible fittings alike. This pressure buildup does not always happen near the point of the freeze; the internal ice blockage can force weak pipe joints apart yards away.
- Explosive Hydraulic Pressure: Trapped ice blocks standard water flow, causing closed sections of pipe to split open violently once temperatures plummet.
- Catastrophic Property Damage: Unchecked leaks saturate drywall, subfloors, and electrical systems within minutes of the ice thawing.
- High Cost Efficiency: Basic thermal insulation and correct shutdown procedures require minimal time and tools compared to emergency plumbing overhauls.
The Dual-Path Check: Are You Staying or Leaving?
Standard DIY guides often fail homeowners by applying a one-size-fits-all approach to seasonal home preparation. The correct winterization strategy depends entirely on whether your house will remain heated and lived-in or left unmonitored during the coldest months of the year.
- Path A (Occupied Primary Residences): Focuses on insulating vulnerable exterior walls, sealing foundation drafts, maintaining safe indoor baseline temperatures, and managing airflow around indoor fixtures.
- Path B (Vacant or Seasonal Properties): Requires completely shutting off the main water supply, purging supply lines with compressed air, draining water heaters, and protecting drain traps with specialized plumbing antifreeze.
Material-Specific Science and Pre-Winter Vulnerability Assessment
Understanding how different plumbing materials react to sub-freezing temperatures prevents catastrophic failures and ensures targeted protection. Every material handles thermal stress differently, making a comprehensive pre-winter audit essential for safeguarding your entire property.
How Different Pipe Materials React to Freezing (Copper vs. PEX vs. PVC)
Different plumbing materials possess unique expansion coefficients and structural tolerances when exposed to sub-freezing temperatures. While flexible cross-linked polyethylene can stretch to accommodate ice formation, rigid metals and brittle plastics shatter easily under sudden hydraulic stress.
- Rigid Copper: Highly vulnerable to rigid copper splitting because the metal cannot stretch, causing soldered joints or straight sections to tear open under pressure.
- PEX (Cross-linked Polyethylene): Features high elasticity, allowing PEX expansion to absorb mild freezing without immediate bursting, though severe or repeated freezing can still compromise fittings.
- PVC and CPVC: Highly susceptible to brittle PVC failure; older or UV-exposed plastics lose impact resistance and shatter violently when internal water freezes.
Identifying High-Risk Zones in Your House (Basements, Crawl Spaces, Exterior Walls)
Plumbing failures rarely occur in temperature-controlled central living areas; instead, they concentrate in uninsulated structural pockets. Pinpointing these architectural vulnerabilities allows you to apply targeted insulation where thermal shock and cold drafts pose the greatest risk.
- Unheated Crawl Spaces: Vented or unsealed subfloor areas allow freezing winter winds to sweep directly across exposed supply lines.
- Exterior Walls: Pipes routed through outer wall cavities lack adequate indoor heat insulation, making them prone to rapid freezing during cold snaps.
- Basements and Garages: Unfinished lower levels often stay significantly colder than the rest of the home, especially near unsealed rim joists and basement windows.
Track A: Step-by-Step Winterization Guide for Occupied Homes
Protecting an occupied home requires targeted, non-destructive measures that keep daily plumbing functional while shielding vulnerable zones from extreme cold snaps. By focusing on smart insulation, draft sealing, and temperature management, homeowners can prevent frozen pipes without completely shutting down their water system.
Step 1: Insulate Exposed Lines in Unheated Areas
Shielding exposed plumbing in cold utility areas like garages, basements, and crawl spaces prevents ice blockages from forming when winter temperatures plummet. Installing proper thermal layers creates an essential barrier against ambient cold air.
- Foam Pipe Insulation Sleeves: Snap pre-slit foam covers over accessible straight pipe runs to lock in radiant heat.
- Elastomeric Rubber Insulation: Wrap flexible rubber materials around tight pipe bends and junctions for superior thermal protection.
- Thermostatically Controlled Heat Tape: Wrap self-regulating electric heating cables around chronically cold pipes to activate automatically as temperatures drop.
Step 2: Seal Air Leaks, Drafts, and Foundation Cracks
Stopping cold drafts from reaching pipe pathways is just as critical as insulating the pipes themselves. Exterior gaps and utility penetrations allow freezing air drafts to blow directly against hidden plumbing inside exterior wall cavities.
- Inspect Utility Penetrations: Check where electrical wires, gas lines, and dryer vents enter the home, sealing gaps with durable caulk.
- Fix Foundation Gaps: Block cold air infiltration around basement rim joists and sill plates using expanding foam insulation.
- Manage Crawl Space Vents: Close and insulate foundation vents to prevent harsh winter winds from chilling subfloor water lines.
Step 3: Manage Indoor Climate and Sink Cabinets During Deep Freezes
Maintaining a consistent indoor environment prevents interior walls from freezing during severe winter storms. Simple lifestyle adjustments like opening lower storage spaces allow warm indoor air to circulate freely around vulnerable plumbing.
- Maintain a Safe Baseline: Keep your home’s central heating system set to a strict 55°F baseline threshold, even when sleeping or stepping out.
- Open Under-Sink Cabinet Doors: Swing open kitchen and bathroom cabinet doors on exterior walls to let warm indoor air reach the supply lines.
- Utilize Controlled Drips: Allow a slow trickle of water from vulnerable faucets during severe sub-zero nights to relieve internal pipe pressure.
Track B: Complete Shut-Off, Blowout, and Antifreeze Guide for Vacant or Seasonal Properties
Safeguarding an unheated, empty home requires a total purge of all standing water to prevent catastrophic winter damage. Because vacant properties cannot rely on indoor heating, complete physical removal of water is mandatory to withstand freezing conditions.
Step 1: Shutting Off the Main Water Valve & Water Heater
Stopping the flow of fresh water into the structure is the foundational first step of seasonal property lockdown. You must isolate the main supply entry and cut power to heating units before initiating any draining procedures.
- Main Water Shut-Off Valve: Locate your home’s primary supply valve. Identify whether you have a modern quarter-turn ball valve or an older multi-turn gate valve, and turn it completely perpendicular to stop water flow.
- Water Heater Shutdown: Switch off the electrical breaker to electric water heaters or turn the gas control valve to the off position. Drain the storage tank completely to prevent sediment buildup and frozen internal elements.
Step 2: Draining Lines and Using an Air Compressor (Safe PSI Range)
Gravity alone cannot extract every drop of trapped water from intricate plumbing layouts. Using pressurized air clearance ensures that residual liquid is safely pushed out through low-level drainage points.
- Open All Fixtures: Open every indoor faucet, shower valve, and flush toilets to allow upper-level water to escape via gravity.
- Regulated Air Compressor (30 to 55 PSI): Attach an air compressor to a designated low-point drain or laundry room hookup, keeping pressure strictly regulated between 30 and 55 PSI to avoid fracturing pipe joints.
- Systematic Clearance: Work systematically from the highest floor down to the basement, opening and closing fixtures until only dry air discharges from the lines.
Step 3: Protecting P-Traps with Propylene Glycol Antifreeze
Sinks, showers, and toilets rely on water-filled P-traps to block hazardous sewer gases from entering the home. Because this standing water will otherwise freeze and shatter the fixtures, non-toxic chemical barriers must be introduced.
- Propylene Glycol Selection: Purchase specialized RV- and marine-grade plumbing antifreeze, strictly avoiding toxic automotive ethylene glycol formulas.
- Pour into P-Traps: Pour measured quantities directly down every sink, bathtub, and shower drain to blend with any residual trap water.
- Toilet Protection: Sponge out remaining water from toilet tanks and bowls, then pour antifreeze directly into both chambers to protect the delicate ceramic traps.
The Homeowners Insurance Compliance Clause and Critical Mistakes
Navigating insurance policies and avoiding common procedural blunders is just as important as the physical winterization process. Failing to comply with structural regulations or making execution errors can void your coverage when disaster strikes.
Does Homeowners Insurance Cover Frozen Pipes? (The 55°F Rule)
Homeowners insurance policies frequently deny coverage for burst pipe claims if negligence is established by adjusters. Insurance providers enforce strict property guidelines—most notably requiring homeowners to maintain a minimum indoor temperature setting or completely winterize vacant properties within a specific timeframe to prevent freezing damage.
- Policy Exclusions: Many standard policies reject water damage claims if the property was left unheated during sub-zero freezing spells without proper monitoring.
- The 55°F Minimum Heat Setting: Underwriters typically mandate keeping your interior thermostat set to at least 55°F to ensure adequate ambient warmth reaches interior walls.
- The Vacancy Clause: Homes left unoccupied for more than 30 consecutive days often require formal winterization or a dedicated property watch to maintain claim eligibility. For official municipal recommendations and community winter preparedness resources, consult the Portland.gov Water Bureau Winter Preparation Guide.
Common DIY Mistakes That Lead to Disastrous Plumbing Failures
Attempting rapid plumbing winterization without precise execution often creates hidden structural hazards that compromise your entire system. Avoiding common procedural errors ensures your home remains safely protected throughout the winter season.
- Over-Pressurizing Air Lines: Injecting compressed air above 55 PSI during a blowout can instantly fracture fragile pipe fittings and older threaded connections.
- Incomplete Water Drainage: Leaving isolated pockets of water trapped in low-lying bends or appliance lines allows hidden ice expansion to split the pipe walls.
- Neglecting Appliance Supply Lines: Forgetting to drain internal components in washing machines, dishwashers, and ice makers frequently triggers unexpected indoor leaks upon spring startup.
Emergency Thawing Guide: What to Do If Your Pipes Freeze
Discovering a frozen pipe requires immediate, calm action to relieve pressure before the line bursts. Knowing how to safely thaw isolated blockages and pinpoint your main shut-off valve can prevent a minor ice clog from turning into an indoor flood.
Warning Signs That Your Pipes Are Freezing
Recognizing frozen pipe symptoms early gives you a vital window to intervene before structural ice expansion tears the pipe apart. Watch for sudden drops in water pressure or completely dry faucets during sub-zero cold snaps.
- Frost-Covered Exterior: Visible frost or ice buildup on exposed indoor pipes indicates internal water is dangerously close to solidifying.
- Intermittent Water Flow: A sputtering faucet or a sudden trickling stream usually signifies an ice restriction forming upstream.
- Unusual Odors or Sounds: Strange banging noises or foul drain odors can accompany trapped air pockets and localized ice blocks.
Safe Methods to Thaw Frozen Pipes (Hair Dryers vs. Heating Pads)
Safely thawing a frozen line requires applying gradual, controlled heat starting from the faucet end and working backward toward the ice blockage. Always locate your main shut-off valve immediately before beginning so you can stop water instantly if a pipe cracks.
- Hair Dryer Thawing Method: Use a standard household hair dryer on a medium setting to sweep back and forth along the frozen pipe section.
- Electric Heating Pads: Wrap electric heating pads or warm, wet towels around vulnerable pipe zones to gently transfer heat into the metal or plastic.
- Keep Faucets Open: Leave the affected tap open while heating to allow melting water and expanding steam to escape safely.
Why You Should Never Use an Open Flame
Never use propane torches, blowtorches, or open flames to thaw frozen plumbing under any circumstances. Introducing intense, localized heat creates severe fire hazard warnings and can instantly boil trapped water inside the pipe, causing it to explode violently.
- Extreme Fire Hazards: Open flames easily ignite hidden structural framing, insulation, and wall studs behind tight crawl spaces.
- Explosive Steam Pressure: Direct torch heat rapidly converts trapped water into high-pressure steam, turning copper or PVC pipes into dangerous shrapnel.
- Material Degradation: Intense flame temperatures warp metal joints and melt plastic lines, causing catastrophic leaks the moment water is restored.
Frequently Asked Questions About Winterizing Plumbing
Get direct, authoritative answers to the most common questions regarding home plumbing winterization, temperature thresholds, and emergency freeze prevention techniques.
At what temperature will house pipes freeze?
House pipes typically begin to freeze when outdoor temperatures drop to the 20°F (-6°C) threshold or lower for six consecutive hours. However, pipes located in uninsulated exterior walls, crawl spaces, or attics can freeze even sooner depending on wind chill and local insulation quality.
- The 20°F Threshold: Sustained sub-freezing weather creates critical danger zones for exposed plumbing lines.
- Wind Chill Factor: Drafts rushing through unsealed wall gaps drastically accelerate freezing time.
Should you let hot or cold water drip to keep pipes from freezing?
You should always let a slow, continuous trickle of cold water run from vulnerable faucets during severe sub-zero weather. The continuous drip method relieves hydraulic pressure buildup between the faucet and any forming ice blockages, preventing pipes from bursting.
- Pressure Relief: Running water lowers internal pipe tension before dangerous structural fractures occur.
- Steady Trickle: A pencil-lead-thin stream is more than sufficient to protect exposed fixtures.
Will shutting off the water keep pipes from freezing in winter?
Shutting off the main water valve alone will not keep existing pipes from freezing if residual liquid remains trapped inside them. While stopping fresh water intake prevents continuous flooding if a pipe breaks, standing water inside closed lines will still expand and split the pipe when temperatures drop below freezing.
- Residual Water Hazard: Trapped liquid expands upon freezing regardless of main valve status.
- Full System Purge: Compressed air and plumbing antifreeze are required for true vacant property protection.
How long does it take for pipes to freeze at 20 degrees?
Pipes exposed to 20°F (-6°C) temperatures can begin freezing in as little as three to six hours if they lack proper insulation or sit within unheated exterior walls. The exact freezing duration depends heavily on wall cavity airflow, pipe material thickness, and interior heating levels.
- 3 to 6 Hours: Uninsulated exterior lines solidify quickly during sharp winter temperature drops.
- Preventative Insulation: Proper foam sleeves and heat tapes significantly extend this freezing duration window.

Oscar Vance | Master Plumber & Drainage Expert
Meet Oscar Vance, a licensed master plumber sharing practical solutions on residential repairs, preventive maintenance, and thoughtful home upkeep.