Pre-Installation Requirements: Roof Pitch, Temperature & Deck Conditions
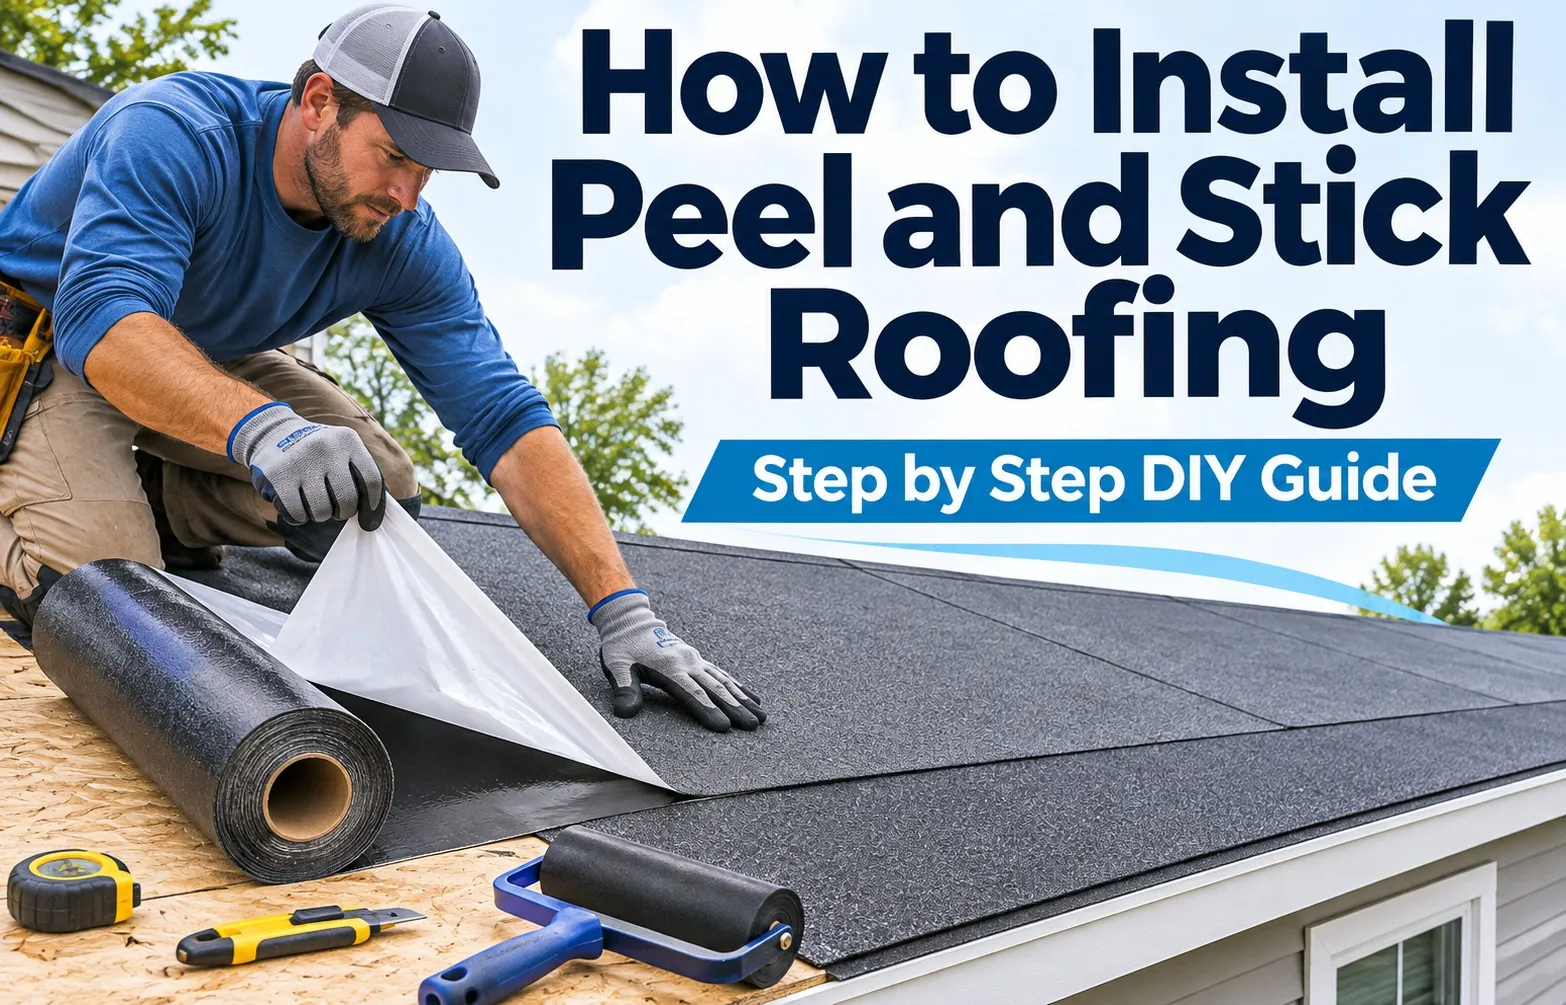 Ensuring proper pre-installation conditions is the single most critical step to prevent premature roof failure, adhesive breakdown, and structural damage. Ignoring substrate preparation, slope limits, or thermal thresholds will void warranties and lead to costly callbacks.
Minimum Roof Pitch and Slope Limits
Proper roof pitch is essential to prevent catastrophic water infiltration and ensure correct drainage across the entire surface. A minimum slope of 2:12 to 4:12 is standard for low-slope applications, while dead-flat roofs require engineered internal drainage systems to avoid ponding water and membrane degradation.
- Understanding the 2:12 to 4:12 Slope: Pitches within this range allow water to shed naturally without relying entirely on volatile sealants, reducing long-term leak risks.
- Ponding Water Dangers: Standing water remaining on a roof for more than 48 hours accelerates chemical breakdown, membrane sagging, and thermal blistering.
- Dead-Flat Roof Requirements: Roofs with zero slope demand specialized tapered insulation systems and positive drainage paths to prevent structural overload and moisture pooling.
Ambient vs. Roof Deck Temperature Rules
Ambient temperature alone does not dictate installation safety; the actual roof deck temperature and morning frost levels determine whether self-adhering membranes and adhesives will bond securely. Relying solely on external warmth while the plywood substrate remains ice-cold leads directly to adhesion failure.
- The 40°F–50°F Threshold: Both ambient temperature and the underlying deck temperature must meet or exceed manufacturer specifications—typically 40°F to 50°F and rising—before applying cold-process adhesives or peel-and-stick underlayments.
- Morning Dew and Frost Hazards: Hidden frost or lingering morning dew inside the plywood substrate creates a microscopic barrier that prevents proper bonding, causing widespread lifting and blistering later.
- Material Conditioning: Store rolls of underlayment and adhesive buckets in a conditioned, indoor space for at least 24 hours prior to application to ensure optimal pliability and tackiness.
Inspecting and Preparing the Roof Deck
Flawless deck preparation is the ultimate foundation of a watertight roofing assembly, requiring the complete elimination of compromised substrates, protruding fasteners, and surface debris. Addressing these structural imperfections beforehand prevents punctures and uneven load distribution.
- Repairing Delamination and Substrates: Cut out and replace any swollen, water-damaged, or delaminated OSB sheathing and plywood substrate to restore structural integrity and fastener holding power.
- Securing Fasteners: Drive all protruding nail or screw heads completely flush with or slightly below the deck surface to prevent them from puncturing the new membrane under foot traffic or thermal expansion.
- Gap Mitigation and Debris Removal: Fill any structural gaps or expansion joints larger than 1/4 inch with approved flashing or backing materials, and sweep the entire deck completely clean of sawdust, grit, and foreign objects before laying underlayment.
Tools, Materials & Safety Checklist
Gathering every specialized tool and high-performance material before stepping onto the roof prevents costly mid-project delays and structural compromises. Having the complete kit ready ensures continuous workflow and flawless waterproofing execution.
Essential Materials Needed
Selecting commercial-grade materials rated for low-slope applications is vital for long-term weatherproofing and warranty compliance. Every layer of the assembly must be chemically compatible to prevent premature delamination.
- Base Sheet: A heavy-duty fiberglass or polyester ply sheet installed directly onto the primed deck as the primary weatherproofing layer.
- Granulated Cap Sheet: The heavy, UV-resistant mineral-surfaced top layer that protects the system from solar degradation and foot traffic.
- ASTM D41 Asphalt Primer: A solvent-based primer applied to wood, concrete, or metal substrates to dramatically enhance self-adhering membrane bond strength.
- Metal Drip Edge: Specialized corrosion-resistant metal flashing installed at eaves and rakes to direct runoff away from the fascia and substrate edges.
- Modified Bitumen Mastic: Heavy-duty flashing cement used to seal laps, penetrations, and detail areas against water intrusion.
- Galvanized Roofing Nails: Corrosion-resistant, barbed fasteners designed to securely anchor base sheets and edge metals without backing out.
Specialized Installation Tools
Standard household tools are inadequate for modified bitumen installation; precision cutting and pressure application require specialized roofing equipment. Using the correct tools guarantees uniform seams and eliminates trapped air bubbles.
- Hook-Blade Utility Knife: Essential for slicing through thick asphalt-saturated membranes cleanly without tearing or damaging underlying layers.
- Chalk Line: A snap-line tool used to lay out straight alignment chalk marks for accurate overlap and sheet positioning.
- 2-Inch Hand Seam Roller: A silicone or steel roller used to apply direct pressure along membrane overlaps and tight flashing corners.
- 80-Pound Linoleum Floor Roller: A heavy rolling tool mandatory for pressing self-adhering cap sheets firmly into the substrate to ensure 100 percent adhesive transfer.
- Stiff-Bristle Broom: Used to sweep the deck clean before priming and to sweep down newly laid membranes for initial surface contact.
- Notched Trowel: Used to spread modified bitumen mastic evenly across vertical flashings and detail transitions.
Roofing Safety Gear & Fall Protection
Roofing low-slope and steep eave areas presents severe gravity and chemical hazards that demand rigorous personal protective equipment. Proper safety gear protects against falls, hot mastic burns, and slippery deck conditions.
- OSHA-Aligned Fall Harness: A certified full-body harness paired with an anchorage connector and lifeline system, mandatory for work near unguardrailed or elevated eaves.
- Rubber-Soled Non-Slip Shoes: Specialized footwear with soft, high-traction rubber treads designed to grip granule-surfaced cap sheets without slipping.
- Heat-Resistant Gloves: Durable heavy-duty gloves to protect hands from skin irritation, chemical primers, and hot bitumen or mastic.
Quick Reference: Equipment and Material Overview
How to Install Peel and Stick Roofing
Executing a flawless peel-and-stick roofing installation requires strict adherence to temperature windows, precise alignment, and meticulous pressure application. Following these sequential steps guarantees a completely watertight, durable membrane assembly.
Step 1: Apply Asphalt Primer and Let It Flash Off
Applying ASTM D41 asphalt primer creates a vital chemical bridge between wood or metal decks and self-adhering membranes. Never skip priming on plywood, OSB, or metal surfaces, and always allow proper flash-off time to prevent trapping solvent vapors.
- Mandatory Deck Priming: Coat clean OSB, plywood, or metal surfaces thoroughly using a roller or brush to maximize initial tackiness and long-term bond strength.
- Performing the Touch Test: Press a clean finger firmly against the primed surface; if no residue or wet solvent transfers to your skin, the primer has fully flashed off.
- Preventing Solvent Trapping: Laying sticky membranes over tacky, unevaporated primer traps volatile solvents underneath, causing severe blistering and membrane delamination.
Step 2: Install Eave Drip Edge and Snap Reference Chalk Lines
Starting at the lowest eave edge ensures water sheds naturally over laps rather than pooling underneath joints. Snap crisp chalk lines and cut your starter base sheet to half-width (approximately 18 inches) to stagger subsequent cap-sheet seams correctly.
- Eave Flashing Layout: Install corrosion-resistant metal drip edges along the eaves first, then overlap them with rakes so runoff drains away from the structure.
- The 18-Inch Starter Sheet: Trim a full 36-inch base sheet roll down to 18 inches wide for the first eave run, ensuring sheet overlaps are offset across layers.
- Snapping Straight Chalk Lines: Measure and snap horizontal chalk lines across the primed deck to guide subsequent membrane courses straight and prevent diagonal creep.
Step 3: Unroll, Relax, and Dry-Fit the Base Sheet
Unrolling and dry-fitting self-adhering membranes in direct sunlight allows membrane relaxation and eliminates manufacturing memory curl. Skipping this crucial relaxation period introduces wrinkles that compromise the waterproof seal.
- 15 to 30 Minute Relaxation: Position unrolled membrane sheets flat on the roof surface for 15 to 30 minutes in warm sunlight to eliminate internal tension.
- Eliminating Memory Curl: Thermal exposure softens the polymer-modified asphalt, allowing the material to lie completely flat against the deck before backing removal.
- Dry-Fit Alignment: Align the relaxed sheet perfectly along your reference chalk line and check side-lap margins before pulling any release film.
Step 4: Peel the Split-Release Liner and Adhere in Sections
Peeling the split-release backing film in controlled halves prevents premature sticking and allows precise positioning. Pull the backing film back smoothly at a 90-degree angle while smoothing the membrane from the center outward.
- Folding and Sectioning: Fold back half of the relaxed sheet lengthwise, exposing the center split-release backing film while keeping the other half anchored.
- The 90-Degree Peel Technique: Pull the release film backward at a sharp 90-degree angle close to the deck surface rather than yanking the entire sheet at once.
- Center-Outward Smoothing: Press and sweep the membrane down firmly from the center toward the outer edges using a stiff broom or hand roller to eliminate trapped air pockets.
Step 5: Overlap Courses and Seal Every Seam
Maintaining precise side laps and staggered end laps is critical to prevent water migration beneath the membrane layers. Immediate seam rolling ensures a tight bond and visible asphalt bleed-out.
- Minimum 3-Inch Side Laps: Overlap adjacent membrane courses by at least 3 inches, following manufacturer overlap specifications and factory-marked guide lines.
- 6-Inch Staggered End Laps: Stagger end laps by a minimum of 6 inches between consecutive courses to prevent four-corner lap build-ups and water channels.
- Immediate Seam Rolling: Run a 2-inch hand seam roller along all laps immediately after placement to achieve positive contact and secure asphalt bleed-out.
Step 6: Install the Granulated Cap Sheet (For Exposed Roofs)
Installing the mineral-surfaced cap sheet over the base layer provides essential UV protection and weather resistance. Proper offset and selvage edge preparation prevent moisture infiltration at joints.
- Offsetting Seams: Offset cap sheet seams by at least 12 to 18 inches away from the underlying base sheet joints to eliminate direct vertical water paths.
- Removing Selvage Edge Film: Peel or burn off any protective release film on the granule-free selvage edge before overlapping the subsequent cap sheet course.
- Mastic Application on End Laps: Apply a thin, uniform layer of trowel-grade modified bitumen mastic in end lap zones where granules prevent direct asphalt adhesion.
Step 7: Roll the Entire Roof with an 80-Pound Weighted Roller
Rolling the completed roof membrane with an 80-pound weighted roller guarantees 100 percent adhesive transfer and permanent bond strength. Executing this step quickly while temperatures are warm locks out air pockets permanently.
- Perpendicular and Parallel Rolling: Drive the 80-pound weighted roller systematically across the entire roof surface in both perpendicular and parallel directions.
- The 15-Minute Window: Complete the rolling process within 15 minutes of membrane application while ambient warmth maximizes asphalt tackiness and bond integrity.
- Eliminating Air Pockets: Heavy rolling forces out any micro-bubbles, ensuring total surface contact between the self-adhering substrate and the primed roof deck.
Flashing Penetrations, Valleys & Wall Tie-Ins (The Leak-Prevention Blueprint)
Flashing complex roof details, valleys, and wall transitions is where waterproofing assemblies succeed or fail. Securing vulnerable junctions like plumbing vents, sidewalls, valleys, and skylight curbs with precision prevents costly interior water damage and structural rot.
Flashing Plumbing Vent Pipes and Roof Penetrations
Flashing plumbing vents and roof penetrations requires sandwiching a lead or neoprene pipe boot securely between the base sheet and cap sheet, then sealing the joint with heavy-duty modified bitumen roofing cement and elastomeric sealant to prevent water migration around the pipe sleeve.
- Sandwiching the Flange: Set the metal or neoprene pipe boot flange directly over a layer of flashing cement on top of the base sheet, then feather the subsequent cap sheet cleanly over the flange edges.
- Applying Elastomeric Sealant: Seal the top collar tightly around the vent pipe using a flexible elastomeric sealant or roofing mastic to accommodate thermal pipe movement and weather exposure.
- Preventing Base Leaks: Ensure all fasteners securing the flange are completely covered by the membrane overlay or sealed with mastic to eliminate leak pathways.
Sealing Sidewalls, Parapets and Skylight Curbs
Sealing vertical wall transitions, parapets, and skylight curbs demands installing a 45-degree cant strip, running the self-adhering membrane at least 8 inches up vertical surfaces, and securing the upper edge with a metal counter-flashing anchored by a heavy-duty termination bar.
- Installing Cant Strips: Nail a 45-degree cant strip into the corner where the roof deck meets vertical walls or skylight curbs to prevent severe membrane stretching and tearing.
- The 8-Inch Upward Run: Extend the self-adhering membrane at least 8 inches up the vertical wall surface to create a foolproof water barrier against driving rain and wind-driven moisture.
- Termination and Counter-Flashing: Secure the upper membrane edge with a metal termination bar and counter-flashing, sealing the top edge thoroughly with compatible elastomeric sealant.
Installing Peel-and-Stick Membrane in Roof Valleys
Waterproofing roof valleys requires laying a full 36-inch-wide center valley liner membrane first to handle high-volume water runoff, before running field courses into the centerline, protecting rake edges, and trimming clean diagonal joints.
- The Full 36-Inch Valley Liner: Center a full 36-inch strip of self-adhering base sheet along the entire length of the valley directly over primed decking for maximum water protection.
- Running Field Courses: Bring field membrane sheets from both roof planes into the valley, overlapping the center liner by at least 6 inches on each side.
- Trimming and Sealing Edges: Cut a 45-degree angle on the top corner of each terminating field sheet near rake edges to prevent water catching, and seal the cut edges with modified bitumen mastic.
Common Peel-and-Stick Roofing Mistakes & How to Fix Them
Even experienced DIYers and contractors occasionally encounter installation errors that compromise waterproofing integrity. Knowing how to quickly identify and repair these common mistakes prevents minor wrinkles from turning into costly interior leaks.
Trapped Air Bubbles and Fishmouths at Seams
Trapped air pockets and fishmouths—where membrane edges lift or pucker open at seams—create direct channels for water migration. Repairing these defects immediately preserves the watertight seal of the entire roofing assembly.
- Slitting the Air Bubble: Carefully slice open the trapped air bubble or fishmouth using a hook-blade utility knife to release the underlying air pressure.
- Gently Warming the Adhesive: Use a hot-air welding gun on a low setting to warm the modified asphalt adhesive without scorching or burning the membrane surface.
- Pressing Flat and Sealing: Press the warmed membrane firmly flat against the deck using a hand seam roller, then feather a thin layer of modified bitumen mastic over the cut lines.
Pulling the Entire Release Film at Once
Attempting to peel away the entire split-release backing film before positioning the sheet is a recipe for disaster. The aggressive self-adhering adhesive will grab the roof haphazardly, making correct alignment impossible.
- Uncontrolled Adhesion Risks: Yanking the full release liner causes the heavy membrane to curl, twist, and stick to itself or the deck prematurely.
- Permanent Creasing: Once sticky layers touch incorrectly, attempting to pull them apart results in severe membrane creasing and structural weakness.
- The Correct Sectional Method: Always peel the backing film in controlled halves or thirds while maintaining tension and smoothing the sheet progressively.
Skipping Primer on Dusty OSB or Metal Drip Edges
Failing to apply asphalt primer to dusty OSB sheathing or factory-oiled metal drip edges guarantees poor adhesion. Smooth, oily, or dusty surfaces prevent the self-adhering compound from achieving full adhesive shear strength.
- Factory Oil Residue: New galvanized metal drip edges are coated with a protective factory oil film that actively repels asphalt adhesives unless thoroughly primed.
- Dust and Sawdust Barriers: Wood dust and loose particles on OSB decks act like microscopic ball bearings, preventing the adhesive from bonding directly to the wood fibers.
- Mandatory Priming Protocols: Always clean surfaces, wipe down metal edges, and apply ASTM D41 primer to create a tacky mechanical bond.
Leaving Base Sheets Exposed to UV Rays Too Long
Base sheets are engineered as secondary waterproofing layers and lack heavy UV-resistant mineral granules. Leaving them exposed to direct sunlight beyond manufacturer time limits causes rapid polymer degradation.
- UV Exposure Limits: Most standard self-adhered base sheets have a maximum UV exposure window of 30 to 90 days depending on manufacturer specifications.
- Solar Degradation Effects: Prolonged ultraviolet exposure embrittles the asphalt compound, causing surface cracking, loss of elasticity, and eventual delamination.
- Prompt Cap Sheet Installation: Always install the granulated cap sheet or final roofing surface promptly within the specified manufacturer window to protect the underlying base ply.
Frequently Asked Questions About Peel-and-Stick Roofing
Does peel-and-stick roofing need primer?
Yes, peel-and-stick roofing almost always requires an ASTM D41 asphalt primer when applied to raw OSB, plywood, concrete, or metal surfaces. Primer creates a crucial chemical bond that locks out dust and seals the substrate, preventing the self-adhering membrane from lifting or sliding over time.
- Substrate Sealing: Primer penetrates porous wood fibers and locks down loose dust particles.
- Enhanced Adhesion: It dramatically increases initial tack and shear strength for high-wind resistance.
Do you need underlayment or tar paper under peel-and-stick roofing?
No, you never install loose #15 or #30 felt tar paper underneath self-adhering peel-and-stick roofing. The membrane must adhere directly to a clean, primed structural roof deck. Placing felt underneath creates a loose, unstable debonding layer that causes catastrophic wind uplift and failure.
- Direct Deck Contact: Self-adhered membranes require solid wood or metal decking for permanent structural bond.
- Eliminating Slip Planes: Tar paper introduces a slippery interlayer that destroys adhesive shear performance.
How long does peel-and-stick roofing last?
A high-quality 2-ply SBS modified bitumen lifespan typically ranges from 15 to 20 years or more when exposed. When used as a waterproof ice and water shield beneath heavy architectural shingles, its lifespan extends to 20 to 30 years, perfectly matching the primary shingle roof system.
- SBS Polymer Durability: Rubberized asphalt formulations maintain flexibility across extreme temperature fluctuations.
- System Longevity: Multi-ply assemblies outlast single-layer applications by resisting UV degradation and thermal shock.
How many square feet does a roll of peel-and-stick roofing cover?
A standard roll of peel-and-stick cap sheet provides 1 square coverage (100 sq ft) of protection, while base sheet rolls typically cover 2 squares. These estimates account for mandatory side laps and end laps required during installation to maintain absolute waterproofing integrity.
- Cap Sheet Coverage: Granulated cap sheets cover approximately 100 square feet (1 square) per roll.
- Base Sheet Coverage: Smooth base sheets or underlayments usually cover 200 square feet (2 squares) per roll.
How long can peel-and-stick roofing be left exposed?
Most standard self-adhered base sheets and underlayments have a maximum UV exposure rating of 30 to 90 days. Leaving them exposed to direct sunlight beyond this window causes rapid polymer degradation, embrittlement, and asphalt cracking before the final cap sheet is applied.
- Manufacturer Limits: Check product data sheets for specific exposure windows ranging from 30 to 90 days.
- Preventing Degradation: Promptly install cap sheets or shingle over membranes to prevent solar embrittlement.
What is the 25% rule in roofing?
The building code 25% rule mandates that if more than 25 percent of a roof’s total square footage is damaged, repaired, or replaced within a single 12-month period, the entire existing roof section must be completely torn off and brought up to current local building codes.
- Regulatory Thresholds: Prevents piecemeal patchwork on aging or storm-damaged roofing assemblies.
- Mandatory Code Compliance: Triggers full deck and membrane replacement to satisfy modern structural and wind codes.

Oscar Vance | Master Plumber & Drainage Expert
Meet Oscar Vance, a licensed master plumber sharing practical solutions on residential repairs, preventive maintenance, and thoughtful home upkeep.

