The Low-Pitch Roofing Dilemma and Insurance Reality Check
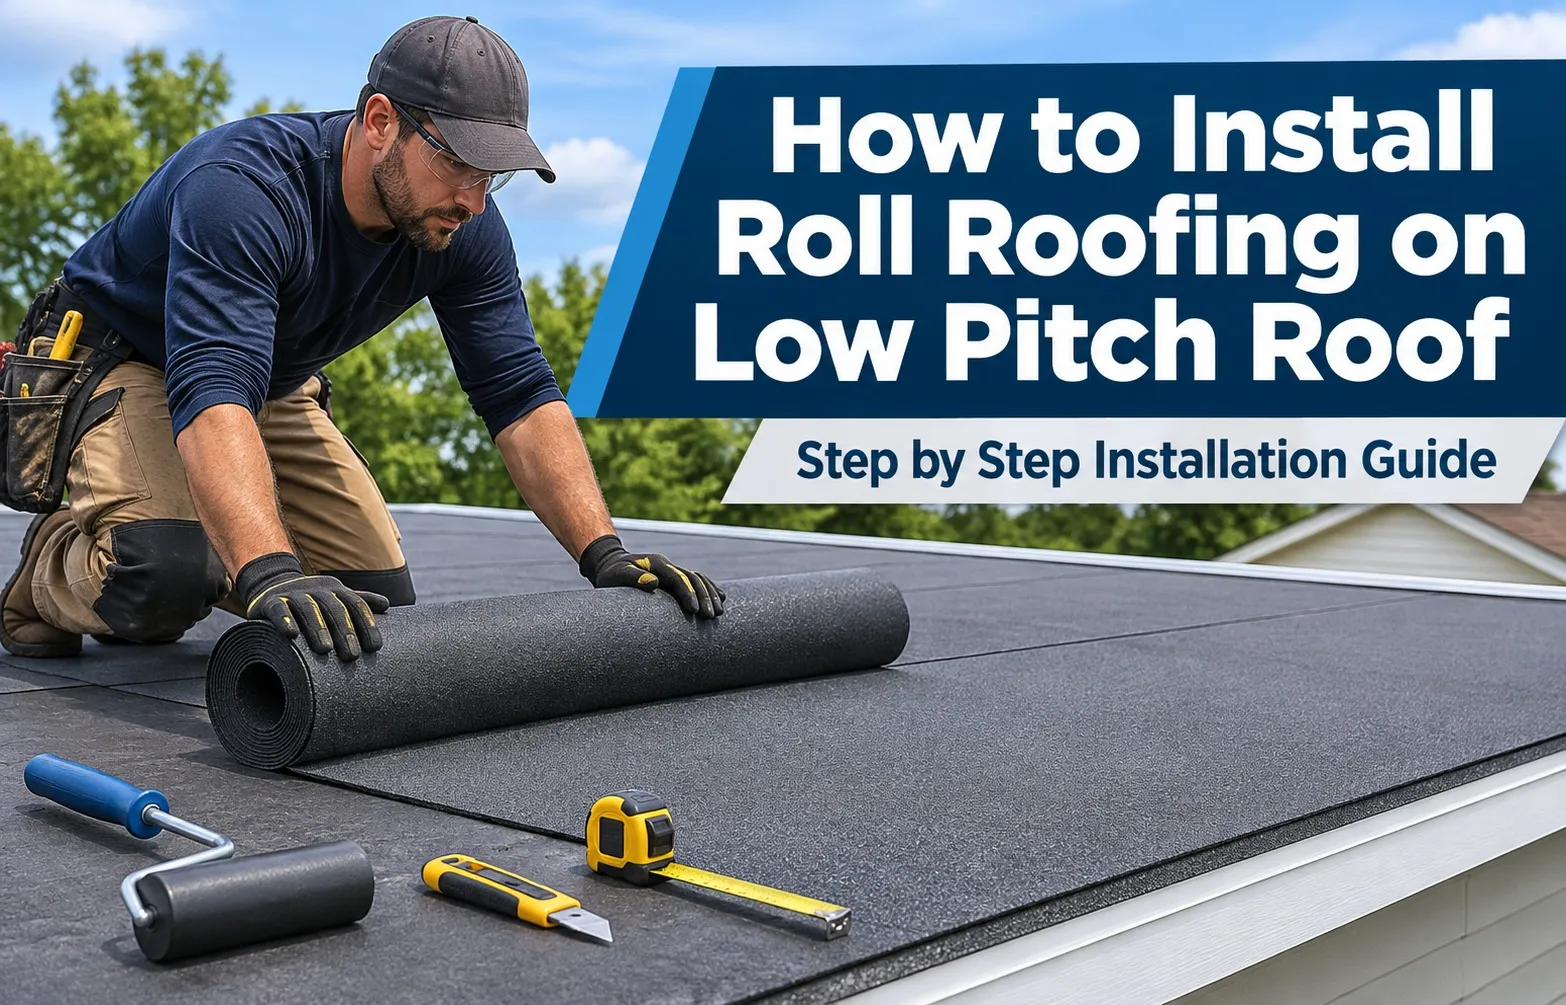 Low-pitch roofs present a unique structural challenge for property owners due to sluggish water drainage and high vulnerability to leaks. When designing or repairing a low-slope roof, choosing the right material—such as modern roll roofing—determines whether your structure withstands heavy precipitation or suffers extensive water damage.
Understanding Low-Pitch Roofs: What Defines a 1:12 to 4:12 Slope?
A low-pitch roof is characterized by a minimal incline, specifically measuring between a 1:12 and 4:12 slope ratio. This means the roof rises only 1 to 4 inches for every horizontal foot of run, creating a sluggish environment for rainwater runoff compared to steep architectural designs.
- 1:12 to 2:12 Slopes: Extremely flat profiles where standard shingles fail entirely, requiring specialized self-adhered or multi-layer systems.
- 3:12 to 4:12 Slopes: Moderate low slopes that accommodate traditional roll roofing or modified bitumen layers when installed with proper overlap tolerances.
- Ponding Water Risks: Water accumulation lasting longer than 48 hours rapidly breaks down standard asphalt, making slope accuracy and proper drainage vital for rolled roofing durability.
Why Home Insurance Companies Question Rolled Roofing (And How to Fix It)
Traditional nail-down roll roofing has historically faced strict scrutiny from home insurance providers due to high wind uplift susceptibility and premature seam failure. Because traditional exposed nails allow moisture infiltration under low-slope conditions, insurers often deny coverage unless modern installation standards or multi-layer upgrades are implemented.
- The Wind Uplift Factor: Standard mineral-surfaced rolls fastened only with nails can easily tear away during severe storms or high wind events.
- Seam Vulnerability: Traditional lap cement often degrades under prolonged ultraviolet exposure and pooling water, leading to hidden interior leaks.
- The Modified Bitumen Upgrade: Transitioning from standard single-layer installation to a robust, self-adhered modified bitumen system aligns with strict home insurance guidelines and eliminates coverage disputes.
What You Will Learn in This Ultimate Guide
Mastering low-pitch roof installation requires precise execution from deck preparation to final edge sealing. This comprehensive guide walks you through every technical phase required to achieve professional, leak-proof results.
- Complete tool and material checklists mapped to critical temperature thresholds.
- Step-by-step roof deck inspection and correct drip edge sequencing.
- Advanced techniques for laying heavy-duty base sheets and peel-and-stick cap sheets.
- Exact nail schedules, lap sealing methods, flashing details, and long-term maintenance strategies.
Pre-Installation Essentials: Tools, Materials, and the 50°F Weather Rule
Gathering the correct commercial-grade supplies and respecting environmental thresholds prevents 90% of premature low-slope roofing failures. Before touching your roof deck, secure all specified materials and verify that ambient conditions meet strict structural sealing requirements.
Complete Tools and Materials Checklist
Executing a watertight low-pitch roof installation demands specific professional materials designed to handle standing water. Using sub-par hardware or missing an essential sealant compromises the entire multi-layer assembly from day one.
- Mineral-Surfaced Roll Roofing: The heavy-duty cap sheet that shields the roof deck from UV radiation and weathering.
- Modified Bitumen Base Sheet: The high-performance underlayment layer that provides primary waterproofing protection.
- Fasteners: 1.5-inch galvanized roofing nails and plastic cap nails designed to hold sheets securely without tearing.
- Adhesives: Asphalt roofing cement (mastic) and cold-applied adhesive required for cementing side laps and flashing details.
- Cutting and Bonding Tools: A utility knife with hook blades, a chalk line for alignment, and a weighted roller to eliminate air pockets.
The Golden Rule: Why Temperature Matters (Avoiding the 50°F / 10°C Asphalt Trap)
Installing roll roofing below the strict 50°F (10°C) temperature threshold guarantees failed laps, brittle membranes, and widespread leaks. Cold weather makes asphalt stiff and prevents the chemical self-sealing and adhesive bonding required for waterproof integrity.
- The 50°F Minimum Threshold: Always ensure that both ambient air and deck surface temperatures stay at or above 50°F throughout the entire installation and curing window.
- Cold Weather Consequences: Cold asphalt loses its natural tackiness, leading to unbonded seams, wind uplift vulnerability, and moisture penetration during the first heavy rain.
- Sun Exposure Pre-Conditioning: Unroll and allow material rolls to relax in direct sunlight prior to placement to restore membrane flexibility and eliminate stubborn shipping wrinkles.
Calculating Roofing Squares (How Much Material to Buy)
Accurate material estimation prevents costly project delays and ensures you purchase enough coverage plus the necessary overlap waste. In professional roofing, one roofing square equals exactly 100 square feet of total surface area.
- Measure Length and Width: Multiply the total length of the low-pitch roof by its width to calculate gross square footage, then divide by 100 to determine your total squares.
- Account for Waste and Overlaps: Always add 10% to 15% extra material to your total order to accommodate horizontal overlaps, edge overhangs, and cutting waste.
- Verify Roll Coverage: Check individual manufacturer specifications, as standard mineral-surfaced rolls typically cover roughly 100 square feet minus required overlap tolerances.
Step 1: Roof Deck Preparation and Drip Edge Installation
Thorough roof deck preparation and precise metal drip edge sequencing form the critical foundation of a leak-free low-pitch installation, preventing moisture infiltration before the membrane goes down. Strip away all old layers down to the bare timber so you can build a structurally sound platform.
Stripping and Inspecting the Roof Deck (Plywood/OSB checks)
Inspecting your roof deck requires stripping old materials down to bare plywood or OSB board to identify hidden structural weaknesses. Checking every square foot for soft spots, warping, or trapped moisture ensures your new roll roofing bonds to a rigid, stable surface.
- Complete Tear-Off: Remove all previous layers of roofing, old fasteners, and debris down to the wooden decking.
- Surface Panel Evaluation: Inspect plywood or OSB board panels for soft spots, swelling, or delamination caused by past leaks.
- Fastener Check: Drive in any protruding nails or staples flush with the wood surface to prevent puncturing the new underlayment.
Replacing Rotted or Damaged Decking
Rotted wood must be cut out and replaced with matching plywood or OSB board before applying any roofing layers. Failing to remove compromised timber leads to fastener pull-out, sagging membranes, and sudden structural failure under standing water loads.
- Precision Cutting: Cut out damaged decking sections back to the center of the nearest roof rafter or truss.
- New Panel Fitting: Install a matching thickness of exterior-grade plywood or OSB board into the opening.
- Secure Fastening: Anchor the replacement panel securely using structural screws or galvanized nails spaced evenly along every framing member.
Installing Drip Edges Correctly (Eaves vs. Rakes Sequence)
Metal drip edges and gutter aprons must be installed in a strict water-shedding sequence along eaves and rakes. Placing edge metal under the moisture barrier at eaves and over the cap sheet at rakes prevents runoff from seeping into the fascia and underlying framing.
- Eave Installation Sequence: Nail metal drip edges directly to the roof deck along the lower eaves *before* laying any underlayment.
- Rake Installation Sequence: Install gable and rake edge metal *over* the side edges of the base and cap sheets to block wind-driven rain.
- Overlap and Fastening: Overlap all adjacent metal flange joints by at least 2 inches and secure them with galvanized nails every 8 to 10 inches.
Step 2: Laying the Heavy-Duty Base Sheet (Why Tar Paper Fails)
Laying a high-performance underlayment creates the primary waterproof barrier beneath your cap sheet. Selecting a specialized asphalt-saturated base sheet instead of traditional roofing felt prevents early water degradation and preserves structural integrity under slow-draining conditions.
Can You Use Standard Tar Paper? (The Low-Slope Myth Debunked)
Standard felt paper is designed for steep roofs where water runs off instantly, making it prone to premature felt paper failure under low-slope standing water. When moisture pools for extended periods, standard tar paper absorbs water, buckles, rots, and allows leaks to reach the plywood deck.
- Absorptive Composition: Traditional felt lacks the heavy reinforcement and waterproofing polymers needed for prolonged standing water environments.
- Wrinkling and Buckling: Trapped moisture causes standard felt to swell and distort, creating ridges that telegraph through top roofing layers.
- The Heavy-Duty Alternative: A commercial-grade asphalt-saturated base sheet provides superior tensile strength and moisture resistance, protecting the roof structure long-term.
Unrolling and Relaxing the Base Sheet (Eliminating Wrinkles)
Unrolling and allowing your base sheet to relax in direct sunlight before final nailing eliminates thermal stress wrinkles and prevents bubbling. Cold or tightly wound rolls retain memory curves that interfere with smooth, watertight horizontal rows.
- Sunlight Pre-Conditioning: Lay rolls flat in the sun for 15 to 30 minutes to soften the asphalt and let the material relax naturally.
- Dry Layout Alignment: Position the material across the deck without immediate fastening to check squareness and ensure a smooth surface.
- Wrinkle Prevention: Eliminating creases prior to nailing stops air pockets from forming beneath subsequent adhesive cap layers.
Overlapping and Nailing Patterns for Maximum Waterproofing
Installing base sheets in precise horizontal rows with correct overlap seams guarantees proper water-shedding direction and prevents capillary leaks. Following a rigorous fastening pattern anchors the underlayment securely against wind uplift and movement.
- Water-Shedding Direction: Always work from the lowest eave upward toward the ridge so upper sheets lap over lower sheets.
- Seamless Overlaps: Maintain a consistent 2- to 4-inch overlap on side and end laps, sealing them with approved cold adhesive or mastic.
- Fastening Specifications: Secure the fastening pattern using galvanized roofing nails or plastic cap nails spaced evenly along designated nailing lines.
Step 3: Applying the Cap Sheet: The “One-Shot” Alignment Hack and Nailing Schedule
Apply the mineral-surface cap sheet with absolute precision to create the final waterproof shield against weather and UV rays. Mastering the staging and fastener layout prevents costly alignment mistakes and guarantees long-term durability.
The Chalk-Line Staging Method (Preventing Peel-and-Stick Disasters)
Peel-and-stick membranes bond instantly on contact, making repositioning impossible once touching the deck. Snapping exact chalk lines prevents crooked runs and ruined material rolls.
- Snap Reference Lines: Mark straight parallel guidelines across the base sheet matching your overlap width to maintain uniform alignment.
- Staging the Roll: Position the roll at the starting edge without peeling the backing film to verify alignment from end to end.
- Eliminating Misalignment: The chalk-line staging method eliminates crooked runs that create open gaps and severe water leaks.
Dry Fitting and Precision Alignment
Unrolling and dry fitting the mineral-surface cap sheet before exposing any adhesive guarantees flawless alignment along the eaves. Taking time to pre-fit prevents wrinkles and ensures proper edge overhang.
- Overhang Spacing: Align the bottom edge to leave a clean 1/4-inch to 3/8-inch overhang past the metal drip edge.
- Relaxing the Membrane: Let the dry-fitted sheet sit flat in the sun to eliminate shipping curls before permanent bonding.
- Incremental Release Method: Peel back only half of the release film at a time, pressing the membrane outward from the center.
The Exact Nail Schedule: Nail Spacing and Concealed Edge Techniques
Executing the correct nail schedule ensures wind uplift resistance while keeping fasteners hidden beneath overlapping sheets. Precise fastener density prevents tearing and water intrusion.
- Nails Per Square: Drive roughly 80 to 100 galvanized roofing nails per square (100 sq ft) following manufacturer guidelines for low-slope applications.
- Concealed Fastening: Place nails along the designated nail line of the selvedge edge so the next overlapping course completely covers them.
- Flush Fastening: Drive nails completely flush with the surface without countersinking or cutting into the mineral-surface cap sheet.
Bonding and Rolling: Securing the Layers Without Air Bubbles
Bonding the cap sheet requires thorough pressure to eliminate trapped air bubbles and seal side laps with approved lap cement. A proper roll-out creates a seamless waterproof bond across the entire roof deck.
- Lap Cement Application: Spread a 1/8- to 1/4-inch layer of asphalt lap cement in all overlap zones to fuse seams watertight.
- Weighted Roller Action: Walk the entire surface with a heavy weighted roller or push broom to press out air pockets and secure adhesive contact.
- Seam Inspection: Check all edge laps to confirm minor bitumen bleed-out, which signals a complete and secure waterproof seal.
Step 4: Flashing Details, Edge Sealing, and Troubleshooting
Flashing roof penetrations, sealing vulnerable laps, and repairing installation imperfections protects vulnerable transition points where 90% of low-slope roof leaks occur. Taking time to detail vents, walls, and seams guarantees long-term waterproof security.
Flashing Vents, Chimneys, and Wall Junctions
Roof penetrations, plumbing vent pipes, and vertical wall junctions require multi-piece metal flashing and reinforced membrane strips to stop water infiltration. Securing these transitions properly prevents runoff from bypassing the main roof membrane.
- Pipe Flashing Integration: Slide pre-formed metal or rubber boot flashings over vent pipes, embedding the base flange in asphalt roofing cement.
- Wall and Chimney Step Flashing: Install step flashing pieces interwoven with counter-flashing along vertical brick or siding walls to block driving rain.
- Reinforced Membrane Patches: Apply modified bitumen detail patches around complex roof penetrations, sealing all edges with cold adhesive.
Sealing Laps and Edges with Roofing Mastic
Applying high-grade asphalt mastic and lap cement along exposed edges and side laps reinforces waterproof sealing against wind-driven moisture and standing water. Trowel-grade sealants lock down critical transition zones.
- Mastic Trowel Application: Use a notched mastic trowel to apply a consistent 1/8-inch layer of flashing cement around perimeter edges and metal flanges.
- Lap Edge Protection: Seal all exposed cap sheet seams with approved lap cement, pressing edges firmly to prevent capillary action.
- Bitumen Bead Verification: Ensure a continuous small bead of asphalt squeezes out along seams, confirming complete adhesive contact.
How to Fix Wrinkles, Blisters, and Loose Seams After Installation
Catching and repairing surface wrinkles, trapped air blisters, or loose seams immediately after installation prevents hidden leaks from destroying the roof deck. Prompt corrective action restores membrane uniformity.
- Repairing Air Blisters: Slice open stubborn blisters with a utility knife, press the membrane flat, secure with roofing nails, and seal over the cut with mastic.
- Smoothing Minor Wrinkles: Cut along deep membrane creases, heat gently if approved, apply cold adhesive underneath, and press flat with a weighted roller.
- Securing Loose Seams: Lift unbonded lap edges, clean out trapped debris, reapply fresh lap cement, and nail down securely for permanent edge bonding.
Frequently Asked Questions About Roll Roofing Installation
Get direct, authoritative answers to the most common questions regarding low-slope roll roofing specifications, fastener requirements, and building standards. These insights align with industry guidelines to ensure code compliance and maximum roof longevity.
What is the absolute minimum roof pitch required for roll roofing?
The absolute minimum recommended roof pitch for standard roll roofing is a 1:12 slope, though a 2:12 slope or greater is strongly preferred to prevent standing water issues. Installing roll roofing on ultra-flat or dead-level roofs under a 1:12 ratio drastically increases the risk of ponding water leaks and premature material failure.
- Slope Requirement: A 1:12 pitch provides the bare minimum vertical drop (1 inch per horizontal foot) needed for gravity drainage.
- Manufacturer Specifications: Always verify product packaging, as certain mineral-surfaced or self-adhered membranes have strict minimum pitch limits.
- Building Standards: To review authorized low-slope application thresholds and safety specifications, consult the Asphalt Roofing Manufacturers Association guidelines.
How many nails do you need per square of roll roofing?
You typically need between 80 to 100 galvanized roofing nails per square (100 square feet) of roll roofing, depending on the specific manufacturer fastening schedule and slope angle. Correct nail density ensures high wind uplift resistance without puncturing the waterproofing membrane unnecessarily.
- Fastener Spacing: Space nails approximately 9 to 12 inches apart along designated nailing lines and side lap zones.
- Nail Type: Always use 1.5-inch barbed or galvanized roofing nails with wide heads to prevent tearing through the sheet.
- Concealed Placement: Drive fasteners exclusively through the hidden selvedge edge so subsequent overlapping layers completely cover them.
Can you install new roll roofing directly over existing rolled roofing?
Installing new roll roofing directly over an existing layer is generally discouraged because it traps moisture, adds excessive structural weight, and conceals rotted wood decking. Complete tear-offs down to the bare plywood or OSB board are always recommended for a durable, leak-free installation.
- Structural Weight Limit: Multiple roofing layers overload roof framing and violate local building codes in many jurisdictions.
- Telegraphing Defects: Existing wrinkles, blisters, and bumps will telegraph through the new membrane, ruining the smooth finish.
- Deck Inspection Value: Tearing off old material allows you to inspect and replace rotted plywood before applying new underlayment.
Do peel-and-stick rolled roofs require nails?
Most modern peel-and-stick (self-adhered) modified bitumen cap sheets do not require face-nailing across the field, relying instead on heavy adhesive backing and deck bonding. However, manufacturers frequently require mechanical fastening along vulnerable perimeter edges, eaves, and base sheet underlayments.
- Adhesive Bond Power: Self-adhered membranes rely on pressure-sensitive adhesive technology to bond directly to a clean base sheet or primed deck.
- Perimeter Anchoring: Check specific product instructions, as edge zones and base sheets often require mechanical cap nails to prevent wind uplift.
- Roller Pressure: Walking the roof with a heavy weighted roller is mandatory to activate full adhesive contact and eliminate air bubbles.

Oscar Vance | Master Plumber & Drainage Expert
Meet Oscar Vance, a licensed master plumber sharing practical solutions on residential repairs, preventive maintenance, and thoughtful home upkeep.

