How to Put Metal Roofing on a Mobile Home
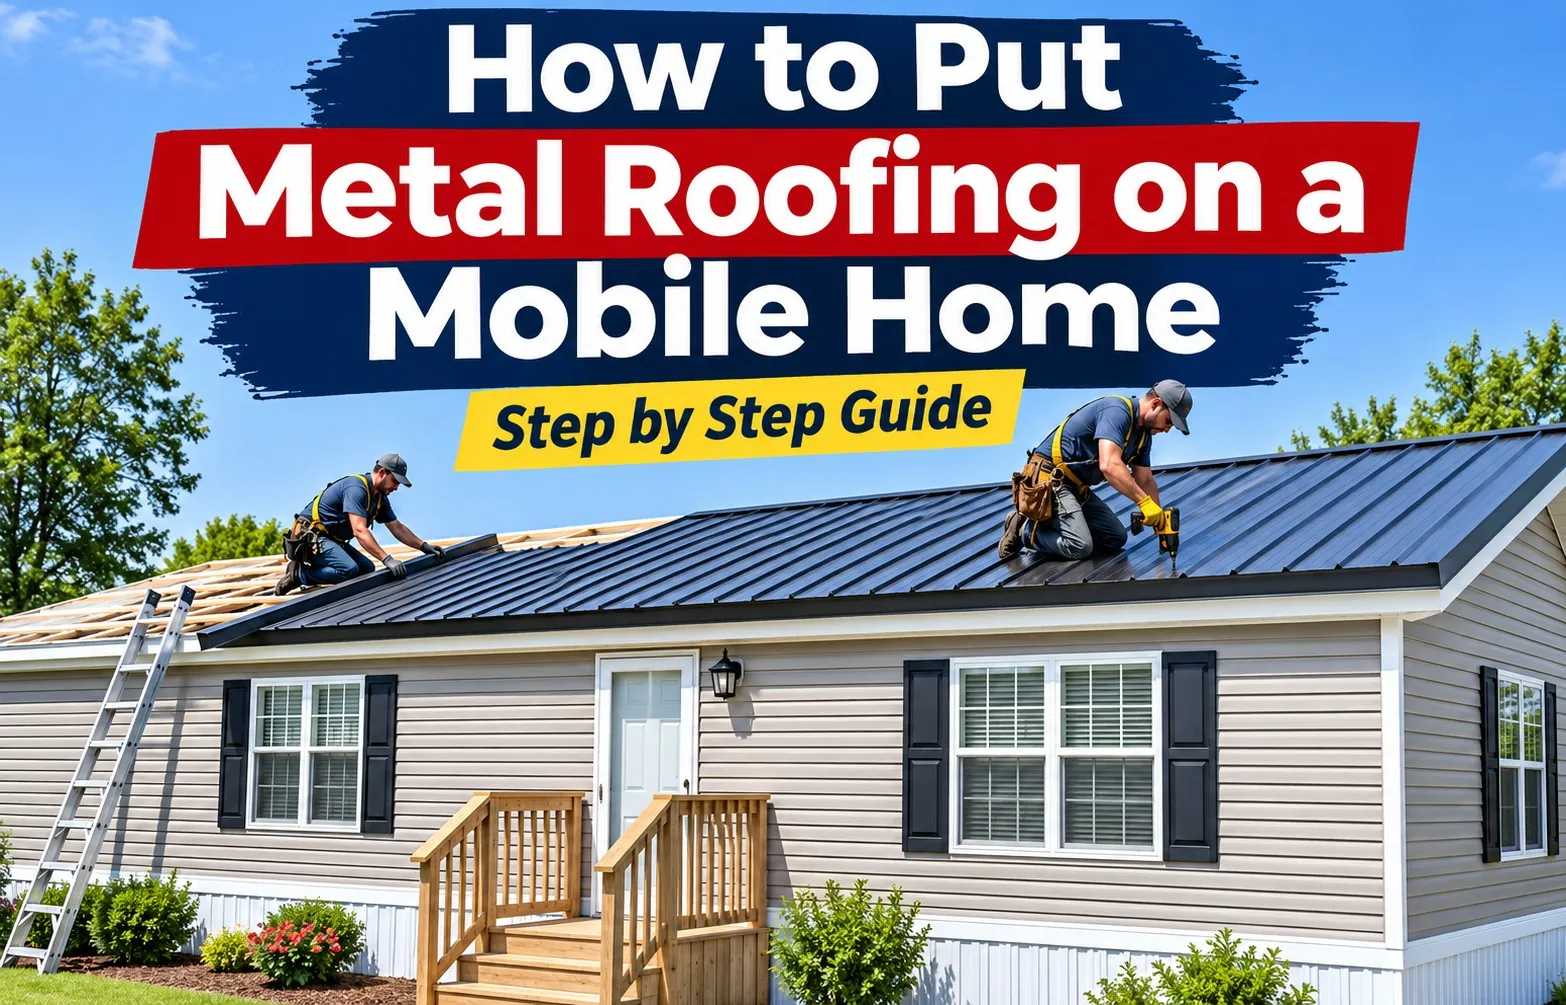 Yes, you can install a metal roof on a mobile home. It is one of the most effective long-term upgrades for eliminating chronic roof leaks, improving thermal insulation, and increasing structural durability. However, success requires verifying that your home’s roof framing can safely support the added material load.
Before purchasing materials or starting installation, homeowners must evaluate structural feasibility, truss weight limits, and the fundamental differences between single-wide and double-wide roof geometry.
Can You Put a Metal Roof on a Mobile Home?
Installing a metal roof on a manufactured home is entirely feasible through two primary methods: a complete tear-off or a roof-over installation. A metal roof-over involves constructing a light wood framing grid directly on top of the existing roof surface, eliminating the labor and disposal costs of tearing off old materials.
Choosing between a roof-over and a tear-off depends on the current condition of your underlying roof deck and local building regulations:
- Metal Roof-Over: Best suited for roofs with intact structural decking and minimal water damage. Installing 29-gauge metal panels over a wood furring grid saves time, adds an insulating air gap, and reduces labor expenses.
- Complete Tear-Off: Mandatory if the existing roof decking exhibits widespread wood rot, sagging rafters, or multiple saturated shingle layers. Adding weight over compromised plywood risks structural failure.
A roof-over is generally the preferred DIY approach, provided the underlying rafter assembly passes a physical moisture and deflection inspection.
Single-Wide vs. Double-Wide Architectural Considerations
Single-wide and double-wide mobile homes present distinct architectural configurations that impact panel layout, trim selection, and flashing installation.
Understanding these layout differences prevents water intrusion along structural joints and peak lines:
- Single-Wide Homes: Typically feature continuous, low-pitch gable or arched bowstring roofs. Panel installation is straightforward, running continuously from the center peak down to the eave edges on both sides.
- Double-Wide Homes: Consist of two separate structural units joined at the marriage line. This central marriage wall creates a critical seam that requires precise ridge cap alignment and heavy-duty butyl tape sealing to prevent leaks driven by structural settling.
- Roof Pitch Constraints: Mobile homes often have low slopes (2:12 pitch or lower). Ensure panels are rated for low-pitch application, and seal panel overlaps with lap sealant to stop capillary water draw.
Evaluating truss integrity, verifying weight allowances, and choosing the right flashing approach for single or double-wide layouts ensures a leak-free metal roof installation.
Mobile Home Metal Roof Kit Costs, Materials, & Tool Checklist
Planning the budget and material list accurately is essential before starting a metal roof installation on a mobile home. Total costs depend primarily on square footage, roof pitch, and whether you purchase a pre-packaged metal roof-over kit or source individual components from home improvement stores.
A complete project breakdown includes evaluating kit pricing for standard mobile home dimensions, selecting the correct structural hardware, and gathering specialized safety and cutting tools.
Mobile Home Metal Roof Kit Costs (Single-Wide vs. Double-Wide Pricing)
Pre-packaged mobile home metal roof-over kits typically cost between $1,200 and $3,500 for materials. The exact price varies based on home dimensions (such as a standard 16×80 single-wide versus a 28×70 double-wide), metal gauge thickness, and included trim packages.
When estimating expenses for DIY installation or sourcing components through home improvement retailers like Home Depot roof over kits, use these standard cost ranges:
Buying individual components separately allows for custom material selection, but pre-bundled roof kits ensure all flashing, ridge caps, and closure strips match specifications without missing required parts.
Essential Materials Checklist (Furring Strips, Panels, Neoprene Screws, Closure Strips)
A durable roof-over system relies on layered moisture barriers, solid framing attachments, and weather-resistant trim elements. Accurate material estimation prevents mid-project delays and guarantees leak protection.
Ensure your material order contains these essential components:
- 29-Gauge Corrugated Metal Panels: The industry standard for manufactured home roofs, offering an optimal balance of structural strength and light weight.
- 1×4 Furring Strips: Kiln-dried lumber installed perpendicular to roof trusses every 16 to 24 inches on center to create an anchoring grid and ventilation space.
- Synthetic Underlayment: A tear-resistant moisture barrier placed over the roof deck or furring grid to prevent condensation contact with wood.
- Neoprene Washer Screws: Self-drilling exterior roofing fasteners designed with EPDM rubber washers that seal tight against metal without cracking.
- Foam Closure Strips: Form-fitted solid or breathable foam inserts installed under ridge caps and eaves to block wind-driven rain, insects, and debris.
- Flashing & Trim Parts: Includes eave drip edges, gable rake trim, ridge caps, and side wall flashing tailored to your roof profile.
Tools You Need Before Starting (Tin Snips, Impact Driver, Chalk Line, Safety Harness)
Installing metal panels efficiently requires specialized tools for cutting, aligning, and securing metal work safely on low-slope mobile home roofs.
Gather these mandatory items prior to starting the installation:
- Cutting Tools: Heavy-duty offset tin snips or a metal-cutting circular saw fitted with a specialized non-ferrous blade for clean panel cuts.
- Fastening Tools: A cordless impact driver with hex head magnetic socket bits for driving neoprene washer screws accurately.
- Layout Tools: A long measuring tape, chalk line for marking screw paths along furring lines, and a straight-edge square for trim alignment.
- Safety Gear: OSHA-compliant safety harness, fall-protection rope anchor, work gloves to prevent sheet metal cuts, and eye protection.
Step-by-Step DIY Installation Guide for Mobile Home Metal Roof-Over
Installing a metal roof over a mobile home requires a methodical, step-by-step approach that prioritizes structural alignment, weatherproofing, and secure fastening. Executing each phase correctly ensures your roof withstands high winds, prevents leaks, and delivers long-term durability.
Step 1: Roof Deck Preparation & Edge Trimming (Trimming Old Overhangs)
Preparing the mobile home roof deck requires inspecting for soft spots, clearing debris, and trimming overhanging shingles or old factory drip edges by roughly 1.5 inches. This ensures a flat, clean substrate that allows the new metal framework to sit flush without interference from worn, curling materials.
- Inspect for Damage: Walk the roof carefully to locate any sagging areas or rotting wood decking that requires structural reinforcement before proceeding.
- Trim Old Edges: Use utility knives or snips to cut back protruding shingle edges or damaged aluminum drip flashing along the perimeter.
- Clear Debris: Sweep away loose granules, dirt, and leaves to provide a clean working surface for your underlayment and furring grid.
Step 2: Installing the Furring Strip Grid (16” to 24” Center Framing)
Installing a solid furring strip grid creates the load-bearing framework necessary to anchor corrugated metal panels securely across mobile home rafters. Fasten 1×4 wood boards horizontally across the roof, maintaining precise rafter alignment and spacing them 16 to 24 inches on center.
- Locate Rafters: Use a stud finder or measure from existing structural markers to map out the underlying rafter lines accurately.
- Position Furring Boards: Lay 1×4 kiln-dried lumber perpendicular to the rafters, starting from the bottom eave and working up toward the ridge.
- Secure Fastening: Drive exterior wood screws through the furring strips directly into the underlying rafters to ensure a rigid, load-bearing hold.
Step 3: Laying Synthetic Vapor Barrier & Moisture Control Underlayment
Rolling out a high-performance synthetic vapor barrier over your furring grid or roof deck protects the underlying structure from condensation and moisture accumulation. This vital layer acts as a secondary shield against water infiltration while allowing trapped indoor humidity to dissipate safely.
- Roll Horizontally: Start at the bottom eave and roll the synthetic underlayment horizontally across the roof, keeping the material taut and wrinkle-free.
- Overlap Seams: Ensure each upper layer overlaps the lower layer by at least 4 to 6 inches to direct any moisture downward and outward.
- Staple Securely: Fasten the underlayment to the furring strips using heavy-duty cap staples or roofing nails spaced every 12 inches.
Step 4: Installing Drip Edges, Gable Trim, and Eave Flashing
Installing metal drip edges along the eaves and gable rakes directs rainwater away from the mobile home siding and protects the roof deck perimeter. Nail or screw flashing pieces tightly along the edges, overlapping corners to prevent moisture from entering underneath the panels.
- Eave Flashing: Install the eave drip edge directly over the underlayment along the bottom edge, securing it with roofing nails every 8 to 10 inches.
- Gable Rake Trim: Fasten gable trim along the slanted roof edges to prevent wind-driven rain from blowing underneath the side panels.
- Overlap Joints: Overlap all flashing and trim joints by a minimum of 2 inches, sealing the connection with exterior polyurethane caulk.
Step 5: Laying & Fastening Metal Panels (Overlapping Rules & Screw Torque)
Laying and fastening metal panels requires starting from the bottom eave and working upward while maintaining precise rib alignment and a 1-inch overhang. Drive neoprene rubber washer screws into the flat sections next to the ribs, applying controlled torque to compress the rubber seal without crushing the metal.
- Maintain Overhang: Position the first corrugated panel at the bottom corner, leaving a uniform 1-inch overhang past the eave drip edge.
- Rib Alignment: Interlock side-by-side panels precisely along their corrugated ribs to prevent gaps and ensure a weather-tight side lap.
- Control Screw Torque: Drive neoprene rubber washer screws into the flat pan next to the rib; stop tightening the impact driver the moment the EPDM washer bulges slightly without flattening out.
Step 6: Installing Ridge Caps & Foam Ventilation Closure Strips
Sealing the peak of the roof with ridge caps and foam ventilation closure strips blocks wind-driven rain, pests, and insects while maintaining essential attic airflow. Place form-fitted closure strips along the panel ribs before securing the central ridge cap with exterior screws.
- Apply Closure Strips: Peel and stick foam or mesh closure strips along the top edges of the metal panels just below the ridge line.
- Position Ridge Cap: Center the ridge cap over the roof peak, ensuring it overlaps both roof slopes evenly to seal the apex.
- Secure Cap Fasteners: Drive colored exterior screws with neoprene washers through the ridge cap and closure strips directly into the high ribs of the panels.
Condensation Control, Attic Ventilation, & Air Gap Requirements
Preventing condensation and managing moisture accumulation is the single most critical factor in guaranteeing the longevity of a mobile home metal roof. Because metal rapidly transfers thermal energy, improper installation can lead to severe moisture traps, ceiling mildew, structural wood rot, and compromised indoor air quality.
Eliminating these risks requires managing the dew point location, establishing a physical thermal break, and maintaining uninterrupted air movement between the metal panels and the roof deck.
The “Sweating Roof” Problem: Why Metal Roofs Trap Attic Moisture
Metal roof condensation occurs when warm, moisture-laden air from inside the mobile home rises into the roof cavity and contacts cold sheet metal. When the underside of the panel drops below the dew point, airborne water vapor condenses into liquid droplets, creating a condition commonly known as a sweating roof.
In mobile homes, this issue is amplified due to compact roof cavities and limited natural attic ventilation. Without effective indoor moisture control measures, water droplets drip continuously onto underlying insulation and wood trusses, causing unseen structural damage over time.
- Thermal Conductivity: Metal panels warm rapidly under sunshine and cool drastically at night, creating sharp temperature fluctuations that trigger heavy condensation.
- Trapped Humidity: Daily household activities like cooking, showering, and unvented laundry generate humidity that migrates upward into unventilated roof spaces.
- Insulation Saturation: Falling condensation drenches fiberglass ceiling insulation, reducing its R-value efficiency and fostering interior mold growth.
Creating an Air Gap: Furring Strips vs. Direct Plywood Attachment
Creating a continuous air gap requirement between the roof deck and the metal panels provides a thermal cushion that prevents rapid condensation build-up. Installing 1×4 wood furring strips elevates the panels off the substrate, allowing ambient air to circulate freely beneath the metal surface.
Direct attachment of sheet metal over plywood or old shingles without a framing grid creates a moisture trap, whereas a raised grid system promotes active ventilation:
Pairing this elevated wood framework with a high-performance breathable underlayment allows vapor escaping from the living space to pass through safely without soaking into structural lumber.
Proper Ridge Venting & Foam Closures for Breathability
Attic ventilation relies on a balanced airflow system where cool air enters through eave soffits and exhausts out the roof peak. Achieving this passive airflow requires choosing ventilation-friendly closure materials underneath the central ridge cap.
Standard solid rubber closure strips completely seal off panel ribs, which blocks air movement and traps heat. Integrating specialized vented mesh closure strips allows air to vent while maintaining weather protection:
- Vented Mesh Closure Strips: Open-cell polymer mesh strips install along the panel crowns, letting hot air exhaust out while stopping insects and wind-driven rain.
- Continuous Ridge Vents: Installing a continuous ridge vent profile along the apex encourages constant convective airflow out of the upper roof cavity.
- Intake Air Balance: Ensure lower soffit vents remain unobstructed so fresh air can enter, push warmth upward, and vent out the ridge.
HUD Code Regulations, Electrical Grounding, & Safety Standards
Installing a metal roof on a manufactured home involves more than securing panels; it must comply with federal safety standards and local building codes. Because mobile homes feature unique structural and electrical designs, failing to follow federal guidelines can compromise structural safety, void insurance coverage, or lead to dangerous electrical hazards during storms.
Proper installation requires adhering to HUD structural standards, implementing mandatory electrical grounding protocols, and configuring metal panel layouts to withstand region-specific wind loads.
HUD Manufactured Home Construction Code: What You Need to Know
Manufactured homes built after June 15, 1976, must comply with strict federal construction standards governed by the Standard HUD Manufactured Home Construction Safety Guidelines. These regulations establish specific criteria for roof load limits, thermal envelope performance, fire safety, and structural alterations.
Before making structural modifications or adding a metal roof-over, homeowners must address several regulatory factors:
- Permits & Inspections: Most local building departments require a building permit for roof-overs. Local authorities verify that the added load does not exceed the home’s original design specifications.
- Structural Alterations: HUD guidelines require that any roof overlay maintains the structural integrity of the home’s original truss system without compromising ceiling insulation or attic ventilation clearances.
- Fire Resistance Ratings: Metal roofing provides an exceptional Class A fire rating, which helps satisfy HUD flame-spread requirements and often lowers home insurance premiums.
Electrical Grounding Protocols: Bonding the Metal Roof to the Steel Frame
Metal roofing installed on a mobile home must be properly grounded to prevent electrical hazards caused by lightning strikes, static electricity accumulation, or accidental contact with damaged overhead wiring. Connecting the conductive metal roof structure directly to the home’s main chassis prevents dangerous voltage buildup.
Executing safe steel frame bonding involves establishing a secure electrical connection between the metal panels and the ground system:
Connect a continuous #6 copper wire from an electrical bonding plate on the metal roof edge down to the structural steel I-beam chassis, ensuring paint is scraped away at contact points to guarantee solid metal-to-metal contact.
Wind-Uplift Mitigation for High-Wind and Coastal Zones
Mobile homes located in high-wind regions or coastal hurricane zones are vulnerable to wind uplift, where strong gusts pull upward on roof overhangs and panel edges. Achieving a high wind uplift rating depends on correct fastener placement and reinforced edge trim sealing.
Follow these structural anchoring practices to ensure your installation remains secure during high-wind events:
- Fastener Density: Increase screw placement along perimeter edges, gable rakes, and eaves—spacing screws every 12 inches along furring strips rather than standard 24-inch intervals.
- Reinforced Flashing Seals: Secure all perimeter trim and rake edges using heavy-duty butyl sealant tape under the metal flange to prevent wind driven rain and air from lifting panel edges.
- Panel Gauge Selection: Choose 26-gauge or heavy 29-gauge steel panels with engineered rib profiles designed and tested for high-velocity wind zone performance.
Frequently Asked Questions About Mobile Home Metal Roofing
Here are clear answers to the most common questions regarding materials, costs, structural requirements, and installation methods for mobile home metal roofs.
Do you need an air gap under metal roofing on a mobile home?
Yes, you need an air gap under a metal roof on a mobile home. A 3/4-inch air gap created by 1×4 furring strips allows trapped heat and moisture to escape, preventing roof sweating, attic condensation, fiberglass insulation saturation, and structural wood rot.
Without an air gap, temperature shifts cause moisture to collect beneath the metal, leading to mold growth and compromised indoor air quality over time.
What is the best material to put under a mobile home metal roof?
The best material to put under a mobile home metal roof is synthetic underlayment installed over a wood furring strip grid. High-density synthetic underlayment provides superior tear resistance, long-term water protection, and UV stability compared to traditional asphalt felt paper.
Comparing these underlayment options helps clarify why synthetic barriers perform better under high-heat metal roofs:
Can you put a metal roof directly over existing shingles or plywood?
You can put a metal roof over shingles or plywood, provided the roof deck is structurally sound and free of wood rot. However, installing panels over a 1×4 furring strip grid with synthetic underlayment is far better than fastening metal directly over old shingles.
Fastening metal over shingles directly causes shingle granules to abrade the metal panel’s underside protective coating, which leads to premature rusting over time.
How much does it cost to put a metal roof on a 16×80 single-wide mobile home?
Putting a metal roof on a 16×80 single-wide mobile home costs between $1,500 and $2,200 for DIY materials. If hiring a professional roofing contractor, total installation costs range from $3,500 to $5,500, depending on regional labor rates and roof complexity.
- DIY Material Cost: $1,500 – $2,200 (Includes panels, 1×4 furring grid, synthetic barrier, trim, and screws).
- Professional Labor Cost: $2,000 – $3,300 (Covers site preparation, framing labor, flashing, and crew safety setups).
Is plywood or OSB better for mobile home roof decks?
Plywood is better than OSB for mobile home roof decks because it resists moisture expansion and holds fastener threads more securely. Plywood dries quickly if exposed to water, whereas OSB swells at the edges when wet and loses structural stiffness faster.
For mobile home roof repairs, use 1/2-inch exterior CDX plywood or 5/8-inch OSB rated for structural decking to ensure proper rafter support and weight distribution.
Can I install a metal roof on my mobile home myself (DIY vs. Pro)?
Yes, you can install a metal roof on your mobile home yourself if you have basic carpentry skills, comfortable working at heights, and proper tools like an impact driver and tin snips. DIY installation saves significantly on pro labor costs.
However, hiring a professional contractor is recommended if your roof requires extensive structural repairs, complex valley flashing, or if local HUD building codes mandate licensed contractor sign-offs.

Oscar Vance | Master Plumber & Drainage Expert
Meet Oscar Vance, a licensed master plumber sharing practical solutions on residential repairs, preventive maintenance, and thoughtful home upkeep.

