How Long Does It Take to Replace an HVAC System?
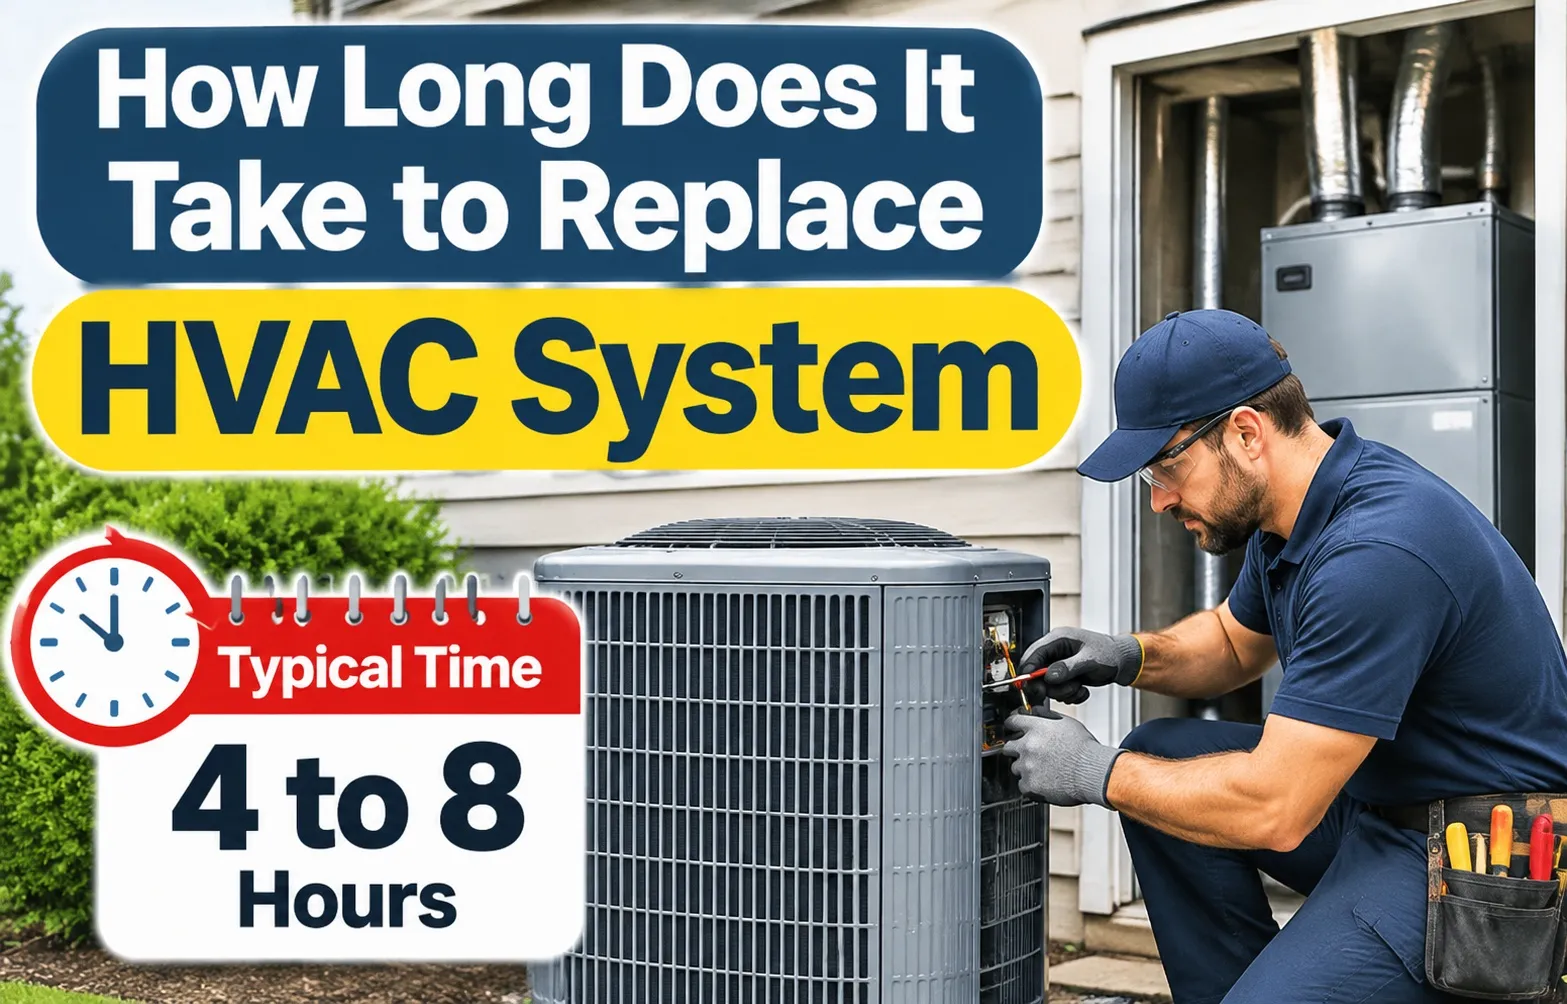 Replacing a standard residential HVAC system typically takes between 8 to 14 hours, with most complete split-system installations finished within a single full workday. The exact duration depends on whether technicians are swapping out just the outdoor condenser, replacing both the indoor furnace and outdoor unit, or installing entirely new ductwork.
Timeline Overview (The 8 to 14 Hour Rule)
A standard HVAC replacement time frame is heavily influenced by the scope of equipment being updated. Most professional heating and cooling contractors schedule full system changeouts as a efficient one-day project starting early in the morning.
- Air Conditioner or Furnace Only: 4 to 8 hours for a single component swap.
- Full System Replacement (AC + Furnace): 8 to 14 hours utilizing existing ductwork.
- Complex Custom Installations: 2 to 5 days if structural modifications or new duct runs are required.
Can an AC Unit Be Replaced in a Single Day?
Yes, an air conditioner can almost always be replaced on the same day if the existing electrical connections, line sets, and ductwork are in good condition. Standard single-day installations allow homeowners to restore indoor climate control rapidly without extended disruptions.
- Technicians remove old refrigerant safely and disconnect the outdoor condenser unit.
- The new mounting pad and condenser are positioned, leveled, and secured firmly.
- Electrical wiring, refrigerant lines, and thermostat communications are connected, evacuated, and pressure tested.
HVAC Replacement Timeline Breakdown by Project Scope
The total duration of an HVAC project varies significantly based on whether you are executing a simple air conditioner swap or installing an entirely new system from scratch. Understanding these scope variations helps homeowners plan their schedules and anticipate labor requirements accurately.
Air Conditioner or Furnace Only (4 to 8 Hours)
A single-component air conditioner swap or furnace replacement typically takes between 4 to 8 hours to complete. Because existing infrastructure like ductwork, electrical disconnects, and line sets remain in place, technicians can focus exclusively on removing the old unit and mounting the new equipment.
- Focused Labor: Crews can isolate work to either the indoor mechanical closet or the outdoor condenser pad.
- Quick Commissioning: System startup, refrigerant charging, and airflow testing finish rapidly on single-unit changeouts.
Full System Replacement (AC + Furnace with Existing Ducts: 8 to 14 Hours)
Replacing both the indoor furnace and outdoor condenser while utilizing existing ductwork generally requires a full 8 to 14-hour workday. Technicians work simultaneously across interior and exterior zones to extract outdated machinery and install matching equipment tonnage efficiently.
- Simultaneous Workflows: One technician handles indoor coil and furnace alignment while another prepares the outdoor condenser pad.
- System Integration: Calibration of multi-stage blowers and modern smart thermostats extends the afternoon testing phase.
Ductless Mini-Split Systems (1 to 2 Days)
Installing multi-zone ductless mini-split heat pump systems usually spans 1 to 2 days depending on the number of indoor air-handling heads. Technicians must drill small 3-inch core holes through exterior walls to run communication cables, condensate drainage lines, and copper refrigerant tubing for each zone.
- Wall Penetrations: Core drilling and mounting individual wall cassettes require precision placement per room layout.
- Line Set Run: Securing line set covers and running individual branch boxes increases labor time compared to ducted setups.
First-Time Central Air or New Ductwork Installations (3 to 5+ Days)
Upgrading a home from window units to a first-time central air installation or replacing compromised ductwork takes anywhere from 3 to 5 days or longer. Designing and fabricating a complete network of supply and return trunks throughout walls and ceilings is labor-intensive and complex.
- Ductwork Layout: Installing new sheet metal or flexible ducts requires extensive attic or crawlspace access and carpentry work.
- Structural Adjustments: Framing returns and cutting floor or ceiling registers stretches the project timeline across multiple days.
What Actually Happens? Hour-by-Hour HVAC Installation Walkthrough
Professional technicians follow a systematic, multi-phase procedure during an HVAC replacement to ensure safety, code compliance, and optimal energy efficiency. Knowing what to expect hour by hour helps homeowners prepare their living spaces and understand the technical rigor involved on-site.
Phase 1: Safety Shutdown, Refrigerant Recovery, and Old Unit Removal (Hours 1–3)
The installation day begins with executing a strict safety shutoff of all gas and high-voltage electrical power to the system. Certified technicians then perform a legal EPA refrigerant recovery process to capture old freon before unbolting and hauling away the obsolete indoor furnace and outdoor condenser unit.
- Power Disconnection: Shutting off electrical power at the main breaker and outdoor safety disconnect box.
- Refrigerant Recovery: Utilizing EPA-certified recovery machines to extract legacy refrigerants into sealed tanks.
- Extraction: Unbolting and removing old metal cabinets, evaporator coils, and outdated duct transitions.
Phase 2: Pad/Platform Inspection, Rigging, and Indoor/Outdoor Unit Placement (Hours 4–6)
Midday focus shifts to inspecting equipment mounting areas and carefully rigging new hardware into position. Technicians level the outdoor condenser pad and secure the heavy indoor evaporator coil and furnace assembly into the utility closet or attic framework.
- Pad Inspection: Checking the outdoor concrete or composite pad for stability, leveling, and drainage clearance.
- Unit Positioning: Rigging and placing the heavy-duty furnace and indoor coil securely into the mechanical space.
- Vibration Control: Installing rubber isolators and leveling feet to minimize operating noise and cabinet vibration.
Phase 3: Refrigerant Lines, Electrical Hookups, and Venting Connections (Hours 7–9)
Afternoon hours involve critical mechanical connections, including brazing copper refrigerant lines and completing complex electrical hookups. Technicians also secure proper drainage pipes and venting systems to ensure safe airflow and moisture management.
- Line Brazing: Purging copper lines with nitrogen and silver-brazing joints to prevent internal oxidation and leaks.
- Electrical Hookup: Wiring high-voltage power feeds, low-voltage thermostat cables, and safety overflow switches.
- Venting & Drainage: Connecting secure flue pipes and sloped PVC condensate drain lines.
Phase 4: System Startup, Static Pressure Testing, and Calibration (Final Hours)
The final hours are dedicated to commissioning the system, performing static pressure testing, and calibrating airflow parameters. Technicians run rigorous diagnostic checks to verify that temperature splits, refrigerant charge levels, and blower speeds match manufacturer specifications.
- Vacuum Testing: Pulling a deep micron vacuum on the lineset to remove air and residual moisture.
- Static Pressure Testing: Evaluating system airflow resistance across supply and return ducts to optimize blower performance.
- System Calibration: Testing heating/cooling cycles, balancing smart thermostats, and demonstrating operation to the homeowner.
Hidden Factors That Can Extend Your HVAC Installation Timeline
While standard system changeouts typically finish within a single workday, unexpected site complications can quickly stretch installation timelines. Contractors frequently encounter hidden structural, electrical, or regulatory hurdles that require careful remediation before a new system can safely operate.
Ductwork Modifications, Leak Sealing, and Sizing Issues
Mismatched airflow or leaking ducts frequently force technicians to halt installations for extensive duct modification work. If existing trunks are undersized or heavily damaged, sealing leaks and re-routing supply lines can easily add an extra day of labor to the schedule.
- Balancing static pressure across mismatched equipment tonnages and cabinet sizes.
- Sealing major plenum leaks and repairing torn insulation wrap to prevent energy loss.
- Fabricating custom transition pieces for non-standard architectural layouts.
Electrical Panel Upgrades and High-Voltage Wiring Requirements
Older residential properties often lack the electrical capacity required by modern, high-efficiency cooling compressors. Upgrading older fuse boxes, installing dedicated high-voltage wiring loops, or replacing corroded breakers requires certified electrical work that pauses mechanical installation.
- Installing dedicated circuit breakers for heavy outdoor compressor loads.
- Executing electrical panel upgrades to safely handle increased amperage draws.
- Replacing degraded, outdated wire runs hidden behind walls or conduits.
Municipal Building Permits and Inspection Backlogs
Local jurisdictions frequently mandate formal permits and verification checks before a replacement system can legally operate. Bureaucratic processing delays, backlogged city inspectors, or strict compliance with ASHRAE standards and local building codes can postpone final sign-offs.
- Submitting equipment specifications to satisfy local energy efficiency compliance mandates.
- Waiting for municipal permit inspection clearance prior to final system activation.
- Correcting minor installation infractions to pass stringent structural and fire codes.
Tight Access Spaces, Crawlspaces, and Attic Constraints
Confined architectural designs, low-clearance crawlspaces, and narrow attic hatches severely restrict technician movement and tool handling. Maneuvering heavy components through cramped entry points adds substantial physical labor hours and slows down equipment positioning.
- Navigating tight crawlspace access points with heavy equipment assemblies.
- Rigging bulky evaporator coils through narrow ceiling and attic openings.
- Operating safely within extreme thermal environments that demand mandatory crew rotation breaks.
How HVAC Installation Time Relates to Cost and Seasonality
Planning an HVAC replacement requires evaluating both project timelines and financial variables. Equipment costs, labor hours, and seasonal scheduling windows directly impact how quickly your home regains climate control and how much the total investment will be.
The $5,000 Rule and When Replacement Beats Repair
The famous $5000 rule helps homeowners decide whether to repair an aging unit or invest in a full replacement. Multiplying the estimated repair cost by the unit’s age in years provides a financial threshold; if that figure exceeds $5,000, replacing the entire system outperforms paying for temporary fixes.
- System Lifespan Limits: Units nearing the end of their typical 10 to 15-year system lifespan constantly risk expensive component breakdowns.
- Efficiency Savings: Modern high-efficiency systems reduce monthly utility bills, quickly offsetting initial upgrade expenses.
- Warranty Protection: Brand-new equipment features comprehensive parts and labor warranties that eliminate unexpected out-of-pocket repair risks.
Best Time of Year for Faster Scheduling and Faster Turnaround
Scheduling your HVAC installation during spring or autumn shoulder seasons guarantees faster project turnaround times and flexible contractor availability. Avoiding peak summer and winter months helps homeowners navigate seasonal pricing shifts and prevents emergency scheduling backlogs.
- Shoulder Seasons Benefits: Mild weather in April, May, October, and November allows HVAC crews to book and complete installations rapidly.
- Seasonal Pricing Trends: Off-peak replacements often feature manufacturer rebates or competitive contractor rates compared to emergency summer rushes.
- Attentive Labor: Installers face fewer daily emergency breakdown calls, ensuring meticulous attention to detail during equipment calibration.
Estimating Labor Hours and Equipment Cost for 2,000 Sq. Ft. Homes
Equipping a standard 2,000-square-foot home typically requires a 3.5 to 4-ton HVAC system requiring 8 to 12 labor hours for a complete installation. Precise square footage tonnage calculation ensures the system avoids short-cycling while keeping total project costs and installation hours tightly controlled.
- Proper Tonnage Sizing: Accurate load calculations prevent oversized units from short-cycling or undersized units running continuously without reaching set temperatures.
- Labor Allocations: Multi-tonnage equipment replacements require two experienced technicians working a full single-day shift to complete connections.
- Investment Scaling: Larger home layouts or extensive duct adjustments naturally increase both overall labor hours and material expenses.
Homeowner Preparation Checklist: How to Keep Your Installation on Schedule
Proactive homeowner preparation is the single most effective way to eliminate unnecessary delays and keep HVAC installation crews moving efficiently. Completing key preparatory tasks before technicians arrive ensures a smooth, uninterrupted changeout process from start to finish.
Clearing Access Pathways to Indoor Units and Attics
Clearing wide access pathways to your indoor furnace, air handler, and attic hatches ensures technicians can safely transport heavy equipment without obstruction. Removing storage boxes, furniture, and wall hangings around utility areas saves critical setup time on installation morning.
- Corridor Clearance: Clear a wide three-foot pathway from your primary entryway to the mechanical room or garage.
- Fragile Item Removal: Remove delicate items, framed photos, and hanging decor along contractor transit routes.
- Attic & Crawlspace Access: Clear attic ladders and ensure unobstructed entry points for overhead system servicing.
Securing Pets and Managing Home Climate During the Swap
Securing pets in a quiet, closed-off room away from work zones protects animals from loud noises, open exterior doors, and hazardous tools while keeping installers safe. Because power will be shut off during the swap, managing your indoor climate with portable fans or temporary adjustments makes the transition comfortable.
- Pet Isolation: Place dogs, cats, and other pets in an isolated bedroom or off-site boarding for the workday.
- Climate Management: Anticipate temporary heating or cooling interruptions by preparing windows, fans, or space heaters.
- System Coordination: Review thermostat settings and low-voltage wire configurations with the lead technician prior to power shutdown.
Confirming Equipment Delivery and Permit Readiness in Advance
Confirming equipment delivery dates and local permit readiness with your contractor 48 hours prior prevents last-minute logistical cancellations. Verifying that all ordered model numbers, tonnage ratings, and matching indoor coils have arrived avoids costly on-site installation mismatches.
- Contract Verification: Review the contractor agreement to confirm equipment model numbers and efficiency ratings match expectations.
- Permit Approvals: Verify that municipal building permits have been successfully submitted and scheduled for post-installation inspection.
- Crew Communication: Confirm exact arrival times, utility shut-off instructions, and parking arrangements with the lead installation crew.
Frequently Asked Questions About HVAC Replacement Timelines
Homeowners evaluating heating and cooling system upgrades often have specific logistical questions regarding turnaround speeds, seasonal pricing, and properties lacking legacy infrastructure. Clear answers to these common inquiries help set realistic expectations before scheduling a project.
Can an AC unit be replaced the same day?
Yes, a standard air conditioner same-day replacement can typically be completed within 4 to 8 hours when existing electrical connections, concrete mounting pads, and refrigerant line sets remain fully compatible with the new equipment.
- Efficient Changeouts: Standard single-unit swaps allow technicians to remove old condensers and commission new systems within a single normal workday.
- Prerequisite Checks: Same-day completion assumes no unexpected electrical panel overhauls or severe high-voltage wiring repairs are legally required.
How long does it take to install central air without existing ductwork?
Central air installation without existing ductwork typically spans 3 to 5 days or longer due to the complex architectural planning, structural wall penetrations, and custom supply-return trunk fabrication required throughout the home.
- Extensive Carpentry: Running new metal or flexible ductwork through ceilings and wall cavities demands precise framing and drywall repair.
- Alternative Options: Choosing multi-zone ductless mini-split systems can often streamline installation times down to 1 to 2 days by eliminating major duct runs.
What time of year is cheapest to replace an HVAC system?
Spring and autumn shoulder seasons offer the most attractive seasonal discounts and manufacturer promotional rebates for homeowners replacing aging heating and cooling equipment.
- Off-Peak Savings: Mild weather in April, May, October, and November reduces emergency contractor demand, leading to competitive installation rates.
- Promotional Incentives: Equipment manufacturers frequently introduce special spring and fall rebates that lower total out-of-pocket investment costs.

Oscar Vance | Master Plumber & Drainage Expert
Meet Oscar Vance, a licensed master plumber sharing practical solutions on residential repairs, preventive maintenance, and thoughtful home upkeep.