Standard Height for Electrical Outlets and Switches
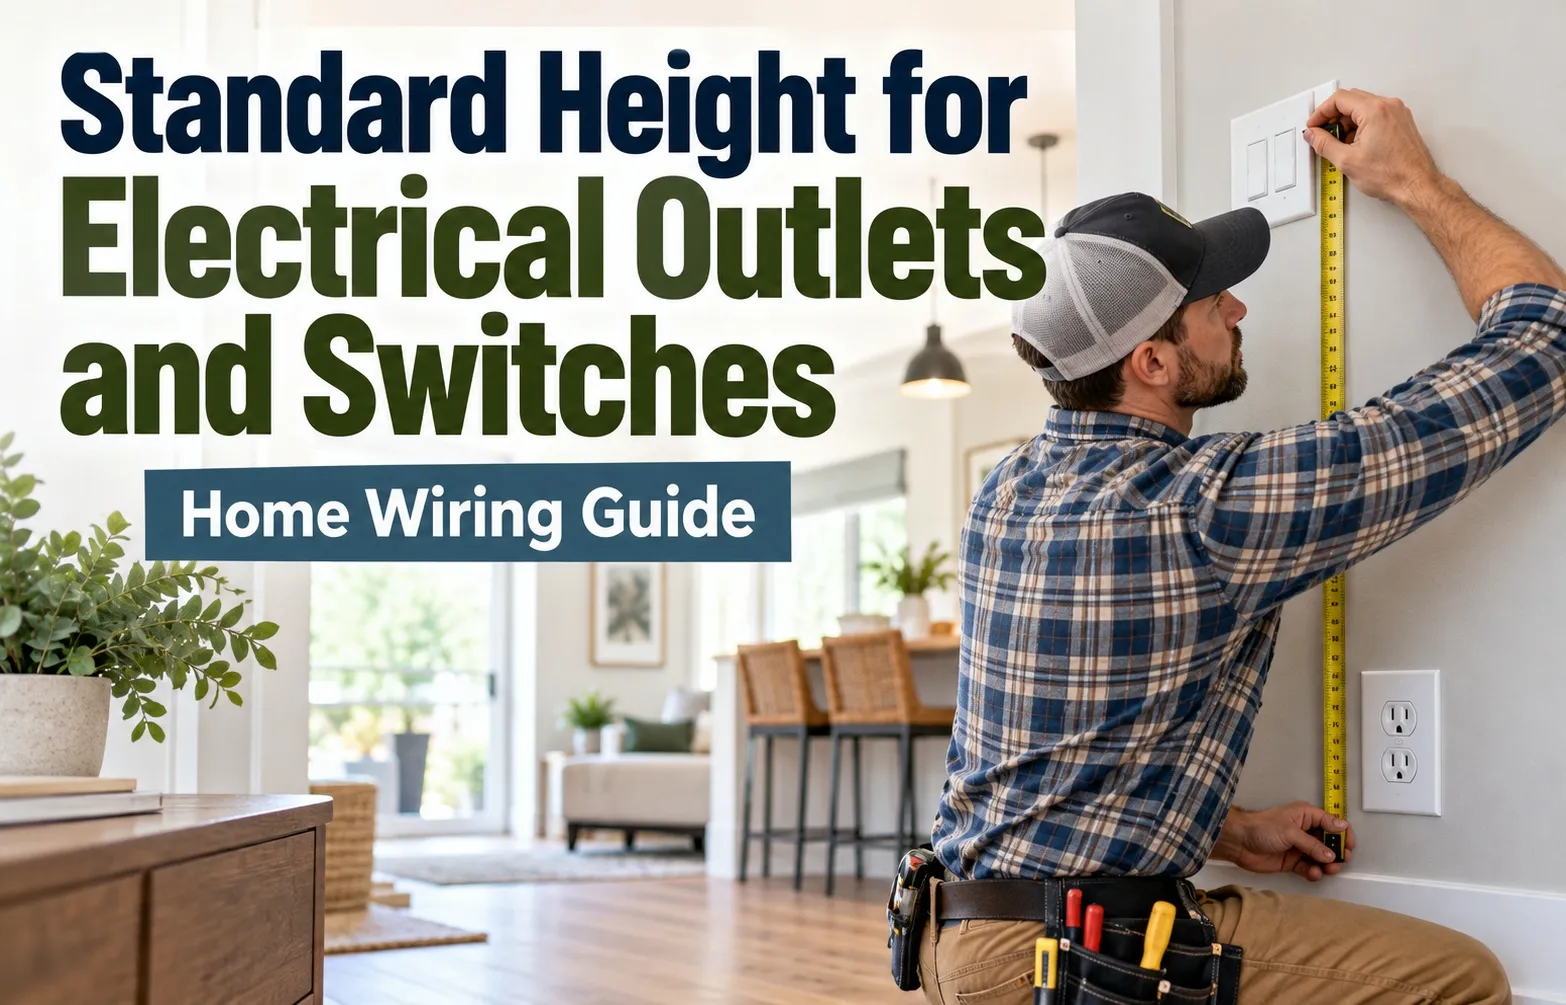 The standard height for electrical outlets and switches in residential construction relies on established trade conventions and ergonomic standards rather than a strict legal mandate. Electricians universally place standard wall switches at 48 inches (122 cm) from the floor to the center of the box, while general wall outlets are set at 12 to 16 inches (30 to 41 cm) from the floor to the bottom of the box. These measurements align seamlessly with standard 4×8-foot drywall panels during construction while providing comfortable reach for most adults.
Standard Electrical Mounting Heights at a Glance
To eliminate ambiguity on the job site or during home renovations, use these standardized industry measurements as your baseline reference for rough-in box placement across common living areas:
Understanding the Measurement Points: Finished Floor vs. Subfloor & Box Center vs. Box Bottom
Precision during the rough-in stage requires establishing exact measuring reference points before installing any electrical junction box. Small oversights in accounting for flooring material thicknesses or box placement markers can lead to mismatched heights across a room once the space is fully finished.
When marking studs prior to box installation, always account for these core structural variables:
- Finished Floor Level vs. Subfloor Offset: Standard measurements always refer to the final top surface of the finished floor. If measuring from bare subfloor (plywood or concrete slab), add an offset to your mark to account for the incoming floor finish:
- Add 1/2 inch for standard hardwood flooring or carpet with pad.
- Add 3/4 inch for thick tile, natural stone, or mortar beds.
- Add 1/4 inch for thin luxury vinyl plank (LVP) or sheet vinyl.
- Electrical Box Center vs. Box Bottom: Tradespeople use two distinct marking conventions on job sites:
- Box Center: Measuring from the floor line to the midpoint of the outlet box bracket. Light switches almost universally use the box center as the 48-inch mark.
- Box Bottom: Measuring from the floor line to the lower outer edge of the box. Outlets frequently use the 12-inch mark to the box bottom, which automatically places the center of the outlet receptacles at approximately 13.5 to 14 inches.
- Residential Electrical Standards & Uniformity: Consistency across a single room is far more critical than adhering strictly to an exact fractional measurement. Using a pre-cut story pole or a standard electrician’s hammer height rule ensures all wall receptacles and switches maintain a uniform sightline throughout the entire home.
What National and Local Electrical Codes Actually Say About Outlet and Switch Heights
Professional electrical planning requires understanding the exact boundary between mandatory safety regulations and standard industry practices. While building design relies heavily on traditional conventions, regulatory bodies establish clear safety boundaries that every installer must follow to ensure full compliance during rough-in inspections.
Does the National Electrical Code (NEC) Mandate Outlet Height?
The National Electrical Code (NEC) does not specify an exact minimum or maximum mounting height for standard residential wall receptacles. Instead, NEC Article 210 focuses entirely on spatial wall spacing rules—requiring that no point along a wall line is more than 6 feet from an outlet—while leaving exact vertical positioning entirely flexible for builders and homeowners.
Because federal and national electrical codes leave vertical placement open, compliance depends heavily on practical utility and regional adoption:
- Spacing vs. Height Rules: The code regulates horizontal reach and room coverage rather than how high or low an outlet box sits off the floor.
- Accessibility Flexibility: Standard living areas permit custom receptacle heights to accommodate furniture layouts, architectural features, or specific aesthetic choices.
- Safety and Protection Mandates: While heights are flexible, the NEC strictly mandates tamper-resistant receptacles in living spaces and GFCI protection in moisture-prone zones.
NEC Maximum Switch Height Rules (6 Feet 7 Inches Rule)
While standard light switches are conventionally placed at 48 inches for ergonomic comfort, the National Electrical Code enforces strict safety limits regarding maximum reach. Under standard electrical safety chapters, the operating handle of any wall switch or circuit breaker must not exceed 6 feet 7 inches (79 inches or 201 cm) from the finished floor when in its highest operating position.
Adhering to maximum height boundaries prevents accessibility issues and ensures emergency operation:
- Reachable Operating Mechanism: The highest point of a switch toggle or paddle must remain within safe reach of an average adult without requiring climbing aids.
- Circuit Breaker Panels: Main service disconnects and wall-mounted subpanels share similar vertical clearance caps to allow immediate power shutoff during an electrical emergency.
- UL Listed Equipment: All switches and enclosures must be UL listed and installed strictly according to their manufacturer instructions and listing limitations.
Local Building Codes vs. National Standards: What You Must Check
Navigating building code compliance requires verifying municipal or county amendments that frequently override or supplement general national guidelines. Even though national documents like the NEC and OSHA workplace safety standards provide baseline safety frameworks, local electrical inspectors enforce specific regional amendments regarding box placement, weatherproofing, and structural stud protection.
Before beginning any wiring project, consult local building authorities to account for regional differences:
- Municipal Amendments: City or county building departments often adopt older or newer NEC editions with localized amendments regarding box heights in garages or basements.
- Local Electrical Inspector Authority: The final interpretation of compliance rests with the local inspector, making pre-approval of custom layout designs essential for major renovations.
- OSHA Standards on Job Sites: Temporary power distribution and rough-in wiring must also adhere to strict OSHA regulations to protect workers during active construction phases.
ADA Accessibility Requirements for Electrical Outlets and Switches
Designing accessible structures requires adhering to strict legal frameworks established by the Americans with Disabilities Act (ADA). Unlike standard residential construction—where mounting heights rely primarily on trade convention—commercial buildings, public accommodations, multi-family housing, and accessible residential projects must comply with precise vertical reach limits to ensure individuals who use wheelchairs or mobility aids can operate all electrical controls safely and independently.
The ADA 15-to-48-Inch Reach Zone Rule
The primary mandate governing accessible electrical installations establishes an operative reach envelope between 15 inches minimum and 48 inches maximum above the finished floor. All wall receptacles, light switches, security keypads, environmental controls, and circuit breakers designed for occupant use must fall entirely within this vertical window to ensure compliance under the ADA Standards for Accessible Design statutory requirements.
Adhering to this 15-to-48-inch zone requires careful planning during the rough-in framing stage:
- 15-Inch Minimum Height: The lowest operable part of an electrical outlet receptacle must sit at least 15 inches (38 cm) above the finished floor level to eliminate excessive bending or downward reach for wheelchair users.
- 48-Inch Maximum Height: The highest operable part of a light switch toggle, dimmer paddle, or control button must not exceed 48 inches (122 cm) from the floor surface, preventing the need for high overhead extension.
- Box Edge Allowance: When measuring electrical junction boxes during installation, ensure the internal operable mechanisms—not just the outer plastic cover plate or box perimeter—fall strictly within these minimum and maximum boundaries.
Forward Reach vs. Side Reach Regulations for Outlets and Switches
The ADA distinguishes between unobstructed and obstructed reach paths based on how a user approaches a wall surface or fixture. Determining whether a user approaches an electrical component via a forward reach or a parallel side reach dictates the maximum permitted obstruction depth over counters, base cabinets, or architectural built-ins.
Electricians and space planners must account for these distinct reach geometry classifications:
- Unobstructed Reach: Where a user can pull directly up to a clear floor space, the allowable reach range remains 15 inches minimum to 48 inches maximum for both forward and side approaches.
- Obstructed High Forward Reach: If an obstruction (such as a counter or base cabinet) extends 20 to 25 inches deep, the maximum allowable mounting height for an outlet or switch drops to 44 inches above the floor, and the maximum obstruction depth cannot exceed 25 inches.
- Obstructed High Side Reach: For a parallel approach over an obstruction up to 10 inches deep (such as a shelf or low wall), the maximum height remains 48 inches. If the obstruction depth increases to between 10 and 24 inches, the maximum height cap drops to 46 inches.
Designing an ADA-Compliant Universal Home
Incorporating accessible electrical design into residential construction—commonly referred to as universal design or aging-in-place construction—ensures homes remain functional for residents of all ages and physical abilities throughout their lives. Following universal design principles eliminates the need for costly retrofits as mobility needs evolve over time.
Implementing these practical guidelines creates an intuitive and accessible residential living environment:
- Standardized 18-Inch Outlet Height: Setting all general wall outlets at 18 inches to the center of the box comfortably satisfies the 15-inch ADA minimum while keeping power cords high enough to reduce deep bending for standing adults.
- Standardized 44-to-48-Inch Switch Placement: Mounting all light switches and thermostats at 44 to 46 inches guarantees full compliance even above minor baseboard or furniture obstructions.
- Rocker Switches and Smart Controls: Replacing traditional narrow toggle switches with wide rocker-style switches, motion sensors, or smart home controls allows operation using a palm, elbow, or voice command without requiring fine motor gripping.
Room-by-Room Standard Outlet and Switch Height Guide
Electrical layout requirements vary significantly depending on the functional needs, moisture levels, and furniture layouts of each specific room in a residential home. Standardizing heights room by room ensures optimal ergonomics, code compliance, and seamless daily convenience for occupants.
Living Rooms & Bedrooms (Standard Convenience Outlets & Bedside Plugs)
Living rooms and bedrooms rely primarily on general wall receptacles placed 12 to 16 inches from the finished floor to the bottom of the electrical box. This height keeps cords neatly hidden behind furniture while preventing accidental damage from foot traffic or vacuum cleaners.
Customizing outlet heights for specific bedroom and living room furnishings improves functional access:
- Bedside Plug Placement: Mount bedside electrical outlets slightly higher—around 24 to 30 inches from the floor—so they align cleanly just above standard nightstand surfaces for easy lamp and phone charger access.
- Entertainment Center Outlets: Position a cluster of outlets behind wall-mounted or media console TVs at roughly 40 to 48 inches to conceal power cords and coaxial cables completely.
- Entryway Light Switches: Standardize main room light switches at 48 inches to the box center right beside every entry door frame for instinctive reach.
Kitchen Countertops & Islands (GFCI Placement & Backsplash Height)
Kitchen electrical installations demand rigorous adherence to both spacing and height standards to safely power countertop appliances while resisting moisture exposure. Kitchen countertop outlet height is typically established at 4 to 6 inches above the finished counter surface, translating to roughly 40 to 44 inches from the finished floor to the bottom of the box.
Kitchen layouts incorporate specialized height rules to ensure complete safety and convenience:
- Backsplash Clearance: Outlets must be positioned correctly within the backsplash zone so appliance plugs do not collide with upper cabinets or bottom counter items.
- GFCI Outlet Protection: All kitchen countertop receptacles require mandatory GFCI outlet protection to prevent electrical shock near sinks and wet prep zones.
- Kitchen Island Plugs: Islands and peninsulas require receptacles mounted either on the vertical sides or utilizing pop-up countertop assemblies that comply with NEC countertop coverage rules.
Bathroom Vanities & Water Source Clearance
Bathroom environments require strict adherence to water source clearance rules to isolate high-voltage electricity from plumbing fixtures. Bathroom vanity outlets are typically positioned 38 to 42 inches from the finished floor, or roughly 2 to 4 inches above the top of the vanity backsplash.
Designing electrical layouts around bathroom sinks involves critical safety considerations:
- Basin Proximity: Receptacles must be installed within 3 feet of the outside edge of each bathroom basin to ensure convenient appliance use without stretching cords over water.
- GFCI Breaker Safeguards: Every bathroom receptacle must feature GFCI protection, either at the individual outlet or via a upstream GFCI circuit breaker in the main electrical panel.
- Lighting Switch Placement: Wall switches controlling vanity lights or exhaust fans should be placed outside the direct splash zone of showers and bathtubs.
Garages, Unfinished Basements, and Utility Rooms
Utility spaces, garages, and unfinished basements experience higher exposure to moisture, physical impacts, and temperature fluctuations, requiring specialized mounting elevations. Garage outlet height code typically recommends mounting receptacles at least 18 inches to 48 inches above the floor level.
Utility room and garage installations address unique safety hazards through precise elevation planning:
- Gas Fume Ignition Prevention: In residential garages, garage outlet height code often encourages placing lower wall receptacles higher off the concrete slab (such as 18 inches or higher) to minimize potential ignition risks from low-lying gasoline fumes.
- Basement Wall Outlets: Unfinished basement receptacles are usually surface-mounted on masonry walls or set in conduit boxes at standardized heights to prevent damage from damp concrete or standing water.
- Laundry Appliance Hookups: Dedicated 240V dryer receptacles and 120V washer outlets are positioned directly behind or adjacent to laundry units, typically 36 to 48 inches above the floor.
Outdoor & Exterior Wall Outlets (Damp & Wet Location Rules)
Exterior electrical installations face extreme environmental conditions, ranging from direct rainfall and snow accumulation to intense UV exposure. Exterior outlet height is generally maintained between 18 and 24 inches above exterior grade or finished patio decking to prevent submersion during heavy downpours.
Weatherproofing outdoor electrical points requires strict compliance with wet-location standards:
- Weather-Resistant Receptacles: Every outdoor box must house a heavy-duty weather-resistant receptacle marked with WR ratings to withstand corrosion and temperature extremes.
- In-Use Wet Location Covers: Exterior boxes require lockable, bubble-style “in-use” covers that maintain weatherproof integrity even while an appliance or cord remains plugged in.
- Ground Fault Protection: All exterior wall outlets must have accessible GFCI protection to safeguard users operating lawn tools or lighting in wet yards.
Specialty and Appliance Electrical Height Standards
Major home appliances and wall-mounted entertainment hardware require customized electrical receptacle locations that bypass traditional living room height conventions. Proper positioning ensures power cords and connections remain completely hidden from view while preventing mechanical interference with heavy cabinetry, appliances, or wall mounts.
Wall-Mounted TVs & Cable Management Pass-Throughs
Determining the ideal mounted TV outlet height depends directly on the screen size, viewing distance, and desired display height off the floor. Installing electrical boxes and low-voltage pass-through brackets within the outline of the TV wall mount conceals power cords and media cables without leaving visible wires hanging down the wall.
Follow these essential layout rules for clean media installations:
- Standard Seating Height Alignment: For typical living room seating, mount the recessed electrical box between 42 and 48 inches from the finished floor to center it behind the middle of the television screen.
- High-Wall & Bedroom TV Placement: In bedrooms or above fireplaces where TVs sit higher, raise the mounted TV outlet height to 55 to 65 inches to match the elevated wall bracket position.
- Hidden Cable Management Brackets: Pair a standard 120V receptacle box with a adjacent low-voltage pass-through gang box, ensuring at least 2 to 3 inches of clearance from the metal TV mounting plate to allow full plug flushness.
Laundry Rooms: Washing Machines, Dryers & Electric Water Heaters
Laundry rooms require dedicated circuits positioned at heights that match plumbing supply lines, drain standpipes, and heavy appliance bodies. Establishing precise laundry outlet height ensures easy cord access while keeping connections safely elevated above potential water leak zones.
Key electrical height targets for utility and laundry appliances include:
- Washing Machine Outlets: Position dedicated 120V 20-amp GFCI-protected outlets at 36 to 48 inches off the floor to sit comfortably above laundry supply valves and standpipes.
- 240V Dryer Receptacles: Install heavy-duty 4-prong 240V dryer receptacles at 36 to 44 inches from the finished floor (measured to box center), ensuring the outlet sits accessible beside or slightly above the top edge of the appliance.
- Electric Water Heaters: Mount dedicated power disconnect switches or direct junction boxes at 48 to 60 inches on adjacent framing members to clear plumbing manifolds and floor drain zones.
Microwave Drawers, Built-In Refrigerators, and Range Hoods
Built-in kitchen appliances operate with minimal cabinet tolerances, leaving very little appliance receptacle depth behind the physical unit. Incorrect outlet box positioning often prevents refrigerators or microwave drawers from sliding fully flush against back wall studs.
Adhere to these cabinet-specific receptacle mounting heights during kitchen rough-in:
- Microwave Drawer Outlet Location: Position the dedicated 120V outlet inside the lower or upper adjacent cabinet cavity at 12 to 18 inches off the floor, or directly in the lower rear quadrant of the microwave cutout according to manufacturer specs.
- Built-In & Standard Refrigerators: Place the refrigerator outlet inside an adjacent cabinet or recessed into the back wall stud cavity at 6 to 12 inches from the floor to avoid interfering with compressor coils and lower mechanical frames.
- Range Hoods & Microwave Hood Combinations: Mount dedicated outlets inside the upper cabinet enclosure above the stove at 72 to 84 inches from the floor, keeping power cords hidden within the cabinetry or duct shroud.
Practical Installation Guide for Rough-In Marking and Box Mounting
Precision during the rough-in electrical stage relies on adopting systematic, field-tested measuring techniques used by professional electricians. Marking wall stud locations correctly before securing any rough-in electrical box guarantees consistent outlet and switch levels across the entire structure while preventing costly box repositioning after drywall is installed.
How to Mark Studs During the Rough-In Stage
Marking wall studs efficiently during new construction or gut remodels requires clear, unambiguous chalk lines or pencil marks that remain visible after framing inspections. Electricians establish a baseline height mark across bare framing members before attaching any electrical gang box mounting brackets.
Follow these practical trade steps to mark framing studs accurately:
- Establish a Level Datum Line: Use a self-leveling cross-line laser or a water level to project a horizontal line across all exposed wall studs throughout the room.
- Mark Box Location Points: Draw a bold pencil line directly across the face of the stud where the top, center, or bottom of the box bracket will align.
- Indicate Box Orientation: Draw a quick side symbol or arrow alongside the height line to indicate which side of the stud the box attaches to, preventing accidental box overlap with adjoining drywall seams.
Accounting for Flooring Thickness (Hardwood, Tile, Underlayment)
Failing to factor in finished floor allowance during rough-in framing causes outlets to sit noticeably uneven once final flooring materials are laid. Because carpenters install electrical boxes on bare subfloor surfaces, you must adjust your measuring marks upward to reflect the final floor height.
Apply these standard offset additions based on the planned flooring material:
- Standard Carpet & Underlayment: Add 1/2 inch to your measuring mark to keep the bottom of the box elevated above thick carpet pile.
- Solid Hardwood Flooring: Add 3/4 inch to account for standard 3/4-inch tongue-and-groove hardwood planks.
- Tile, Stone & Mortar Beds: Add 3/4 inch to 1 inch to clear thick uncoupling membranes, thin-set mortar, and heavy porcelain tiles.
- Thin LVP or Sheet Vinyl: Add 1/4 inch for thin click-lock luxury vinyl plank or sheet goods.
Creating a Custom Story Pole Jig for Rapid Rough-In Marking
Professional tradespeople rarely measure every single box location individually with a tape measure during large rough-in jobs. Instead, using a story pole jig—a simple wood strip marked with precise box height notches—speeds up wall stud marking dramatically while eliminating measuring errors.
Implement these time-saving electrician tools and marking tricks on your job site:
- Build a Story Pole Jig: Take a straight 1×2 wood strip or piece of conduit and notch or mark permanent lines at 12 inches (outlets), 48 inches (switches), and 42 inches (countertop outlets). Hold the stick vertically against each stud and mark your locations in seconds without reaching for a tape measure.
- The Electrician Hammer Height Measurement Trick: For standard 12-inch wall outlets, many installers stand a standard framing hammer vertically on the subfloor. The distance from the base of the handle to the top of the hammer head measures roughly 12 to 14 inches, providing an instant physical benchmark for placing low outlet boxes uniformly.
- Secure Box Face Depth Correctly: When mounting plastic or metal gang boxes, extend the front edge of the box beyond the stud face by exactly 1/2 inch (or 5/8 inch for fire-rated walls) so the finished box sits completely flush with the drywall surface after sheetrock installation.
Frequently Asked Questions & Misconceptions
Clarifying common electrical layout questions helps homeowners and contractors avoid costly inspection delays, ensure proper circuit load distribution, and separate horizontal spacing rules from vertical mounting height standards.
What is the 2-6-12 Rule for Electrical Outlets?
The “2-6-12 rule” is an industry shorthand summarizing National Electrical Code (NEC Article 210.52) rules for horizontal receptacle spacing across unbroken wall spaces. It prevents the need for hazardous extension cords by ensuring a power outlet is always within reach of standard lamp and appliance cords.
The individual numbers represent three specific spacing and sizing mandates:
- 2-Foot Wall Segment Rule: Any unbroken wall space measuring 2 feet (24 inches) or wider requires a dedicated receptacle.
- 6-Foot Reach Rule: No point horizontally along the floor line of a wall can be more than 6 feet from an electrical outlet.
- 12-Foot Maximum Spacing Rule: Because each outlet covers 6 feet of wall space in either direction, adjacent outlets on an unbroken wall can be placed up to a maximum of 12 feet apart.
Can Outlets and Light Switches Be Placed on the Same Circuit?
Yes, the NEC permits general-purpose 15-amp and 20-amp branch circuits to supply both wall receptacle outlets and lighting switches within standard residential living areas, bedrooms, and hallways.
While sharing a circuit is permissible, best practices require observing load limits and GFCI/AFCI requirements:
- Circuit Capacity Limits: Calculate total connected wattage to avoid exceeding 80% continuous load on a single breaker (1,440 watts on a 15-amp circuit or 1,920 watts on a 20-amp circuit).
- Isolating Heavy Appliances: Kitchen countertop outlets, bathroom vanity receptacles, laundry equipment, and garage circuits require dedicated branch circuits and must not share power with general lighting switches.
- GFCI Breaker Switch Combinations: Where space is limited inside electrical gang boxes, a single device combining a switch with a GFCI outlet can safely share a box while protecting downstream loads.
Can I Put a Refrigerator on a Standard 20-Amp Circuit?
Yes, a residential refrigerator can be connected to a standard 20-amp circuit, but electric code guidelines strongly recommend serving the appliance with a dedicated 15-amp or 20-amp circuit.
Consider these critical circuit allocation factors when powering refrigerators:
- Dedicated Circuit Benefits: Running a 20-amp dedicated refrigerator circuit prevents accidental breaker tripping caused by other high-draw appliances (such as microwaves or blenders), protecting food from spoilage.
- Small Appliance Branch Circuits: The NEC allows refrigerators to share one of the two mandatory 20-amp kitchen small appliance branch circuits if a dedicated line is unavailable, provided no other heavy motor loads are present.
- GFCI Protection Rules: Modern NEC updates mandate GFCI protection for all kitchen receptacles, including refrigerator outlets; select high-quality GFCI devices or breakers to prevent nuisance tripping from compressor motor surges.
How High Should an Exterior Outlet Be Off the Ground?
While the NEC does not dictate an exact fixed vertical height for outdoor receptacles, outdoor outlet height requirements dictate placing boxes at least 18 to 24 inches above the finished grade, porch floor, or patio deck.
Adhering to proper outdoor mounting heights safeguards against environmental hazards:
- Clearing Moisture & Snow Accumulation: Elevating exterior outlets keeps live receptacles safely above standing puddle zones, splash-back dirt, and regional winter snowpack levels.
- Deck & Patio Accessibility: Outlets installed on exterior decks must sit high enough to clear patio furniture while remaining within the standard 15-to-48-inch reachable range.
- Mandatory Weather-Resistant Enclosures: All exterior wall outlets require a heavy-duty weather-resistant (WR) receptacle paired with an extra-duty, in-use “bubble” cover to maintain waterproof protection during rain.

Oscar Vance | Master Plumber & Drainage Expert
Meet Oscar Vance, a licensed master plumber sharing practical solutions on residential repairs, preventive maintenance, and thoughtful home upkeep.