Introduction to Installing Metal Roofing on a Shed
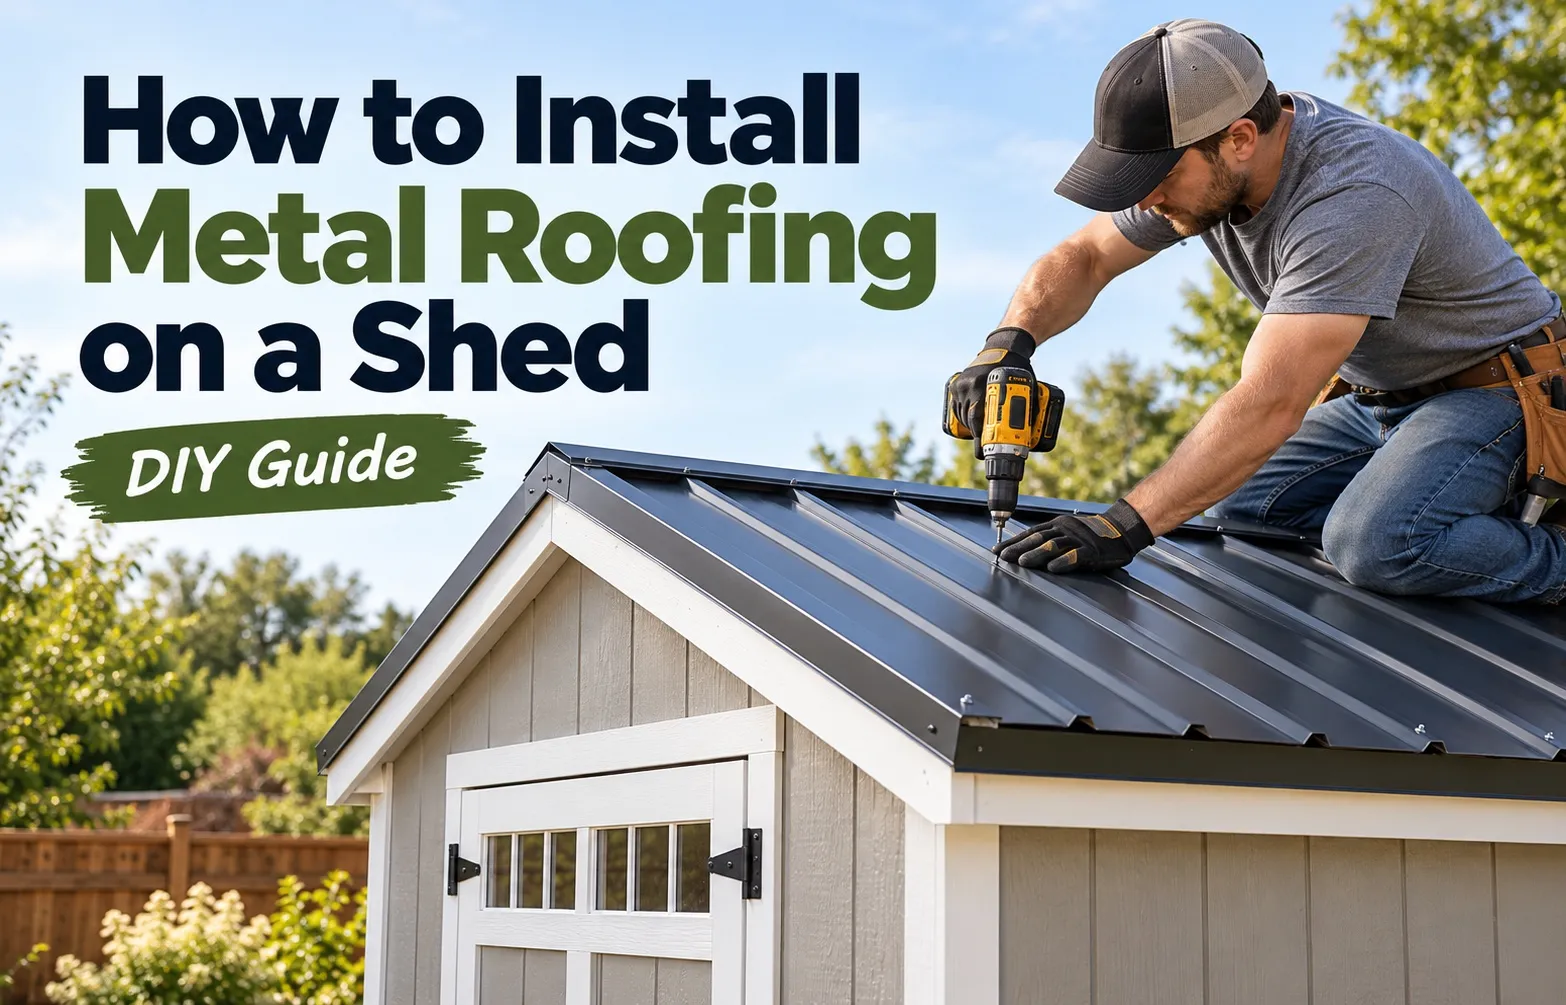 Installing metal roofing on a shed offers superior durability, weather resistance, and an extended lifespan compared to traditional asphalt shingles. Modern corrugated or standing seam metal panels protect structure frames from harsh rain, high winds, and heavy snow loads when anchored with proper hardware.
Successful roof replacement or new construction requires precise material preparation, correct substrate selection, and accurate fastener torque to ensure a watertight seal that lasts for decades.
Essential Materials & Tool Checklist for Shed Roofing
Executing a seamless metal roof installation requires specialized roofing materials and cutting tools designed specifically for handling steel or aluminum sheets safely and accurately.
- Metal Roofing Panels: Choose standard gauge corrugated or exposed-fastener panels sized to fit your roof slope.
- Neoprene/Rubber Washer Screws: Use color-matched hex head self-drilling screws engineered with EPDM sealing washers.
- Flashing & Trims: Include eave drip edge, gable rake trim, and a high-rib ridge cap for weatherproofing.
- Closure Strips & Tape: Gather inside/outside foam closure strips matching the panel profile alongside heavy-duty butyl tape for overlaps.
- Cutting Equipment: Use offset tin snips, mechanical nibblers, or a circular saw outfitted with a non-ferrous metal cutting blade.
How Much Does a Shed Metal Roof Cost? (10×12 20ft Sheets & Shingle Comparison)
Outfitting a standard 10×12 shed with a metal roof typically ranges between $300 and $700 for materials, depending on panel gauge, underlayment grade, and flashing choices. While up-front material costs exceed traditional asphalt shingles, metal systems deliver significantly lower lifetime maintenance expenses.
- Cost Per Square Foot: Quality metal panel roofing runs approximately $2.50 to $5.50 per square foot for materials, whereas asphalt shingles cost $1.20 to $2.20 per square foot.
- Standard 10×12 Shed Estimate: A typical 10×12 gable roof (roughly 140 to 160 square feet of actual roof surface) requires $350 to $650 in panels, drip edges, ridge caps, butyl tape, and self-sealing fasteners.
- Large Panels (20ft Sheets): Purchasing 20-foot corrugated metal sheets offers high cost-efficiency, averaging $35 to $60 per sheet, which can be cut down to exact roof pitch dimensions to minimize waste.
- Long-Term Value Comparison: Metal roofs last 40 to 70 years with minimal upkeep, whereas asphalt shingles usually require complete replacement within 15 to 20 years on unconditioned outbuildings.
Crucial Safety Precautions & Handling Rules
Working with sheet metal requires strict adherence to physical safety standards due to extremely sharp cut edges, slick surfaces, and elevated roof hazards. Prioritizing correct personal protective equipment (PPE) prevents common jobsite injuries during panel trimming and placement.
- Cut-Resistant Gloves: Wear heavy-duty leather or Level 5 cut-resistant work gloves whenever carrying, measuring, or cutting raw metal panels.
- Eye and Ear Protection: Always wear OSHA-approved safety glasses and hearing protection when using high-RPM power tools, circular saws, or electric nibblers.
- Footwear: Wear soft rubber-soled work boots with deep treads to maintain maximum traction on sloped pitch framing and steel decks.
- Weather Conditions: Never install or handle metal panels on windy days or when the roof surface is damp, frosted, or wet.
- Panel Handling: Carry long metal sheets vertically along their edge rather than flat to prevent panel buckling and dangerous bending.
Roof Substrate Prep & Condensation Prevention Strategy
Preparing your shed’s underlying structure and managing moisture buildup are the two most critical steps for long-term roof durability. Choosing the correct substrate and applying effective moisture barriers prevents premature rust and rotting framing timbers.
Solid Plywood Deck vs. Open Purlins Rafters (Which Should You Choose?)
Choosing between a solid plywood deck and open purlins depends on your budget, insulation needs, and shed design. Solid plywood decks offer maximum stability and insulation compatibility, while open 2×4 purlins spaced at 24 inches provide a budget-friendly, faster installation for unconditioned outbuildings.
- Solid Plywood Deck: Requires exterior-grade plywood (1/2 inch minimum thickness) and synthetic underlayment, making it ideal if you plan to insulate the shed ceiling.
- Open Purlins (1×4 or 2×4): Attached directly across rafters at a maximum rafter spacing of 24 inches to save material costs and reduce overall dead weight.
- Roof Pitch Requirements: Ensure your roof has a minimum slope of 3 in 12 to guarantee proper water runoff and prevent pooling against panel laps.
- Roof Deck Squareness: Measure diagonal corners corner-to-corner to verify complete squareness before securing substrates, purlins, or framing components.
How to Prevent Condensation (Sweating) Under Metal Shed Roofs
Condensation accumulation, commonly known as metal roof sweating, is the single biggest operational issue for shed owners. Temperature differentials between warm indoor air and cold steel panels cause moisture droplets to form, which can drip and rot wooden framing unless mitigated properly.
- Drip-Stop Anti-Condensation Felt: Opt for factory-applied moisture-absorbent fleece adhered to the underside of metal panels to trap and evaporate condensation safely.
- Reflective Bubble Insulation: Install foil-faced bubble insulation or a dedicated vapor barrier between open purlins and metal panels to create an effective thermal break.
- Adequate Shed Ventilation: Integrate gable vents, ridge vents, or continuous soffit ventilation to promote steady airflow and reduce trapped indoor humidity.
Installing Underlayment and Drip Edge Flashing
Installing synthetic underlayment and metal drip edge flashing creates an essential secondary weatherproofing barrier beneath your steel panels. This combination directs wind-driven rain away from wooden roof edges and protects the structural deck from incidental moisture intrusion.
- Synthetic Underlayment Rollout: Roll out high-grade synthetic underlayment horizontally across plywood decks, starting from the eave line and overlapping upper layers by at least 4 inches.
- Drip Edge Positioning: Fasten aluminum or galvanized steel drip edge flashing along all lower eaves first, then up the gable rakes, securing with roofing nails every 12 inches.
- Thermal Expansion Allowance: Account for daily thermal expansion and contraction by fastening panels securely without pinching gaskets, allowing smooth metal movement during temperature swings.
Metal Roofing Panel Installation
Installing metal roofing panels on a shed requires precise alignment, proper fastener tension, and effective weatherproofing seals. Following a systematic approach ensures your roof remains completely watertight across all structural designs, including gable, single-slope, and lean-to styles.
Step 1: Setting the Downwind Starting Point & Establishing Overhang
Begin panel installation on the downwind side of the shed opposite the prevailing wind direction. This prevents wind-driven rain from blowing underneath the panel overlaps and causing hidden water leaks.
- Downwind Side Placement: Determine the local prevailing wind direction and place your first panel at the bottom corner furthest downwind.
- Establishing Eave Overhang: Extend the bottom of the panel past the eave trim by exactly a 1-inch eave overhang to ensure rainwater drips directly into gutters or clear of the fascia.
- Squaring the First Panel: Align the edge of the panel precisely square to the eave using a chalk line or 3-4-5 triangle rule before driving any fasteners.
Step 2: Placing Inside Closure Strips & Applying Butyl Tape
Sealing the bottom of the panels protects your shed interior from weather elements, pests, and air infiltration. Foam closures match the corrugated profile of your panels to form an airtight barrier.
- Inside Closure Strips: Place contoured foam inside closure strips along the top of the eave trim directly under where the metal panel will rest.
- Butyl Tape Application: Run a continuous strip of double-sided butyl tape along the top of the closure strips and along the panel sidelap seam for enhanced waterproofing.
- Securing Closures: Press the closure strips firmly into the adhesive tape so they stay aligned while positioning the heavy steel panels.
Step 3: Fastening Metal Panels Correctly (Screw Placement & Torque Guide)
Proper fastener installation determines the lifespan and water resistance of exposed-fastener metal panels. Using color-matched gasketed screws with EPDM rubber washers prevents water from penetrating fastener holes.
- Fastener Location: Drive screws into the flat pan adjacent to the major ribs, penetrating directly into the underlying purlins or plywood roof deck.
- Screw Torque Control: Tighten each screw until the EPDM rubber washer expands slightly to match the edge of the metal head. Avoid overtightening, which squishes or splits the rubber washer.
- Fastener Spacing Pattern: Space screws every 12 inches along purlins, placing screws on both sides of every major rib at the eave and ridge lines.
Step 4: Overlapping Panels and Cutting End Sheets
Proper seam overlap prevents capillary action from drawing moisture between stacked metal panels. Trim end sheets carefully to avoid damaging protective galvanizing and paint coatings.
- Panel Rib Overlap: Lay each subsequent panel so its under-lap rib sits beneath the overlapping rib of the previous sheet, forming a tight sidelap seam.
- Seam Fastening: Secure the overlapping rib using stitch screws spaced 12 to 20 inches apart along the entire seam line.
- Cutting Metal Panels: Cut the final edge panel using manual offset tin snips or electric nibblers. Never use abrasive angle grinder blades, as hot sparks burn the paint finish and cause rust.
Step 5: Special Modifications for Single-Slope and Lean-To Shed Roofs
Single-slope and lean-to shed roof layouts require specialized flashing and panel orientation to manage single-directional water flow and high wind uplift.
- Lean-To Wall Attachment: On a lean-to shed attached to an existing building, tuck high-side headwall flashing under the exterior siding of the main wall and over the metal roof panels.
- Single-Slope High-Eave Trim: Install custom high-eave trim at the top peak of a single-slope roof layout, sealing underneath with outside foam closure strips and butyl tape.
- Enhanced Slope Drainage: Maintain a continuous slope across long single-plane spans, ensuring panel seams stay clear of debris accumulation at the high wall line.
Installing Trims Ridge Caps and Weatherproofing Final Touches
Completing the installation of side trims and peak flashing transforms exposed panel edges into a storm-resistant, watertight barrier. Proper trim placement secures your shed against wind uplift while preventing rain, snow, insects, and debris from infiltrating peak and gable boundaries.
Installing Rake and Gable Trim for Clean Edges
Gable and rake trims protect the exposed side edges of your roof deck from driven rain and high winds. Installing these trims before capping the ridge creates a clean perimeter seal along the roof edge.
- Positioning V-Shaped Rake Trim: Place the V-shaped rake trim over the gable end panel edge so it covers both the top rib and the fascia board completely.
- Fastening Side Edges: Drive gasketed screws through the top leg of the rake trim into the panel high ribs, and secure the vertical face to the fascia board every 12 to 24 inches.
- Overlapping Trim Joints: Overlap joining trim pieces by at least 3 to 6 inches, applying a thin bead of butyl sealant tape between laps to block water penetration.
Placing Outside Foam Closures along the Peak
Because corrugated roof panels feature raised profile ribs, open gaps naturally form at the high ridge peak. Outside foam closure strips fill these voids to deliver reliable roof peak protection against pests and driven rain.
- Applying Foam Strips: Place outside foam closure strips horizontally along the top edge of the panels, approximately 1 to 2 inches below the center peak line.
- Securing with Sealant Tape: Apply double-sided sealant tape directly beneath and above the closure strips to hold them firmly in position during cap placement.
- Contour Verification: Ensure the top foam profile perfectly matches the high and low ribs of your installed metal panels before driving final peak fasteners.
Securing the Ridge Cap for Maximum Storm Protection
The ridge cap forms the final defensive barrier over the roof peak on gable sheds. Securing the ridge cap through the high ribs guarantees maximum uplift resistance during severe windstorms while preventing leaks.
- Aligning the Ridge Cap: Center the metal ridge cap evenly over the peak, ensuring equal coverage over the foam closures on both sides of the roof.
- High-Rib Fastening Technique: Drive long gasketed roofing screws through the ridge cap and outside foam closures directly into the high ribs of the underlying panels. Refer to standard manufacturer specifications, such as the Lowe’s Metal Roofing Installation Guide, for exact structural fastener spacing rules.
- Lapping Cap Segments: Overlap adjacent ridge cap sections by at least 6 inches, embedding butyl sealant tape within the seam and securing with stitch screws at the lap joints for total weatherproofing.
Common DIY Mistakes to Avoid & Troubleshooting
Executing a metal roof installation requires attention to detail. Avoiding frequent amateur errors preserves the protective factory coatings, prevents structural moisture damage, and eliminates costly long-term repair cycles on your shed.
Mistake #1: Using Abrasive Angle Grinder Blades (Causes Rust)
Using high-speed angle grinders or abrasive saw blades to cut metal panels is one of the quickest ways to ruin a new roof. Abrasive blades create extreme friction heat that damages protective factory coatings and creates hot metal sparks that embed across the panel surface.
- Paint Coating Burn: Extreme cutting temperatures melt and singe the protective paint and galvanized zinc layer along the cut edge, exposing raw steel to rapid oxidation.
- Surface Rust Spots: Flying hot metal sparks land across nearby panel surfaces, melting into the topcoat and creating hundreds of tiny pinpoint rust spots within months.
- Approved Cutting Tools: Always use cold-cutting tools such as manual offset tin snips, mechanical nibblers, or a specialized metal-cutting circular saw blade operating at lower RPMs.
Mistake #2: Over-tightening or Under-tightening Roof Screws
Fastener torque plays a critical role in maintaining a watertight roof system. Incorrectly driven gasketed screws lead to early seal failure, severe water leaks, or panel buckling during seasonal thermal movement.
- Rubber Washer Distortion: Over-tightening squashes, splits, or forces the EPDM rubber washer outward, breaking its seal and exposing the screw hole directly to rain.
- Under-Tightened Fasteners: Leaving screws loose allows the rubber washer to sit clear of the panel pan, creating a direct pathway for wind-driven water leaks.
- Managing Thermal Expansion: Drive fasteners perpendicular to the panel until the rubber washer expands flush with the metal screw head. This allows minor thermal movement without shearing fastener shanks or loosening seals.
Mistake #3: Skipping Closure Strips and Leaving Gaps for Pests
Omitting foam closure strips along the eaves or ridge line creates open voids beneath the high panel ribs. Leaving these spaces open exposes the shed interior to weather damage and severe pest intrusion.
- Insect & Pest Intrusion: Unsealed panel voids invite wasps, hornets, mice, and birds to build nests inside your shed framing and rafters.
- Wind-Driven Rain & Snow: High winds force rain and fine snow upward through open rib cavities, soaking underlying purlins, ceiling insulation, and stored equipment.
- Correct Installation: Always install contoured inside foam closure strips along the lower eave line and outside closure strips beneath the ridge cap, securing them with heavy-duty butyl sealant tape.
Frequently Asked Questions About Shed Metal Roof Installation
Here are concise answers to common questions about installing metal roofing on a shed, covering materials, substrate requirements, drip edge placement, and budget considerations.
What do you put under metal roofing on a shed?
Under metal roofing on a shed, install synthetic underlayment over a solid plywood deck or open wooden purlins spaced 24 inches apart. Add inside foam closure strips along the eave line and outside closure strips beneath the ridge cap to block moisture, insects, and wind-driven rain.
Do you need plywood under a metal roof on a shed?
No, you do not strictly need a plywood deck under a metal roof on a shed. Corrugated metal roofing can be installed directly over wooden 2×4 purlins spaced 24 inches apart across the rafters, though adding a plywood deck with synthetic underlayment provides superior structural support and insulation capability.
Can you put metal roofing directly on rafters?
Installing metal roofing directly on rafters without purlins or a plywood deck is not recommended because standard 24-inch rafter spacing causes steel panels to flex under snow loads and wind uplift. Fastening horizontal 1×4 or 2×4 purlins across rafters provides the proper anchoring grid for gasketed screws.
How much should a metal roof overhang on a shed?
A metal roof should overhang the shed eave by 1 inch to 1.5 inches. This 1-inch overhang allows rainwater to pour cleanly into gutters or fall clear of fascia boards and side walls without wicking backward underneath the panel edges.
Is a drip edge necessary on a metal roof?
Yes, a metal drip edge is necessary because it seals the lower eave boundary, supports the bottom panel overhang, and prevents wind-driven rain from soaking into wooden fascias or roof deck framing. It directs water runoff away from underlying timber components.
What is the cheapest way to roof a shed?
The cheapest way to roof a shed is installing exposed-fastener corrugated metal sheets directly over open 2×4 purlins. This eliminates the expense of plywood decking while offering low corrugated metal sheet pricing ($2.50 to $4.00 per square foot) and a 40+ year service life.

Oscar Vance | Master Plumber & Drainage Expert
Meet Oscar Vance, a licensed master plumber sharing practical solutions on residential repairs, preventive maintenance, and thoughtful home upkeep.

