Installing Metal Roofing Over Plywood Sheathing
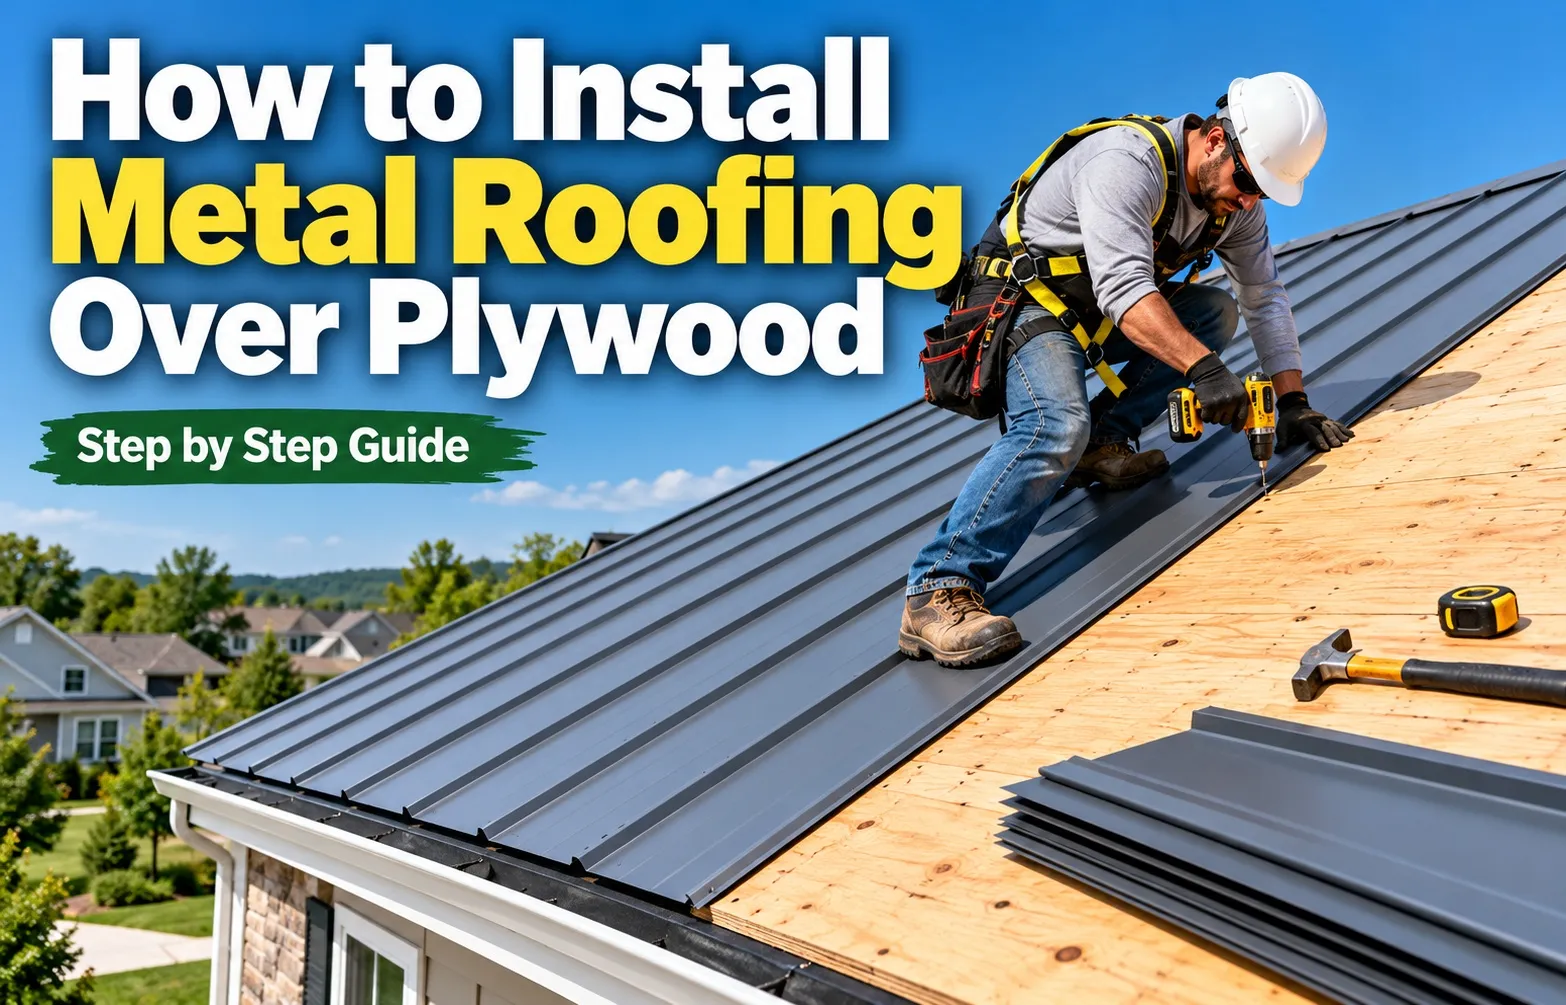 Installing metal roofing over plywood sheathing provides a durable, weather-resistant roofing system when executed with correct underlayment and structural alignment. While plywood serves as an excellent solid substrate, metal roof panels require dedicated protective barriers to prevent condensation damage, thermal friction, and premature degradation of the roof deck.
Can You Install Metal Roofing Directly Over Plywood Sheathing?
Yes, metal roofing can be installed over plywood sheathing, but it must never be laid directly onto bare wood without a protective underlayment. Direct contact creates a condensation trap, causing moisture buildup that rots the plywood, corrodes fasteners, and damages panels as they expand and contract with temperature shifts.
- Condensation Barrier Required: Metal panels sweat during freeze-thaw cycles, requiring a high-temperature synthetic membrane or ice and water shield underneath.
- Thermal Expansion Management: A slip sheet or smooth synthetic underlayment prevents the metal panels from scraping against and tearing the protective barrier during seasonal movement.
- Structural Code Compliance: Plywood must meet APA-rated exterior standards and proper thickness requirements to provide sufficient screw retention strength.
Why Deck Preparation and Barrier Selection Make or Break Your Installation
Skipping proper underlayment or installing over compromised plywood leads to severe structural failure over time. Extreme heat generated by metal roof panels accelerates material decay if the substrate is improperly protected or poorly ventilated.
- Substrate Deck Rotting: Trapped moisture under metal panels degrades bare plywood sheathing, leading to soft spots, fastener pull-out, and eventual structural roof collapse.
- Condensation Bleed-Through: Daily temperature changes cause humidity beneath the metal to condense into liquid water, which drips into the building envelope without a self-sealing barrier.
- Thermal Buckling & Oil-Canning: Metal expands significantly under direct sunlight. Without a low-friction slip sheet, panels bind against raw wood or rough felt, causing wavy distortions known as oil-canning.
Deck Readiness: Plywood vs. OSB and Structural Standards
Ensuring your roof deck meets structural performance standards is the single most critical step before fastening metal panels. A compromised or undersized wood substrate degrades screw holding power, leading to loose panel fasteners, roof rattles, and eventual water leaks under high wind loads.
Evaluating Sheathing Integrity: Plywood vs. OSB Performance
CDX exterior plywood significantly outperforms Oriented Strand Board (OSB) as a substrate for metal roofing systems. Plywood’s cross-laminated wood veneer construction provides superior fastener withdrawal resistance and handles edge-swelling from intermittent moisture exposure far better than compressed wood strands.
- Fastener Withdrawal Resistance: CDX plywood grips screw threads across real wood grain, delivering up to 25% higher screw holding capacity than OSB under dynamic uplift loads.
- Moisture Dynamics and Swelling: When exposed to leaks or ambient humidity, OSB edges swell permanently, creating visible ridges under metal panels. CDX plywood dries evenly without structural delamination.
- Long-Term Durability: Plywood maintains its structural rigidity over decades of thermal heating cycles, preventing panels from sagging or flexing between rafters.
Thickness Standards and Fastener Withdrawal Resistance
The standard minimum sheathing thickness for metal panel installation is 15/32-inch (1/2-inch nominal) APA-rated exterior sheathing on rafters spaced 24 inches on-center. Upgrading deck thickness directly increases fastener pull-out strength and stabilizes the entire roof envelope.
Pre-Installation Deck Inspection and Surface Prep Checklist
Before laying underlayment, inspect every square foot of the roof deck to ensure a completely flat, sound surface. Any surface imperfection or loose fastener will telegraph through the metal panels and compromise water tightness.
- Check for Rot and Soft Spots: Press down on wood sheets along eave edges, valleys, and rafter spans to identify water-damaged, spongy, or rotting wood. Replace soft boards immediately.
- Inspect for Delamination: Look for peeling plies or separated wood layers on older CDX plywood sheets. Sheathing with surface separation must be replaced to ensure solid screw anchorage.
- Reset Popped Nails and Screws: Drive down any protruding deck fasteners flush with the wood surface. High nail heads will puncture underlayment and scratch the underside of metal panels.
- Clean Swarf and Debris: Sweep the entire deck clean of wood chips, loose nails, and metal drill swarf. A clean flat surface ensures smooth underlayment laydown without air pockets.
Underlayment Ice & Water Shield and Slip Sheets
Protective underlayments installed between the plywood deck and metal roof panels form the core moisture management system. Because metal panels absorb extreme radiant heat and undergo daily thermal expansion and contraction, standard roofing felt is insufficient and causes long-term structural failure.
Selecting the Right Barrier: High-Temp Synthetic vs. Ice & Water Shield
Traditional organic felt (such as 15# or 30# asphalt felt) fails under metal roofing because high heat breaks down the asphalt binder. The melted asphalt sticks to the underside of hot metal panels, causing asphalt bleed-through, underlayment tearing, and severe roof deck leaks.
- High-Temperature Synthetic Underlayment: Engineered from woven polypropylene or polyethylene, these synthetic barriers withstand surface temperatures exceeding 240°F without degradation, offering tear resistance during installation.
- Polymer-Modified Ice & Water Shield: A self-adhering, rubberized asphalt membrane designed for critical leak zones like eave edges, valleys, and rake perimeters. It seals around screw penetrations to block wind-driven rain and ice dams.
- Manufacturer System Requirements: Always install barriers that comply with high-temperature testing protocols specified in official manufacturer guidelines, such as those provided by ASC Building Products.
The Critical Role of a Slip Sheet in Preventing Thermal Friction
Metal roof panels expand and contract continuously as temperatures fluctuate between day and night. When metal rests directly against granulated membranes or rough underlayment, this movement acts like sandpaper, abrading the back side of the metal and ripping the underlayment below.
- Friction Mitigation: Laying a smooth rosin slip sheet or non-granulated building paper over the primary underlayment allows metal panels to slide freely without tearing the moisture barrier.
- Noise Reduction: Preventing panel binding eliminates popping and creaking sounds caused by restricted thermal movement across long panel runs.
- Protective Coating Preservation: A smooth barrier prevents rough underlayment fibers from scratching the protective galvalume or painted coating on the underside of panels.
Addressing the Air Gap Debate: When Do You Need Strapping or Furring Strips?
A direct-to-deck installation over high-temp synthetic underlayment works for standard residential roof pitches when attic space is adequately ventilated. However, adding wood battens or furring strips to create an above-sheathing ventilation (ASV) air gap is necessary under specific conditions.
- Direct-To-Deck Installation: Ideal for steep-slope roofs (3:12 or greater) with unconditioned attic spaces that utilize ridge and soffit vents for interior condensation control.
- Furring Strip / Air Gap Installation: Required on vaulted ceiling designs, low-slope applications, or extreme warm-climate zones to reduce heat transfer into the building and evacuate undersheet moisture.
Step-by-Step Installation Guide Over Plywood Sheathing
Executing a metal roof installation over plywood sheathing requires a precise technical sequence to ensure structural integrity and leak-free performance. Following a methodical installation protocol prevents alignment errors and protects the substrate against water infiltration.
Step 1: Laying Drip Edges, Eave Trims, and Starter Strips
Begin by installing the eave drip edge directly over the protective underlayment along the bottom edge of the plywood deck. Fasten the metal flashing securely with roofing nails spaced every 8 to 12 inches to anchor the perimeter.
- Apply Butyl Tape: Lay down a continuous strip of butyl tape along the top horizontal edge of the eave flashing to seal out moisture and wind-driven rain.
- Position Closure Strips: Set foam closure strips onto the butyl tape to block insects, dust, and debris from entering the open panel corrugations.
Step 2: Squaring the Roof Deck Using the 3-4-5 Triangle Method
Ensuring your roof panels align squarely with the eave is vital to prevent crooked runs and gapped seams. Use the 3-4-5 Pythagorean triangle method to establish a true perpendicular reference line before laying any panels.
- Measure exactly 3 feet from your starting corner along the eave line and make a temporary mark.
- Measure 4 feet up the rake edge from the same starting corner and make a second mark.
- Adjust the layout until the diagonal distance between the two marks measures precisely 5 feet, creating a perfect 90-degree angle.
- Snap a chalk line from this reference point straight up to the ridge to serve as your guiding square reference line.
Step 3: Aligning and Placing the First Metal Panel
Carefully position the first metal roofing panel at the bottom corner of the roof, aligning its edge precisely with your chalked reference line. Let the lower end of the panel overhang the eave drip edge by approximately 1 inch to ensure proper water runoff into the gutter system.
- Initial Alignment Check: Verify that the panel is completely plumb and square before driving any permanent fasteners.
- Panel Seating: Ensure the underlying foam closure strips and butyl tape compress evenly beneath the panel corrugations.
Step 4: Fastening and Torque Control (Driving Screws Correctly)
Fasten the metal panels using #14 hex-head wood screws equipped with EPDM or neoprene washers. Drive every fastener straight at a precise 90-degree angle to the roof surface to prevent washer distortion and potential leak paths.
Proper torque control is critical for long-term water resistance. The neoprene washer must be compressed flush against the metal surface—tight enough to form a waterproof seal, but never overtightened to the point where the rubber extrudes excessively or splits.
Step 5: Overlapping Rib Seams and Stitch Screwing
As you lay subsequent panels, nest the overlapping ribs tightly together according to the manufacturer’s interlocking specifications. Secure the side-laps using specialized stitch screws or lap screws to maintain a unified weather barrier.
- Side-Lap Fastening: Space lap fasteners evenly along the overlapping rib seam as specified in your panel engineering guide to prevent wind uplift.
- Clean Drill Swarf: Immediately sweep away any metal drill shavings or “swarf” from the panel surface to prevent surface rust and finish pitting.
Step 6: Flashing Installation, Ridge Caps, and Foam Closures
Complete the installation by sealing the perimeter edges and peak junctions with custom flashings, outside closure strips, and ridge caps.
- Rake and Gable Trim: Install gable trim along the roof rakes, securing them with color-matched hex-head screws and exterior sealant.
- Ridge Cap Placement: Center the ridge cap over the peak, apply outside closure strips underneath to seal panel voids, and fasten securely through the upper panel ribs.
Exposed Fasteners vs. Standing Seam and Low-Slope Applications
Selecting the right metal panel profile and understanding roof pitch requirements over a plywood deck determines long-term weatherproofing, fastener performance, and structural maintenance. Different panel joining mechanisms require specific installation techniques and minimum roof slopes to prevent water backup under heavy rainfall.
Screw-Down (Exposed Fastener) vs. Standing Seam Over Wood Decking
Exposed fastener system panels (such as standard corrugated or 5-v crimp ribbed metal) are attached by driving gasketed screws directly through the face of the panel into the plywood deck. In contrast, standing seam systems use concealed clips and interlocking vertical ribs, allowing the metal to float above the wood deck without exposing screw penetrations to weather elements.
- Thermal Movement Dynamics: Exposed fastener screws are pinned rigidly to the plywood, creating stress points around screw holes during heat cycles. Standing seam concealed clips slide within the seam track to accommodate panel expansion and contraction without loosening fasteners.
- Fastener Maintenance Requirements: Exposed rubber washer screws require periodic inspection and tightening every 10 to 15 years as washers degrade under UV rays. Standing seam concealed fasteners remain completely protected inside the rib lock.
- Installation Complexity: Exposed fastener panels install rapidly over plywood sheathing with basic hand tools, making them cost-effective for outbuildings and residential roofing. Standing seam systems require specialized seaming tools and precise deck alignment.
Slope Requirements: Minimum Pitch Considerations for Metal Panels
Roof slope directly dictates how fast water sheds off metal panel seams into gutters. Installing panels on pitches below manufacturer minimum thresholds allows standing water to back up under overlap seams through capillary action, saturating the underlayment and plywood deck below.
- 3:12 Minimum Slope for Exposed Screws: Screw-down corrugated panels require a minimum 3-inch vertical rise per 12 inches of horizontal run to clear water safely off lap seams.
- 2:12 Slope for Snap-Lock Seams: Snap-lock standing seam profiles operate down to a 2:12 slope when paired with a continuous self-adhered ice & water shield membrane across the entire plywood deck.
- 1:12 and Low-Slope Mechanical Lock: Structural standing seam panels featuring double-lock mechanical seams and factory-applied butyl sealant inside the rib can safely operate on ultra-low slopes down to 1/2:12.
Installing Metal Roofing Over Plywood on Sheds and Single-Slope (Skillion) Roofs
Small structures, storage sheds, lean-tos, and single-slope skillion roofs feature long continuous panel runs on shallow inclines. Installing metal over plywood on these outbuildings requires specific flashing and overlap precautions to maintain weather resistance against wind-driven rain.
- Continuous Lap Sealant Application: On low-slope skillion roofs, apply a double bead of butyl lap sealant along all side-lap ribs and end-overlaps before driving stitch screws.
- High-Side Wall and Eave Trim Flashing: Skillion roofs require high-wall cap flashing at the top ridge peak to prevent water from running behind the metal panels and rotting the upper edge of the plywood sheathing.
- Overhang Sizing for Small Sheds: Maintain a strict 1 to 1.5-inch overhang at the low eave edge to shed water clear of fascia boards and prevent splash-back onto the plywood perimeter.
Fatal Installation Mistakes to Avoid (Troubleshooting & Longevity)
Preventing premature roof failure requires avoiding small installation errors that compromise weatherproofing. Even minor mistakes during panel attachment or underlayment prep can lead to systemic roof leaks, severe panel rust, and costly structural repairs within a few years of installation.
Mistake 1: Over-Tightening and Angle-Driving Fasteners
Driving roofing screws at an improper angle or with excessive torque is the leading cause of premature roof leaks. Fasteners must enter the panel surface at a strict 90-degree angle so the washer sits completely flat against the metal surface.
- Neoprene Washer Splitting: Over-tightening crushes the rubber ring, expanding it past the metal cap perimeter where UV exposure and weather cause it to crack and fail within 12 to 24 months.
- Under-Driven Fasteners: Driving screws too loosely leaves a gap beneath the washer, allowing wind-driven rain to siphon directly through the screw hole into the plywood deck.
- Angled Screw Alignment: Driving screws at an angle causes one side of the washer to dig into the panel while the opposite side stays lifted, creating a permanent gap for water ingress.
Mistake 2: Leaving Metal Filings (“Swarf”) on the Panel Surface
Drilling self-tapping screws or cutting metal panels produces fine hot metal filings known as drill swarf. Leaving swarf scattered across the roof surface leads to rapid aesthetic and structural damage to the panel coating.
- Surface Oxidation & Staining: Raw steel swarf oxidizes rapidly when exposed to atmospheric humidity or morning dew, forming bright orange rust spots within 24 to 48 hours.
- Protective Finish Pitting: As swarf rusts, it bonds to the hot paint finish, burning micro-pits through the protective Galvalume layer down to the core steel.
- Prevention Protocol: Soft-brush or sweep the panel surface clear of filings at the end of every work shift, paying close attention to rib corners and valley gutters.
Mistake 3: Skipping Slip Sheets or Using Incorrect Underlayment
Attempting to install metal roofing over standard organic asphalt felt without a slip sheet causes friction damage as panels expand and contract. Hot metal bakes organic felt, sticking the two materials together and tearing the moisture barrier apart as the metal moves.
- Abrasion and Barrier Tearing: Direct contact against rough underlayments acts like sandpaper against the back of moving metal panels, shredding the membrane underneath.
- Asphalt Bleed-Through: Low-temperature organic felts melt under intense sunlight, releasing sticky asphalt oils that mar metal finishes and ruin underlying wood decks.
- Best Practice Correction: Always install high-temperature synthetic underlayment combined with a non-abrasive rosin slip sheet prior to panel placement.
Mistake 4: Missing or Improperly Placed Foam Closure Strips
Metal panels feature raised ribs that create open gaps along eave lines and ridge caps. Leaving these openings unsealed allows weather, wind-driven moisture, and pests direct access into the building envelope.
- Inside Closure Strips at Eaves: Placed beneath panels at the eave line to block wind-driven rain, snow drift, and insects from entering underneath panel ribs.
- Outside Closure Strips at Ridge Caps: Placed above panel ribs underneath the ridge flashing to prevent blowing rain and winter snow from entering the attic peak.
- Correct Sealant Placement: Apply a continuous bead of high-grade butyl tape above and below closure strips to anchor them securely against the panels.
Frequently Asked Questions About Installing Metal Roofs Over Plywood
Understanding the critical nuances of metal roof installation over solid decking ensures your roof system performs efficiently, prevents premature structural decay, and complies with regional building codes.
Can you put a metal roof directly over plywood without underlayment?
No, installing metal roofing directly on plywood creates a dangerous condensation trap. Daily temperature shifts cause moisture to accumulate underneath, leading to rot, rust, and thermal expansion damage without an underlayment barrier.
What is the best material to put between plywood and metal roofing?
The best material is a high-temperature synthetic membrane combined with a smooth rosin slip sheet or a self-adhered polymer ice & water shield. High-temp synthetic barriers resist heat degradation up to 240°F, while slip sheets prevent friction tears during seasonal thermal expansion.
Can you install metal roofing directly over OSB board?
Yes, metal roofing can be installed over Oriented Strand Board (OSB) provided it is APA-stamped, dry, and at least 15/32-inch thick. However, CDX exterior plywood is superior because it offers higher fastener withdrawal resistance and resists edge swelling from moisture far better than OSB.
How thick should plywood sheathing be for a metal roof?
Plywood sheathing must be at least 15/32-inch thick (1/2-inch nominal) for standard residential code requirements on rafters spaced 24 inches on-center. For heavy snow loads, coastal high-wind zones, or commercial projects, 19/32-inch (5/8-inch nominal) APA CDX plywood is recommended for maximum screw retention.
Do I need an air gap between plywood decking and metal panels?
An air gap created by wood battens or furring strips is not required for standard steep-slope roofs (3:12 pitch or greater) over ventilated attics. However, an above-sheathing ventilation air gap is necessary for unventilated vaulted ceilings, low-slope applications, or hot climate zones to reduce radiant heat transfer and eliminate condensation buildup.

Oscar Vance | Master Plumber & Drainage Expert
Meet Oscar Vance, a licensed master plumber sharing practical solutions on residential repairs, preventive maintenance, and thoughtful home upkeep.

