Can You Put a Metal Roof Over a Flat Roof?
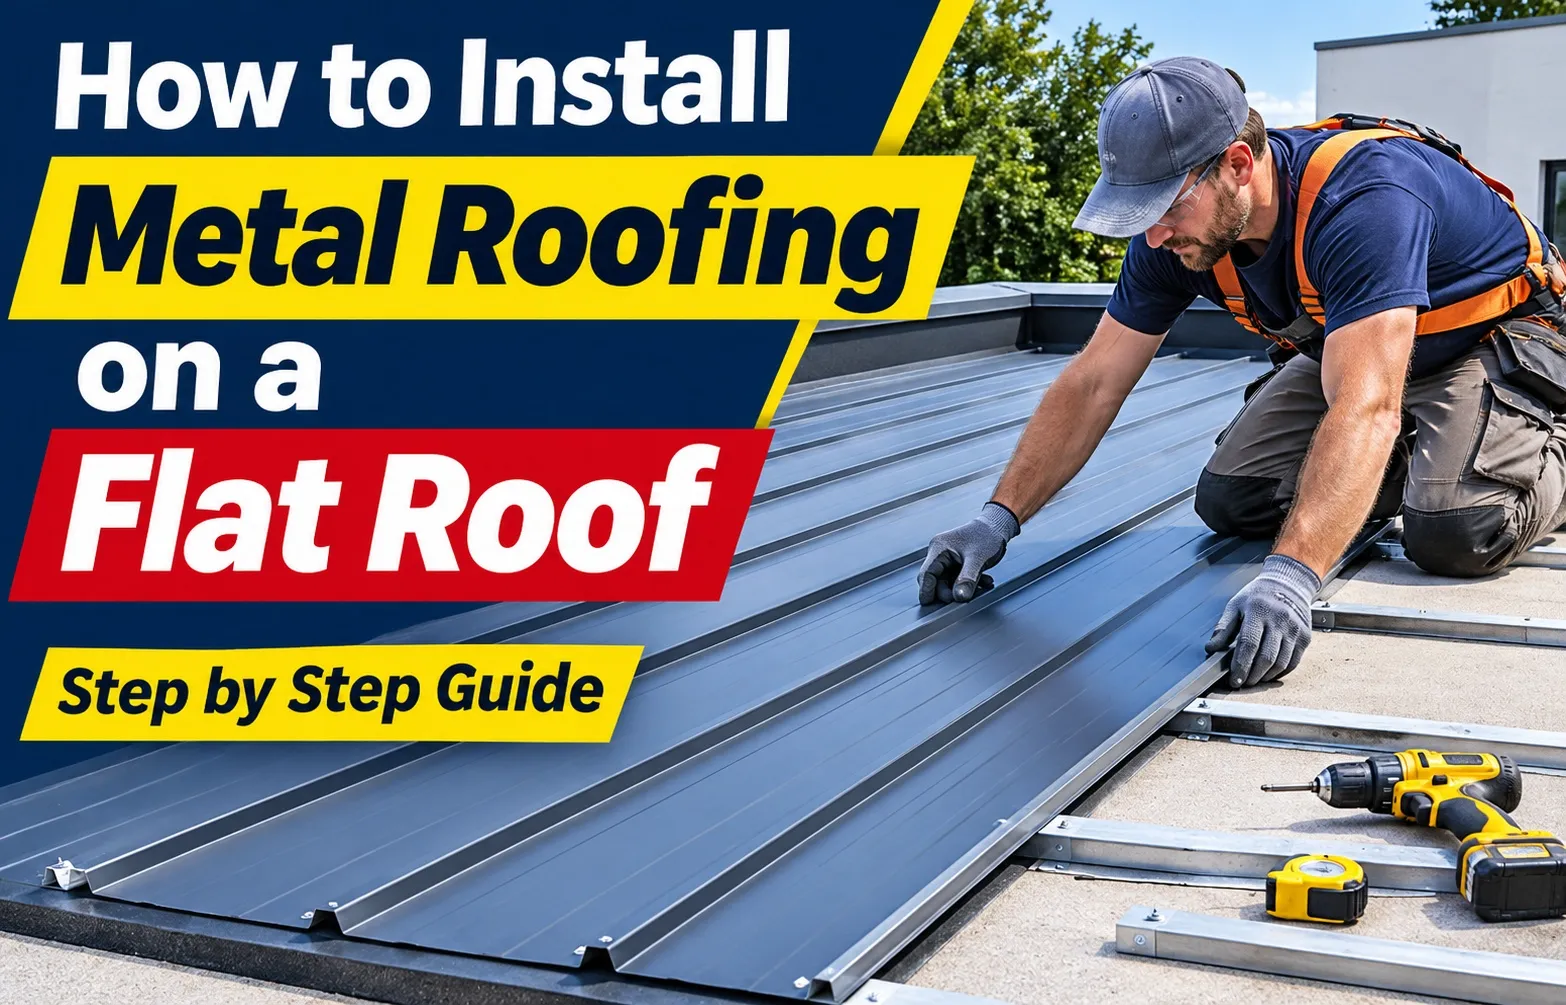 You can install a metal roof over an existing flat roof only after verifying or creating positive drainage across the entire deck. A dead-flat roof with zero incline traps rainwater, accelerates fastener corrosion, and forces water through panel seams via capillary action.
Before ordering metal panels, you must measure your existing roof deck slope and choose either tapered insulation or structural framing to establish a reliable watershed path.
Minimum Pitch Requirements for Low-Slope Metal Roofs
Most residential metal roofing requires a minimum roof pitch of 3:12 (three inches of vertical rise per twelve inches of horizontal run), while specialized mechanically seamed standing seam systems operate safely down to a 1/4:12 pitch (1/4 inch of rise per foot).
- Standard Corrugated and Exposed-Fastener Panels: Require at least a 3:12 slope because slow-moving water pools around exposed screw washers and degrades rubber seals.
- Snap-Lock Standing Seam Panels: Typically require a minimum 1:12 to 2:12 slope depending on rib height, as non-seamed joints can allow wind-driven rain to wick upward on shallower angles.
- Mechanically Seamed Standing Seam Panels: Engineered for 1/4:12 to 1:12 low-slope roofs by crimping adjacent panel ribs together at 90 or 180 degrees with factory-applied seam sealant.
How to Measure Your Existing Roof Pitch
Measure your roof deck slope accurately using a standard 24-inch carpenter’s level and a tape measure before buying materials. Even roofs that appear completely flat often have a slight built-in incline toward scuppers or exterior gutters.
- Place one end of the 24-inch level flat against the roof surface, pointing straight down the suspected direction of drainage.
- Lift the lower end of the level until the center bubble sits squarely between the level lines.
- Measure the exact vertical distance from the bottom edge of the raised level straight down to the roof deck.
- Divide your measurement by two to find your true rise per 12 inches—for example, a 1/2-inch gap at the 24-inch mark equals a 1/4:12 roof pitch.
Converting a Dead-Flat Deck Using Tapered Polyiso Insulation
If your roof measures zero slope, installing tapered polyiso insulation is the cleanest method to create positive drainage without stripping structural rafters. Tapered polyisocyanurate boards come pre-cut at factory angles—most commonly 1/8 inch per foot or 1/4 inch per foot—to build gradual elevation from the eaves to the high point.
- Calculate Your Tapered Rise: Multiply your roof run length by 0.25 inches to find your total high-side thickness. A 20-foot roof run requires 5 inches of elevation gain from the drain edge to the peak (20 ft × 0.25 in = 5 in).
- Install Staggered Foam Layers: Lay tapered polyiso boards in staggered joints starting at the low eave edge, adding flat polyiso fill boards underneath as the thickness builds up across longer spans.
- Add a Nail-Base Deck Layer: Fasten 1/2-inch or 5/8-inch exterior-grade plywood or OSB over the tapered foam using long structural insulation screws anchored directly into the underlying wood or steel deck.
- Alternative Sleeper Framing Method: For open framing or garage conversions, rip pressure-treated 2×4 or 2×6 sleeper joists at an angle and fasten them every 16 to 24 inches on center before sheathing with plywood.
Retrofitting Over Existing EPDM, TPO, or Shingles vs. Tear-Off
You can retrofit a metal roof over existing EPDM roofing, TPO roofing, or a single layer of asphalt shingles if the underlying substrate is dry, structurally sound, and meets local building code weight limits. However, trapping moisture beneath new metal panels will rot the deck from the inside out.
- When Retrofitting Works: Existing EPDM or TPO membranes are completely dry with zero soft spots, ponding damage, or saturated insulation boards beneath the surface.
- How to Prep Over Membranes: Install 1×4 wood furring strips or a rigid slip-sheet barrier over the clean membrane to prevent chemical incompatibility between old roofing plastics and new underlayments.
- When Full Tear-Off Is Mandatory: If core cuts reveal wet insulation, rotted plywood sheathing, curled shingles, or multiple existing roof layers, strip the roof down to the bare structural deck first.
Choosing the Best Metal Roofing System for Low Slopes
Selecting the wrong panel profile is the leading cause of premature leaks on low-slope buildings. For any roof pitch between 1/4:12 and 2:12, you must choose a mechanically seamed standing seam system or a heavy-duty commercial structural panel rather than standard residential corrugated metal.
Because water drains slowly across shallow angles, your panel joints must block wind-driven rain and resist capillary action—the physical force that pulls water upward into tight, unsealed metal overlaps.
Mechanically Seamed Standing Seam Panels
Mechanically seamed standing seam metal panels are the industry standard for low-slope roofs because their vertical ribs are physically folded together using an electric seaming machine, creating a watertight, continuous lock.
- 180-Degree Double-Lock Seams: Folding the male and female panel edges a full 180 degrees compresses factory-injected in-seam butyl sealant, preventing standing water or melting snow from penetrating the joint.
- Concealed Fastener Clips: Panels attach to the roof deck using hidden steel clips tucked underneath the standing ribs, eliminating thousands of exposed screw holes across the roof surface.
- Thermal Movement Accommodation: Two-piece floating clips allow long metal panels to expand and contract freely during extreme temperature swings without tearing fasteners out of the deck.
Snap-Lock Standing Seam vs. Commercial PBR Exposed Fastener Panels
While snap-lock standing seam and commercial PBR panels (Purlin Bearing Rib) are popular alternatives, both carry strict slope restrictions and specific sealing requirements when used on low-pitch roofs.
- Snap-Lock Standing Seam Limitations: Snap-lock ribs click together without a mechanical seamer, making them easier for DIY installation, but their un-crimped joints generally require a minimum 1:12 to 2:12 pitch so water does not wick inside the snap seam.
- Exposed Fastener Risks on Low Slopes: Standard exposed fastener metal roof screws rely on rubber washers that dry out, crack under direct UV exposure, and loosen as metal panels expand and contract daily.
- Upgrades Needed for PBR Panels: If budget constraints require using structural PBR panels on a 1/2:12 or 1:12 slope, you must apply continuous butyl tape inside every sidelap and use upgraded stainless-steel neoprene washer screw caps that shield the rubber gasket from sunlight.
- Industry Slope Standards: Following Metal Construction Association (MCA) technical guidelines ensures your chosen panel gauge, seam height, and sealant tape meet tested hydrostatic water-resistance benchmarks for low-slope applications.
Low-Slope Metal Panel Comparison Table
Compare the technical specifications of the three primary low-slope metal roofing profiles before purchasing materials for your project:
Essential Tools, Materials & Safety Gear Checklist
Getting a low-slope metal roof 100% watertight requires a specific combination of commercial-grade underlayments, heavy-gauge trims, and specialized contractor tools. Overlooking critical specialty items like mechanical seamers or high-temperature membranes will lead to premature leaks and structural failure.
Gathering the correct inventory before starting prevents work stoppages and ensures your installation meets strict weather-tight engineering standards.
Required Materials & Waterproofing Barriers
On a low-slope roof, standard roof felt fails quickly under trapped solar heat and slow water movement. You must use high-performance waterproofing components engineered for shallow-pitch thermal conditions.
- High-temperature ice and water shield: A self-adhering rubberized asphalt membrane rated up to 240°F that seals around fastener penetrations and covers 100% of the deck.
- Synthetic underlayment: A heavy-duty slip-sheet or breathable secondary moisture barrier installed beneath metal panels if specified by your panel manufacturer.
- Butyl tape sealant: Double-sided adhesive tape used at panel laps, eave trims, and flashing junctions to block capillary moisture draw.
- Foam closure strips: Inside and outside contour-matched foam profiles that seal out wind, blowing rain, and insects at the eaves and ridges.
- Heavy-gauge eave and rake trims: Galvanized or galvalume flashings that direct runoff safely away from fascia boards and gable ends.
- Pancake-head screws: Low-profile fasteners with wide flat heads designed to secure concealed clips flush against the roof deck without denting the metal surface.
Standard & Specialized Tools Needed
Standard carpentry tools are insufficient for precision metal installation. You will need a mix of layout tools, hand metal-working gear, and heavy rental equipment to properly lock standing seam panels together.
- Mechanical seaming machine: A motorized factory tool rented from your panel supplier to crimp standing seam ribs to a watertight 90-degree or 180-degree lock.
- Hand seamers and folding tools: Manual benders used for hand-folding panel ends, upturning gable flashings, and closing tight corners where motorized seamers cannot reach.
- Cordless drill with clutch control: Essential for driving pancake-head screws to the exact torque depth without over-tightening or stripping deck threads.
- Heavy-duty metal snips: Aviation snips (left, right, and straight cutting blades) for clean notching and trimming of custom flashing pieces.
- Chalk line and marking tools: High-visibility blue or red chalk lines to establish straight reference points for squaring your initial panel layout.
Low-Slope Metal Roof Safety Precautions
Low-pitch metal roofs are deceptively hazardous, especially when morning condensation, dew, or frost settles on the smooth panel surface. Proper safety gear is mandatory before stepping foot on the deck.
- Fall protection harness and lanyard: An OSHA-compliant personal fall arrest system anchored securely to structural framing or a heavy-duty ridge anchor rated for metal loads.
- Soft-soled rubber footwear: Specialized roofing shoes with high-traction rubber soles that grip smooth metal surfaces without scratching or denting the protective paint finish.
- Cut-resistant safety gloves: Heavy-duty work gloves to protect hands from razor-sharp factory-cut metal panel edges and flashing corners during handling.
- Safety glasses: Eye protection to shield against metal shavings when drilling, cutting, or driving self-tapping fasteners across the deck.
How to Install Metal Roofing on a Flat Roof
Executing a low-slope metal roof installation requires strict sequential discipline, precise alignment, and meticulous waterproofing. Every phase from substrate preparation to mechanical seaming must be handled meticulously to prevent water intrusion, manage thermal movement, and guarantee long-term structural integrity.
Step 1: Prepare and Clean the Roof Deck
Thoroughly clean the entire substrate to remove all old roofing nails, construction debris, and protruding fasteners that could puncture your underlayment. Inspect plywood or OSB sheathing for moisture damage, replace any rotted sections, and ensure the deck is completely dry before proceeding.
- Clear All Debris: Sweep or blow away dust, grit, and sharp objects that could damage the waterproof membrane.
- Fastener Inspection: Hammer down or remove any high screws, nails, or staples sticking up from the sheathing surface.
- Substrate Verification: Confirm the wood deck is structurally sound, uniform, and completely dry to prevent trapped humidity mold.
Step 2: Install High-Temperature Ice and Water Shield Underlayment
Apply a continuous layer of high-temperature ice and water shield across 100% of the low-slope roof deck to establish a durable secondary waterproof barrier. Because low-pitch roofs experience standing water pressure, overlapping all membrane seams by at least 6 inches and rolling them tight is critical.
- Full-Deck Coverage: Roll out self-adhering rubberized asphalt membrane across the entire flat surface starting from the lowest eave upward.
- Six-Inch Seam Overlaps: Overlap horizontal and vertical membrane seams by a minimum of 6 inches to block creeping water paths.
- Weighted Roller Sealing: Use a heavy weighted hand roller across all membrane overlaps to activate the adhesive and seal every lap tight.
Step 3: Fasten Eave Drip Edge Trim and Butyl Tape
Install heavy-gauge eave drip edge flashings along the lower perimeter edge to guide water cleanly away from your fascia boards and prevent edge rotting. Apply continuous double-bead butyl tape beneath the metal flashing overlap and position bottom foam closure strips to block wind-blown rain and pests.
- Perimeter Drip Edge: Fasten heavy-gauge metal eave trims directly over the underlayment using corrosion-resistant roofing nails spaced every 8 inches.
- Double-Bead Butyl Tape: Lay continuous lines of tacky butyl tape along the eave flange to create an airtight, watertight gasket seal.
- Foam Closure Integration: Press solid inside or outside foam closure strips firmly into the butyl tape bed matching your metal panel profile.
Step 4: Square, Align, and Secure the First Metal Panel
Square and align your first metal panel perfectly using the 3-4-5 triangle method and a snap chalk line to prevent crooked panel runs across the roof. Fasten concealed floating clips into the deck using pancake-head screws, leaving engineered clearance to allow smooth thermal expansion and contraction.
- 3-4-5 Squaring Method: Measure out a precise triangle layout on your deck to establish a true 90-degree reference line before laying panels.
- Chalk Line Alignment: Snap a high-visibility chalk line parallel to your starting gable edge to guide the exact placement of your first panel.
- Concealed Floating Clips: Anchor hidden metal clips over the panel nailing flanges with pancake-head screws, ensuring the sliding tab moves freely.
Step 5: Lock or Mechanically Seam Subsequent Panels
Run subsequent metal panels sequentially across the roof while checking alignment and squareness every three panels to avoid creeping gaps. Engage the panel side joints securely, and run an electric mechanical seaming machine along the vertical ribs to form a permanent, watertight lock.
- Sequential Panel Interlocking: Engage each successive panel rib tightly into the previous panel’s locking leg across the deck span.
- Frequent Squareness Checks: Measure diagonal corner-to-corner dimensions or check panel runs every three sheets to prevent progressive panel skewing.
- Mechanical Seaming Operation: Drive an electric seaming machine along the standing seams to crimp adjacent ribs into a weather-tight 180-degree lock.
Step 6: Install Rake Trim, Penetrations, and Transition Flashings
Finish the perimeter and roof penetrations by installing gable/rake trims and sealing all vent pipes using flexible pipe boot flashings. Apply high-grade polyurethane sealant around every flashing collar, and carefully tie the roof edge into any higher existing walls or adjoining roof structures.
- Gable and Rake Trim: Install side gable flashings over continuous butyl tape to cap exposed panel ends against wind uplift and side rain.
- Pipe Boot Flashings: Slide rubber EPDM pipe boots over plumbing vents, nail the base flange, and seal edges with heavy exterior polyurethane caulk.
- Wall and Roof Transitions: Install stepped apron or transition flashings tucked high beneath upper wall weather-barriers to direct water onto the metal panels.
Critical Low-Slope Challenges & How to Prevent Leaks
Mastering low-slope metal installation requires solving advanced engineering variables that standard steep-slope guides ignore. Without accounting for intense solar heat gain and slow drainage dynamics, even high-end panels will suffer from severe oil canning, joint stress, and chronic water infiltration.
Implementing professional-grade mitigation techniques protects your investment against thermal fatigue and structural moisture accumulation.
Managing Thermal Expansion and Preventing Oil Canning
Low-slope metal roofs absorb intense direct solar radiation, triggering massive horizontal movement through thermal expansion and contraction. Without engineered sliding clips and thicker panel gauges, this constant thermal stress causes permanent aesthetic and structural panel buckling known as oil canning.
- Sliding Clip Integration: Use two-piece floating clips on any panel runs exceeding 20 feet so the metal moves freely without bending fasteners.
- Upgrade to 24-Gauge Steel: Specify rigid 24-gauge steel panels instead of thinner 26-gauge sheets to increase structural rigidity and resist surface waviness.
- Striated Panel Profiles: Choose panels with factory-rolled pan striations or embossed textures that relieve internal metal tension and mask surface reflections.
Integrating Scuppers, Internal Drains, and Roof Crickets
Water management on shallow angles requires flawless drainage integration to prevent pooled runoff from backing up under panel seams. Properly flashed parapet scuppers, internal roof drains, and sloped roof crickets divert water safely off the deck before it breaches waterproof layers.
- Parapet Scupper Flashing: Line perimeter wall scupper cutouts with soldered metal box liners sealed in continuous polyurethane and butyl membranes.
- Internal Drain Sealing: Secure internal drain clamping rings over heavy-duty butyl gaskets to lock the metal panel termination against the drainage bowl.
- Diverter Roof Crickets: Build custom-sloped saddles (crickets) behind chimneys, skylights, and rooftop units to split standing water and direct it around obstructions.
Controlling Condensation and Ventilation Under Low-Slope Metal
Managing humidity is critical because unvented metal roofs frequently trap condensation against cold structural decks underneath. Choosing between a sealed warm-roof rigid insulation assembly or a ventilated cold-roof assembly utilizing above-sheathing ventilation prevents premature wood rot and internal metal corrosion.
- Addressing the Air Gap Question: Answering whether you need an air gap depends on your climate zone and whether you build a warm-roof or cold-roof assembly.
- Warm-Roof Rigid Insulation: Install continuous rigid polyiso insulation directly beneath the roof deck with no air gap to keep interior dew points outside the building envelope.
- Above-Sheathing Ventilation: Create a dedicated cold-roof air gap using ventilated purlins or wood battens that allow continuous airflow beneath the metal panels for effective condensation control.
DIY vs. Hiring a Pro: Cost & Feasibility Breakdown
Deciding between a self-installation and hiring a specialist depends on your roof’s structural complexity, drainage design, and panel run lengths. While DIY installation saves roughly 40% to 50% on labor, low-slope mechanical seaming demands specialized tooling and zero margin for flashing errors.
Reviewing transparent square-foot costs and technical difficulty thresholds helps you budget accurately and avoid expensive water-damage repairs down the road.
Estimated Cost of Installing Metal Roofing on a Flat Roof
The total metal roof installation cost per square foot ranges from $4.50 to $9.00 for DIY materials and $12.00 to $22.00+ for full professional installation, depending on panel gauge and slope-correction needs.
- DIY Standing Seam Materials ($4.50 – $9.00/sq. ft.): Covers 24-gauge standing seam panels, high-temperature ice and water shield, butyl tape, concealed clips, and perimeter drip flashings.
- Professional Standing Seam Labor & Materials ($12.00 – $22.00/sq. ft.): Includes on-site panel roll-forming for seamless full-length runs, motorized mechanical seaming, custom soldered flashings, and workmanship warranties.
- Tapered Polyiso Insulation Add-On ($2.50 – $5.00/sq. ft.): Required if your existing deck is dead-flat and needs custom-cut rigid foam boards plus a new plywood nail-base layer to achieve a 1/4:12 pitch.
- Specialty Tool Rental ($150 – $350/week): Budget extra for renting a motorized mechanical seaming machine, hand crimpers, and fall-arrest safety harnesses from your metal supplier.
When to DIY vs. When to Call a Specialist
A DIY standing seam project is realistic for small, straightforward single-slope structures, whereas complex commercial or residential flat roofs require a licensed commercial roofing contractor.
- Ideal DIY Projects: Detached sheds, carports, porch overhangs, and simple single-slope garages with short panel runs under 20 feet and an existing pitch of at least 1:12 to 2:12.
- When to Hire a Pro: Roofs with a shallow 1/4:12 to 1/2:12 pitch requiring 180-degree mechanical seaming, continuous panel runs over 30 feet needing on-site roll-forming, or roofs with parapet walls and internal drains.
- Warranty Considerations: Most metal manufacturers void watertightness warranties on low-slope installations unless the system is installed and mechanically seamed by a certified contractor.
Frequently Asked Questions
Clear, direct answers to common questions regarding low-slope metal roof installation help clarify technical specifications, waterproofing requirements, and long-term maintenance realities for your project.
What should you put down before putting on a metal roof on a flat surface?
Before installing metal panels on a low-slope deck, you must lay down a continuous, high-temperature self-healing ice and water shield over a clean, sloped wood substrate.
- Rubberized Asphalt Membrane: This self-adhering rubberized asphalt membrane forms a vital secondary waterproof barrier.
- Penetration Sealing: The specialized adhesive seals tightly around all screw penetrations to stop creeping water paths.
- Full Deck Protection: Covers 100% of the flat substrate to handle potential standing water risks safely.
Do you need an air gap under a metal roof?
Whether you need an air gap beneath your metal panels depends entirely on your climate zone and whether you construct a warm-roof or cold-roof insulation assembly.
- Unvented Warm-Roof Systems: Utilize continuous rigid polyiso insulation directly beneath the roof deck with zero air gap, keeping interior dew points outside the building envelope.
- Ventilated Cold-Roof Systems: Require above-sheathing ventilation using wood purlins or battens to create a dedicated air gap that encourages continuous airflow and moisture evaporation.
Can you put tar paper under a metal roof on a low slope?
No, you should never use standard 15# or 30# organic felt paper underneath a low-slope metal roof because it lacks the thermal durability required for metal installations.
- Tar Paper vs Synthetic Underlayment: When evaluating tar paper vs synthetic underlayment, traditional felt paper rapidly degrades under intense solar heat trapped beneath metal panels.
- Fastener Failure: Organic felt tears easily under panel movement and fails to seal around fastener shanks, resulting in immediate leaks.
- Approved Alternatives: Always use high-temperature self-adhering membranes or heavy-duty synthetic underlayments engineered for metal roofing.
How do you tie a flat metal roof into an existing pitched roof?
Tying a low-slope metal roof into an existing upper pitched roof requires careful flashing integration to divert water runoff smoothly without creating back-up pockets.
- Continuous Transition Apron: Install a wide metal transition or apron flashing across the entire intersection joint.
- Deep Underlayment Tuck: Tuck the upper edge of the flashing at least 8 to 12 inches high beneath the existing roof’s underlayment and shingle layers.
- Polyurethane Sealing: Embed all flashing laps in high-grade polyurethane sealant to guarantee a permanently watertight joint.
What is the biggest problem with metal roofs on low-slope buildings?
The single greatest issue with metal roofs on low-slope buildings is water pooling at unsealed seams, which accelerates joint corrosion and leads to chronic interior leaks.
- Standing Water Accumulation: Slow drainage on shallow pitches forces water against panel laps and horizontal joints.
- Thermal Fastener Stress: Daily temperature swings cause intense expansion and contraction, leading directly to screw loosening and fastener back-out on exposed systems.
- Mitigation Strategy: Solve these issues by ensuring a minimum 1/4:12 slope and specifying mechanically seamed standing seam panels with floating clips.

Oscar Vance | Master Plumber & Drainage Expert
Meet Oscar Vance, a licensed master plumber sharing practical solutions on residential repairs, preventive maintenance, and thoughtful home upkeep.

