Introduction to 3-Tab Roofing Shingles
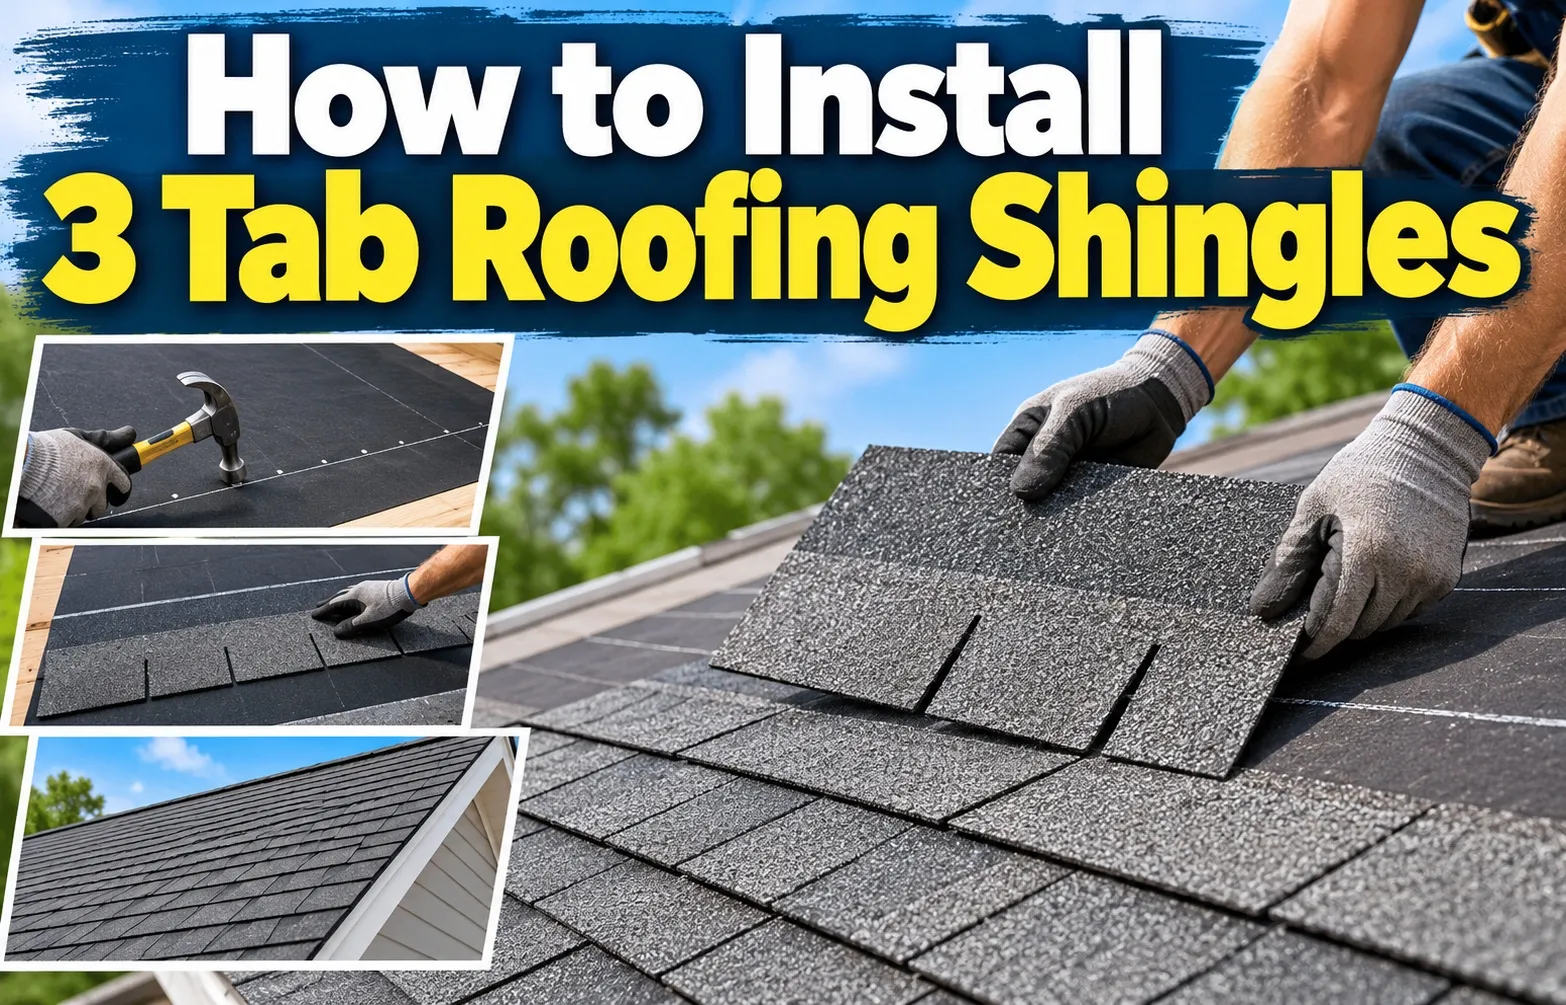 Installing 3-tab roofing shingles provides an economical, straightforward solution for residential homes, sheds, and detached garages. While architectural shingles dominate modern custom home construction, standard 3-tab asphalt shingles remain a popular choice for budget-conscious homeowners and straightforward DIY projects due to their lightweight design and low upfront material cost.
Understanding the balance between installation cost, structural requirements, and long-term durability ensures you choose the right material before beginning your roofing project.
What Are 3-Tab Shingles and Are They Still Worth It?
A 3-tab roofing shingle is a flat asphalt-based shingle constructed with three uniform cutouts (tabs) along the lower edge, creating the appearance of three separate pieces when laid down. They consist of a fiberglass mat base coated with asphalt and topped with mineral granules that protect against ultraviolet rays and weather exposure.
Choosing 3-tab shingles is still a practical decision under specific conditions:
- Tight Project Budgets: Material costs for 3-tab shingles are typically 15% to 25% lower than dimensional architectural shingles, making them ideal for budget-focused roof replacements.
- Outbuildings and Sheds: Small structures, utility sheds, and detached workshops rarely require heavy-duty architectural shingles, making 3-tab shingles a cost-effective alternative.
- Weight-Sensitive Rafters: Because 3-tab shingles weigh significantly less per square than multi-layer shingles, they put less structural stress on older roof framing systems.
Who Should (and Shouldn’t) DIY a Roof Installation
Completing a DIY roof installation saves substantially on labor costs, but it demands proper safety protocols, adequate physical strength, and comfortable working at heights. Evaluating your skill level prevents safety hazards and installation errors that lead to water leaks.
A DIY installation is appropriate if you meet the following criteria:
- Manageable Pitch: The roof pitch is low to moderate (4:12 to 6:12 slope), allowing for safe foot traction and secure harness anchorage.
- Small Surface Area: The project covers a single-story home, garage, or shed without complex dormers, skylights, or severe roof valleys.
- Proper Safety Equipment: You have full safety gear, including OSHA-compliant harnesses, roof anchors, and sturdy ladders.
Consider hiring a professional contractor if the roof has steep slopes (8:12 or greater), extensive rotten wood decking, or multiple structural hips and valleys that require advanced flashing techniques.
Essential Tools Safety Gear and Materials Checklist
Gathering the correct equipment, safety gear, and calculating exact material quantities before starting your project eliminates costly on-site delays. Proper preparation ensures every phase of the installation runs efficiently and safely.
Complete Tool & Equipment Checklist
Having the correct tools on hand before stepping onto the roof prevents frustrating work interruptions and ensures clean, precise cuts. Essential equipment ranges from standard cutting tools to specialized fastening hammers designed specifically for asphalt shingle installation.
- Utility Knife: Equipped with heavy-duty hook blades to slice through shingles cleanly and accurately along marked lines.
- Roofing Hammer: Features a built-in gauge and textured face to drive roofing nails flush without cracking the shingle surface.
- Chalk Line: Used to snap straight horizontal and vertical reference lines across the roof deck for consistent course alignment.
- Shingle Shears: Speeds up repetitive cutting tasks when trimming shingles at gable edges and valleys.
- Roofing Nails: Galvanized, corrosion-resistant fasteners required to secure shingles, drip edge, and underlayment firmly to the deck.
Safety Gear Requirements
Prioritizing personal protection equipment guards against slips and falls, which represent the primary hazards during roof replacements. OSHA-compliant safety protocols must be established before stepping foot on any pitched roofing surface.
- Fall Arrest Harness: A secure full-body harness connected to a structural roof anchor prevents dangerous falls from high elevations.
- Roof Brackets and Toe Boards: Create stable stepping platforms when working on steeper slopes where secure footing is challenging.
- Soft-Soled Footwear: Rubber-soled shoes maximize traction on clean roof decks and synthetic underlayment.
- Eye Protection and Gloves: Safety glasses and durable work gloves protect against flying nail fragments, utility blade slips, and sharp metal edges.
Material Calculation Formula: How to Measure Roof Squares and Estimate Shingle Bundles
Ordering the correct quantity of materials prevents project shortages and excess waste during your installation. Professional roofers measure surface areas in “squares,” where one square equals 100 square feet of total roof area.
- Measuring Roof Squares: Calculate the base footprint dimensions of your roof, multiply by pitch multipliers if necessary, and divide the total square footage by 100.
- Bundle Estimation: Standard 3-tab asphalt shingles require 3 individual bundles to cover 1 single roof square (100 sq. ft.).
- Waste Factor Allowance: Add a 10% to 15% waste margin to your total bundle order to account for gable cuts, starter strips, and ridge caps.
- Supporting Materials: Include quantities for rolled synthetic underlayment, metal drip edge pieces, and self-adhering ice-and-water barrier.
Roof Preparation Tear-Off & Deck Inspection
Thorough roof preparation creates a smooth, solid foundation for your new 3-tab shingles. Removing old roofing materials down to the bare wood deck allows you to identify hidden water damage, ensure proper structural integrity, and protect your home against future leaks.
Step-by-Step Tear-Off of Old Shingles and Nails
Stripping old shingles down to the bare decking is essential for a long-lasting installation. Installing new shingles over old layers traps heat, hides structural decay, and often voids manufacturer wind warranties.
- Start from the Top: Begin at the ridge cap and work your way down toward the eaves using a specialized roofing tear-off shovel to pry up old asphalt shingles and underlayment.
- Remove Fasteners: Ensure all old roofing nails are pulled out or hammered completely flat into the plywood sheathing so they do not puncture your new underlayment.
- Clean the Decking: Sweep the entire roof deck thoroughly to clear away loose granules, wood splinters, dirt, and old roofing debris.
Inspecting the Wood Deck: Fixing Rot, Soft Spots, and Protruding Nails
A damaged roof deck compromises structural stability and leads to early shingle failure. Inspecting every inch of the exposed decking ensures your new roofing system has a solid nailing surface.
- Identify Rotting Wood: Walk the roof carefully to detect soft, spongy areas or water-stained plywood sheathing caused by long-term moisture leaks.
- Replace Damaged Sheets: Cut out any rotted or sagging decking and replace it with new OSB or exterior-grade plywood matching the existing deck thickness.
- Secure Loose Sheathing: Re-nail loose plywood sheets along the rafters using 8d ring-shank nails to eliminate structural flexing.
Building Permits and Local Code Compliance
Before beginning any major roofing project, verify local municipal requirements to ensure full legal compliance. Adhering to local building codes protects home resale value and ensures insurance coverage eligibility.
- Obtain Building Permits: Check with your local city or county building department to secure the required building permit prior to starting the tear-off.
- Verify Layer Restrictions: Many municipal building codes prohibit more than two layers of asphalt shingles on residential roofs due to structural weight limits.
- Schedule Required Inspections: Arrange mandatory building code inspections, such as mid-roof deck checks or final installation sign-offs, as dictated by your local municipality.
Installing Drip Edge Ice & Water Shield and Underlayment
Installing secondary weatherproofing barriers over the bare roof deck is a critical step in preventing water infiltration. Skipping underlayment or drip edge allows blown rain to seep underneath shingles, rotting the plywood decking, degrading fasteners, and causing severe interior water damage.
Installing Metal Drip Edge Along Eaves and Rakes
Metal drip edge directs rainwater away from fascia boards and into the gutters, preventing water from curling back beneath the shingle edges. Proper placement order between eaves and rakes ensures continuous water shedding along the roof parameter.
- Eave Installation: Fasten metal drip edge directly onto the bare wood deck along the bottom eaves before laying underlayment, securing it with galvanized roofing nails spaced every 12 to 16 inches.
- Rake Installation: Install drip edge over the top of the underlayment along the side gable/rake edges to seal the membrane against wind-driven rain.
- Seam Overlaps: Overlap adjacent drip edge sections by at least 2 inches, cutting neat 45-degree corner joints where rakes and eaves meet.
Applying Ice and Water Shield in Vulnerable Valleys and Eaves
A self-adhering ice and water barrier creates a waterproof seal around nail penetrations, safeguarding high-risk leak zones against ice dams and heavy water runoff.
- Eave Protection: Peel the backing and apply the self-sealing membrane along the bottom eaves, extending it at least 24 inches inside the warm exterior wall line to guard against ice damming.
- Valley Flashing Prep: Center a continuous strip of ice and water shield down open or closed roof valleys before installing metal valley flashing or shingles.
- Penetrations and Sidewalls: Wrap membrane strips tightly around chimneys, pipe boots, skylights, and roof-to-wall intersections for reinforced deck protection.
Rolling Out Synthetic Underlayment vs. Traditional Felt Paper
Roof underlayment serves as the primary secondary defense against roof leaks. Omitting tar paper or underlayment exposes bare deck panels to trapped condensation, moisture, and chemical reactions with raw asphalt shingles.
- Synthetic Underlayment Advantages: Modern woven synthetic underlayment provides superior tear resistance, high foot traction, and excellent UV exposure stability compared to traditional asphalt felt.
- Traditional #30 Felt Paper: Standard #30 felt paper offers an economical waterproofing layer, though it absorbs moisture more easily and can wrinkle if exposed to rain before shingle installation.
- Lapping and Fastening Rules: Roll underlayment horizontally from bottom to top, overlapping upper courses by at least 2 to 4 inches and end laps by 6 inches, fastening with cap nails to prevent wind blow-offs.
Starter Strip Installation & Alignment
Laying the starter course correctly establishes a secure weather-resistant foundation along the eaves and rakes of your roof. Proper starter strip placement locks down the first row of 3-tab shingles, preventing wind uplift and water intrusion underneath the roof deck.
Using Pre-Made Starter Strips vs. Cutting 3-Tab Shingles
Choosing between manufactured starter rolls and modified 3-tab shingles depends on your budget, project scale, and preferred speed on the roof. Both methods provide reliable performance when installed according to industry specifications.
- Pre-Made Starter Rolls: Manufactured starter strips come pre-cut with a factory-applied adhesive sealant strip along the edge, saving time and reducing hand-cutting errors during eave installation.
- Field-Cut 3-Tab Shingles: You can create custom starter strips by slicing off the individual tabs from standard 3-tab asphalt shingles, leaving just the solid top strip.
- Manufacturer Guidelines: For detailed technical specifications on starter course preparation and fastening, review the official manufacturer installation guidelines.
Correct Placement: Managing the 1/4-Inch to 3/4-Inch Overhang
Positioning the starter course with precision ensures rainwater runs cleanly into the gutters without rotting the wooden fascia boards beneath. The factory tar line must be oriented correctly to bond with the first main course of shingles.
- Sealant Line Orientation: Position the starter strip so the factory-applied tar line faces upward and sits near the lower eave edge to bond securely with the overlaying shingle.
- Roof Overhang Adjustment: Allow a precise 1/4-inch to 3/4-inch overhang past the metal drip edge along both the eaves and gable rakes.
- Fastener Placement: Drive roofing nails approximately 3 to 4 inches above the eave edge, ensuring nails stay outside the lower water-shedding zone.
Snapping Chalk Lines for Straight Horizontal Courses
Snapping accurate reference lines prevents your shingle courses from wandering or skewing off-level as you move up the roof deck. Straight lines ensure a clean, professional finish across the entire surface.
- Measuring Exposure: Measure up from the installed starter edge based on the manufacturer’s specified exposure for 3-tab shingles (typically 5 inches).
- Snapping Reference Marks: Mark measurement points at both ends of the roof deck and snap a bright blue or red chalk line across the synthetic underlayment.
- Periodic Alignment Checks: Verify course levels every few rows using a roofing square or tape measure to prevent cumulative alignment drift.
Main Course Shingling: The 6-Inch Offset Pattern
Laying the primary courses of 3-tab shingles requires strict adherence to a staggered offset pattern to ensure maximum water shedding and wind resistance. Offsetting the vertical cutouts between consecutive rows prevents seam alignment, which would otherwise allow water to penetrate directly to the underlayment and roof deck.
Starting at the Bottom-Left Corner: Alignment Rules
Installation begins at the bottom-left corner (left gable/rake edge) over the starter course, moving horizontally across the roof. Establishing a precise starting point ensures that every subsequent row aligns perfectly across the entire roof surface.
- First Course Placement: Lay a full 3-tab shingle directly over the starter strip at the bottom-left corner, ensuring it aligns flush with the starter edge while maintaining a 1/2-inch to 3/4-inch overhang past the drip edge.
- Fastener Positioning: Secure the shingle using 4 galvanized roofing nails driven straight and flush, positioned just below the sealant strip and above the cutout notches.
- Edge Verification: Check that the left edge aligns straight with your vertical chalk reference line along the rake edge before fastening.
The 6-Inch Stepping Sequence Explained
The standard method for staggering 3-tab shingles is the 6-inch offset sequence (also known as a stepping sequence). By cutting 6 inches off the left end of each successive course, the vertical cutouts are staggered across six distinct rows before repeating the cycle with a full shingle on the seventh course.
Shingle Exposure and Maintaining Vertical Alignment
Maintaining consistent vertical exposure ensures proper lap coverage and keeps the horizontal courses parallel to the eave throughout the entire shingling process.
- Standard Exposure Gauge: The weather exposure for standard 3-tab shingles is exactly 5 inches, leaving 7 inches covered by the overlapping shingle course above.
- Vertical Cutout Lineup: Verify that the cutouts on Course 7 align perfectly in a vertical line with the cutouts on Course 1 to maintain structural symmetry.
- Chalk Line Snapping: Snap horizontal chalk lines every 4 to 5 courses up the roof deck to monitor alignment and make minor elevation adjustments before locking down large sections.
The Nailing Pattern Breakdown & Wind Warranty Secrets
Fastener placement and nailing precision directly determine whether your 3-tab shingle installation will withstand severe storms or tear off during high wind conditions. Incorrect nailing is the single most common cause of roof failure and immediately voids manufacturer wind warranties.
4 Nails vs. 6 Nails: When to Upgrade for High-Wind Zones
The number of fasteners required per shingle depends on roof pitch, local building code requirements, and regional wind velocity parameters. Adapting your fastening schedule ensures the sealant strip engages fully with the underlying shingle.
- Standard Fastening (4-Nail Pattern): For normal wind conditions (up to 60 mph) on standard roof slopes (4:12 to 15:12), drive 4 nails per shingle spaced evenly along the designated nail line, positioned roughly 1 inch in from each outer edge and directly above each cutout notch.
- High-Wind Fastening (6-Nail Pattern): In coastal regions, high-wind zones, or steep-slope applications (above 15:12 pitch), increase to 6 nails per shingle by adding two extra fasteners near the center tabs to raise the wind resistance threshold.
- Nail Length Requirements: Standard installations require 1-1/4 inch galvanized roofing nails to penetrate completely through the shingle layers and pass at least 3/4 inch into or completely through the plywood sheathing.
The Danger of “High-Nailing”: How Improper Placement Voids Your Warranty
High-nailing occurs when fasteners are driven above the designated nail line into the upper backing sheet rather than through the double-thickness sealant region. This critical installation error leaves the shingle completely vulnerable to wind uplift.
- Loss of Double-Layer Holding Power: Fasteners placed too high miss the reinforced bonding zone, leaving the shingle secured by only a thin layer of top matting that easily tears during strong gusts.
- Unsealed Cutouts and Water Intrusion: Driving nails above the manufacturer line prevents the self-sealing tar strip from fusing properly, allowing wind-driven rain to siphon underneath the shingle overlap.
- Immediate Warranty Revocation: Roof inspectors and manufacturer representatives routinely deny warranty claims if inspection reveals high-nailing across blow-off sections.
Correct Hammer Angle and Nail Depth (Flush vs. Countersunk)
Driving fasteners straight and flush against the shingle surface ensures optimal clamping force without cutting into the delicate fiberglass matting base.
- Flush Fastening: Drive nails straight and perpendicular to the roof deck so the wide nail head rests flat and flush against the shingle surface.
- Avoiding Over-Driving (Countersunk Nails): Excessive air compressor pressure or hard hammer strikes can force the nail head through the asphalt layer, creating a hole that causes water leaks and reduces holding capacity.
- Avoiding Under-Driving (Crooked/Protruding Nails): Nails left sticking up or driven at sharp angles cut into the protective underside of the overlaying shingle, eventually creating a puncture point and preventing proper tar-strip adhesion.
Capping, Ridge Vents & Finishing Details
Sealing the peaks and ridges of your roof completes the installation process while ensuring proper attic ventilation and weatherproofing against severe storms. Proper finishing techniques protect the most vulnerable exposed angles of your 3-tab shingle roof against wind uplift and moisture penetration.
Cutting Individual Cap Shingles from 3-Tab Strips
Customizing standard 3-tab shingles into individual cap pieces provides a uniform, weather-resistant shield along roof hips and ridges. Cutting your own hip and ridge shingles saves material costs compared to pre-packaged specialty rolls.
- Separating the Tabs: Use a sharp utility knife to cut along the factory slots of a 3-tab shingle, dividing each strip into three individual square cap units.
- Clipping the Corners: Trim the bottom two corners of each cap piece at a 45-degree angle to prevent the exposed edges from catching wind or showing beneath subsequent layers.
- Bending the Crease: Fold each cap piece down the center line, warming the asphalt strip slightly in the sunlight if necessary to prevent cracking during installation.
Installing Ridge Vents for Proper Attic Ventilation
Proper attic ventilation prevents excessive heat buildup and moisture condensation, which can prematurely age your roof decking and shingles. Installing a continuous ridge vent ensures balanced airflow throughout the roof cavity.
- Cutting the Ridge Slot: Use a circular saw set to the exact thickness of your plywood deck to cut a 1-to-2-inch continuous slot along the peak, stopping short of the end trusses.
- Securing the Vent Baffle: Roll out or place the rigid ridge vent over the open slot, fastening it firmly to the deck using the long ring-shank nails provided by the manufacturer.
- Balancing Intake and Exhaust: Ridge vents operate effectively when paired with unobstructed soffit intake vents, creating a steady, natural thermal draft through your attic space.
Working Against Prevailing Winds and Sealing Exposed Nail Heads
The final ridge cap installation requires correct directional sequencing and fastener protection to prevent storm damage and water leaks.
- Prevailing Wind Direction: Begin installing ridge caps from the end of the roof facing away from your local prevailing wind direction so storm winds blow over the laps rather than lifting them.
- Concealing Fasteners: Drive two roofing nails through the upper corners of each cap shingle, ensuring the next overlapping cap hides and seals the fastener heads completely.
- Applying Roofing Tar: Dab a small amount of asphalt roofing tar over the exposed nail heads on the final terminal cap piece to guarantee a permanent waterproof seal.
Special Applications: Installing 3-Tab Shingles on Sheds & Low-Slope Structures
Installing 3-tab shingles on sheds, detached garages, and small outbuildings presents unique structural and slope challenges compared to standard residential roof replacements. Understanding minimum pitch requirements and adapting your installation techniques ensures your outbuilding remains dry and structurally sound for years to come.
Minimum Pitch Requirements for Asphalt Shingles
Roof pitch directly dictates how efficiently water sheds off shingles. Installing 3-tab shingles on slopes below standard safety thresholds allows standing water to back up under cutouts, leading to severe wood deck rot and early roof failure.
- Standard Slope (4:12 Pitch and Greater): Standard installation procedures using a single layer of underlayment apply fully to roofs rising at least 4 inches vertically per 12 inches of horizontal run.
- Low-Slope Applications (2:12 to 4:12 Pitch): Low-slope roof installations require double-coverage underlayment (overlapping courses by at least 19 inches) or a full layer of self-adhering ice and water shield to prevent water backup.
- Prohibited Slopes (Below 2:12 Pitch): Never install 3-tab asphalt shingles on roofs with a slope below 2:12. Low-slope or flat roofs require continuous membrane systems such as roll roofing, EPDM, or modified bitumen.
Special Considerations for Shed Roofs and Outbuildings
Shed roof installations often involve lightweight roof framing, unheated interior spaces, and simplified drip edge configurations that require minor procedural adjustments.
- Managing Lightweight Rafters: Because small sheds often use lighter 2×4 framing, standard 3-tab shingles are ideal due to their lightweight design compared to heavier architectural shingles.
- Condensation Control: Unheated outbuildings without soffit vents accumulate condensation underneath the plywood sheathing; applying high-quality synthetic underlayment acts as a critical vapor protection barrier.
- Edge Finishing for Small Sheds: Secure metal drip edge firmly around all small gable ends before laying the starter strip, preventing high-wind edge uplift on exposed, freestanding outbuildings.
Frequently Asked Questions About Installing 3-Tab Shingles
Here are concise, direct answers to the most common questions regarding 3-tab asphalt shingle installation, designed to help you avoid critical mistakes during your project.
Do You Shingle a Roof from the Top or Bottom?
You must always shingle a roof from the bottom up (starting at the eaves and working toward the ridge). This bottom-to-top installation sequence allows each upper shingle course to overlap the course below it, creating a natural watershed that prevents rainwater from seeping underneath the shingle seams.
What Is the Best Tool to Cut Shingles Cleanly?
A heavy-duty utility knife equipped with a hook blade is the best tool for cutting asphalt shingles cleanly and accurately. The hooked tip slices through the backing and granules without dulling as quickly as straight blades. Specialized shingle shears are also an excellent alternative for making fast, high-volume cuts along gable rakes and valleys.
Can You Install New Shingles Directly Over Old Ones?
While installing a second layer of shingles directly over an existing roof is allowed by some local building codes, it is generally not recommended. Laying new shingles over old ones traps excess heat, hides rotted plywood decking, reduces wind resistance, and often voids manufacturer warranties. Stripping down to the bare wood deck is the best practice for long-term reliability.

Oscar Vance | Master Plumber & Drainage Expert
Meet Oscar Vance, a licensed master plumber sharing practical solutions on residential repairs, preventive maintenance, and thoughtful home upkeep.

